Budget Home Gym Makeover: A Luxurious Neutral DIY Transformation
When the pandemic shut down gyms in 2020, we improvised with a backyard workout setup—but Texas weather quickly made that unsustainable. After moving into our new home in 2021, we dedicated a spare bedroom to a home gym, yet it lacked personality and polish.
I wanted something different from the typical black-and-red gym look—something luxurious, neutral, and resale-friendly. This budget-friendly makeover transformed a plain builder-grade room into a sophisticated home gym that could easily convert back into a bedroom or nursery.
Disclaimer: This post contains affiliate links. I may earn a small commission if you make a purchase, at no extra cost to you.
Project Snapshot / Quick Facts
- Skill Level: Beginner/ Intermediate
- Time Requires: 2 -3 Weekends
- Cost: ~$150-600 (depending on materials used)
Material & Tools List
Materials
- 1/2″ plywood (window sills)
- 4″ MDF strips (window frames)
- Drywall (cut into 4″ strips for board & batten)
- OSB boards
- 1×2 furring strips
- Liquid Nails & caulk
- Wood stain (Dark Walnut)
- Polyurethane (oil-based, semi-gloss)
- Heavy-duty wall hooks (Amazon)
- Decorative wall letters
- LED gym sign (Amazon)
- Wall Sconces (Amazon)
- Ceiling Fan (Amazon)
- Scrap wood (shelf & accents)
- Rubber Flooring
- Paint (Here: SW 9130 Evergreen Fog, SW 7029 Agreeable Gray, Urban Bronze)
Tools
- PPE (Hearing Protection, Gloves, Safety Glasses). Get my favorite (Pink) PPE from Amazon
- Studfinder (Amazon)
- Laser Level (Amazon)
- Measuring Tape (Amazon)
- Brad nailer
- Router
- Drill
- Paint supplies
- Glue gun
Step-by-Step Home Gym Makeover
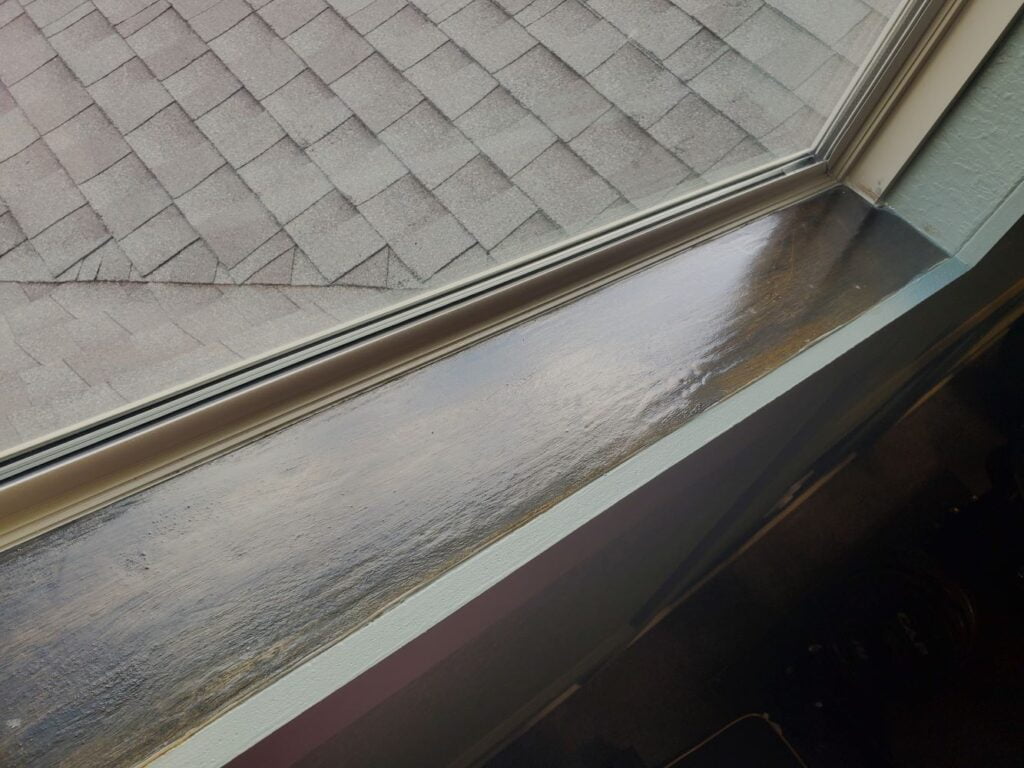
Step 1: Upgrade Builder Grade Windows
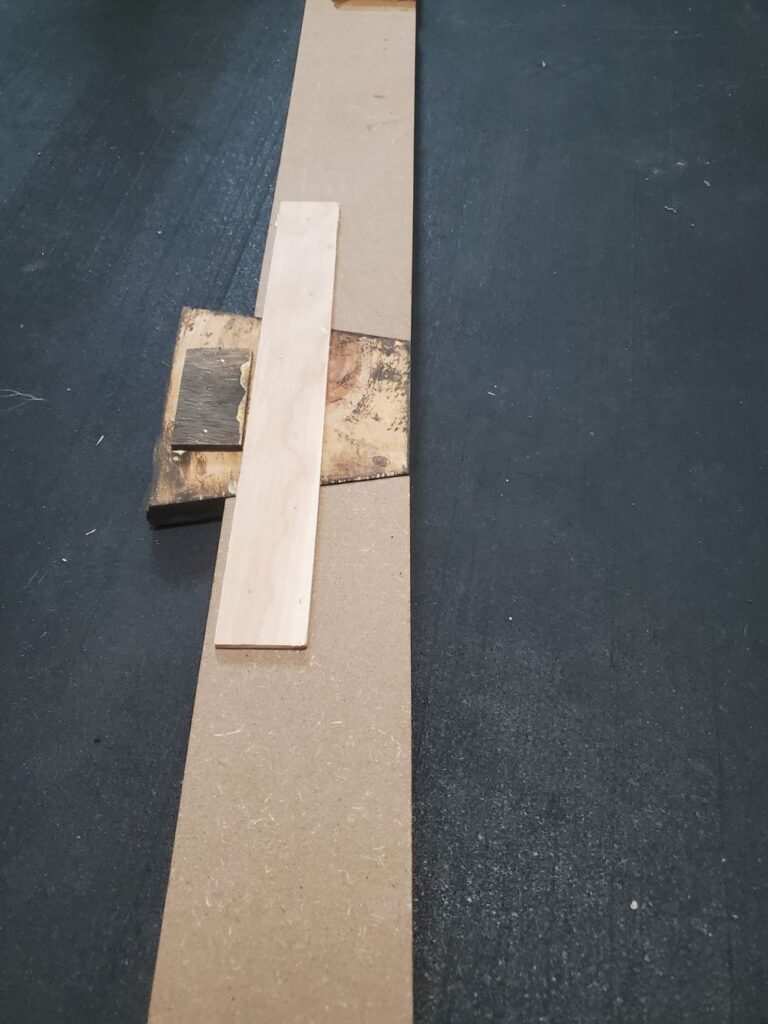
The small windows didn’t come with any frame or window sill (Typical builder-grade home). They were just surrounded by drywall which got dirty quickly with no chance to clean. I simply added a piece of 1/2in plywood as a window sill and attached it with liquid nails and caulk around the edges. Then, I applied walnut stain and finished off with two layers of oil-base polyurethane for floors clear semi-gloss (Rust-Oleum Parks PRO Finisher). I didn’t worry about the edges from the plywood because they would be covered by the window frame.

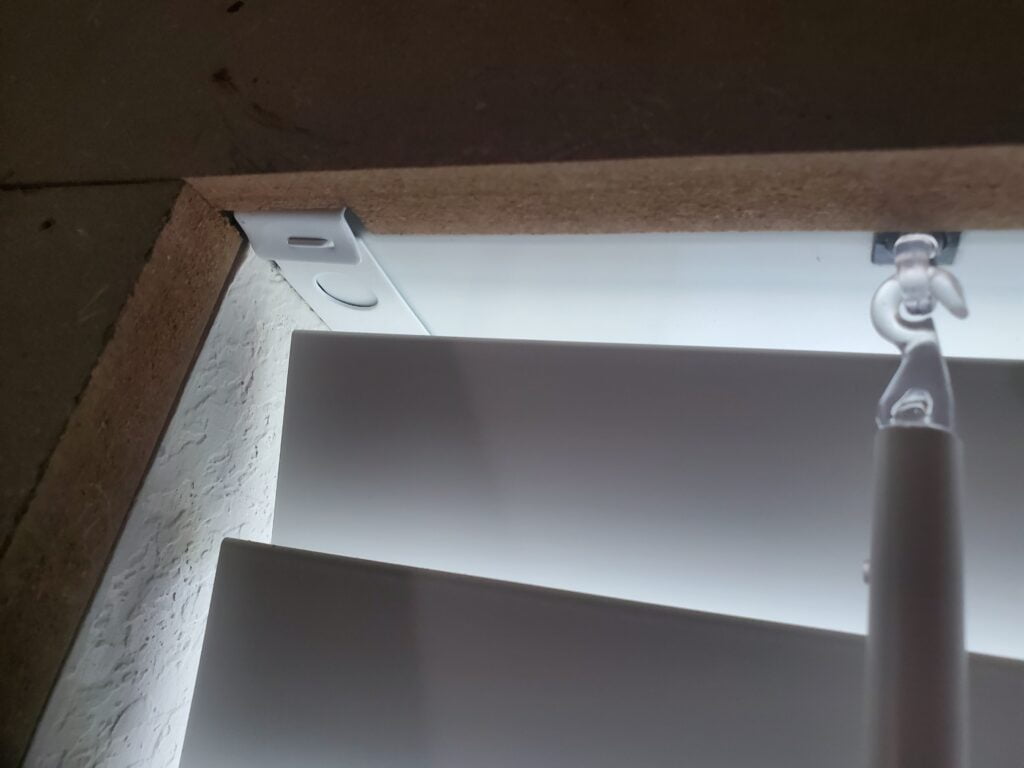
Once the window sills were installed, I framed the windows using 4 inch wide MDF strips. Believe it or not, but I reused the MDF strips which were used as packaging and bracing material from my treadmill I had ordered I few weeks earlier. To cover the braces of the blinds, I had to create these little notches so that the MDF board sits flush. I simply used my router to create the notches. To add a little wooden accent to the windows itself, I created these wooden keystones.


💡Tip: Remember, if you renovate on a budget, nothing goes to trash. Sooner or later you will always find a purpose for such material!
Step 2: Add Character with Board & Batten Accent Wall
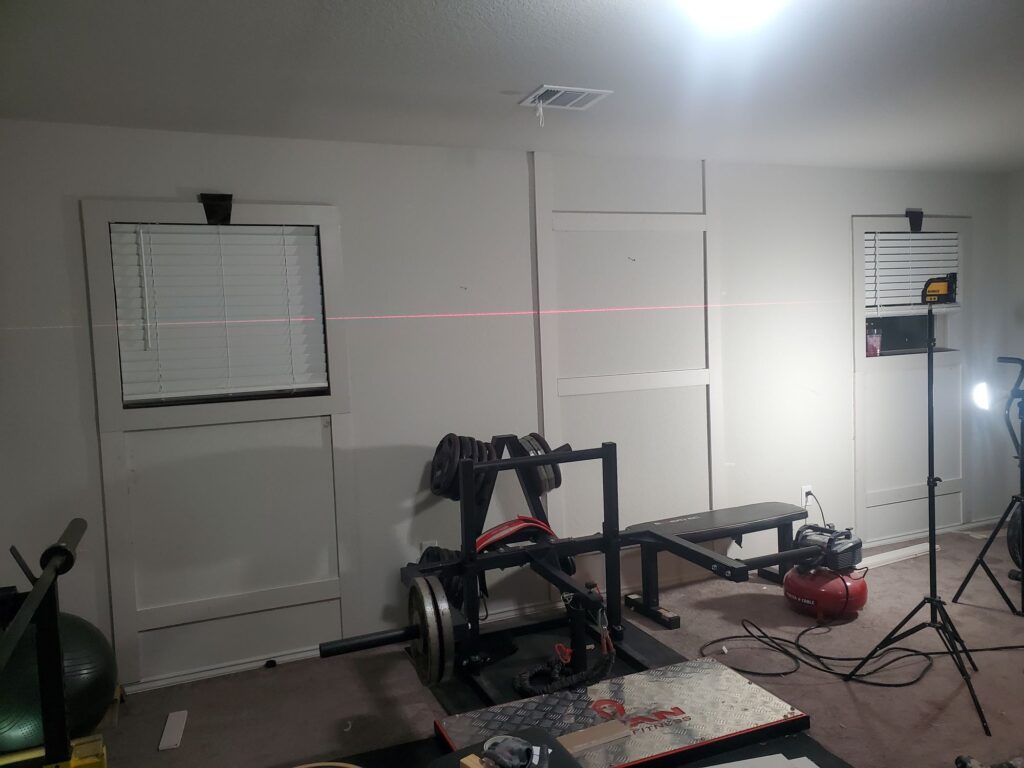
Once the window frames were installed, I continued adding my vertical stiles for the board and batten accent wall. I choose a staggered board and batten design for the accent wall which allowed me to easily tie in the windows. To keep this project budget friendly, I use drywall cut into 4″ wide strips instead of wood (Fore more details, read my other accent wall post Cheap Board and Batten Accent Wall (No Wood or MDF needed!). Given the width of the windows and the wall in between them, it was impossible to create identical panels. As you can see, the staggered look helped to distract from that and to create an illusion of equal panels:
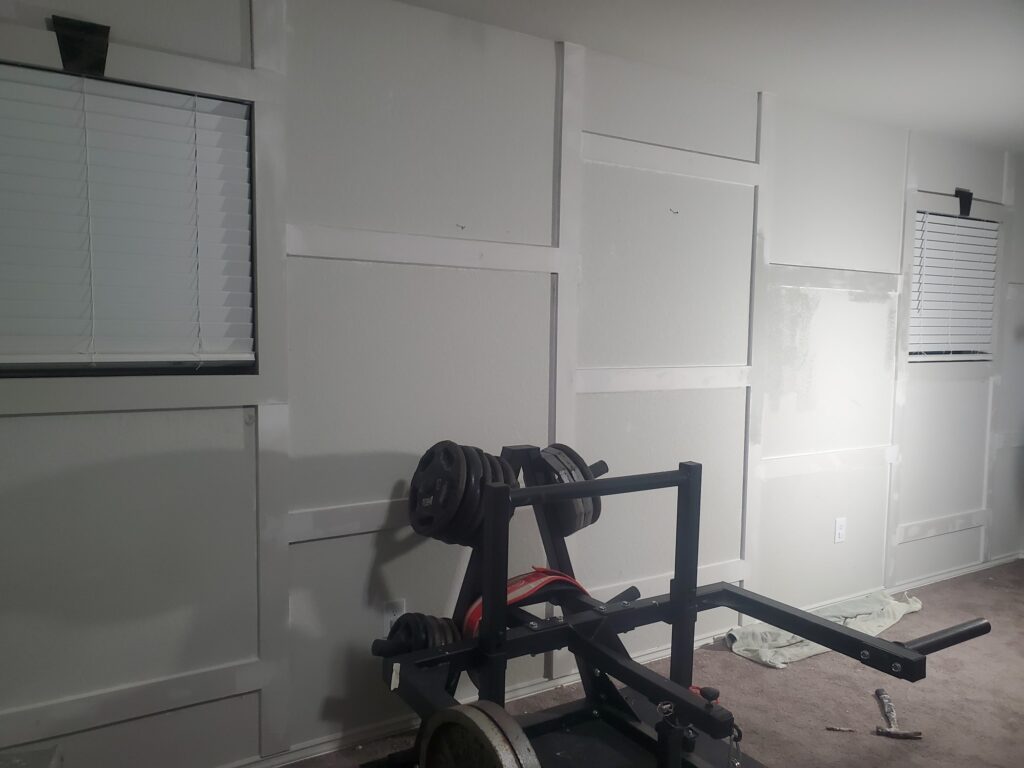
For the sage green color I went with SW9130 Evergreen Fog.
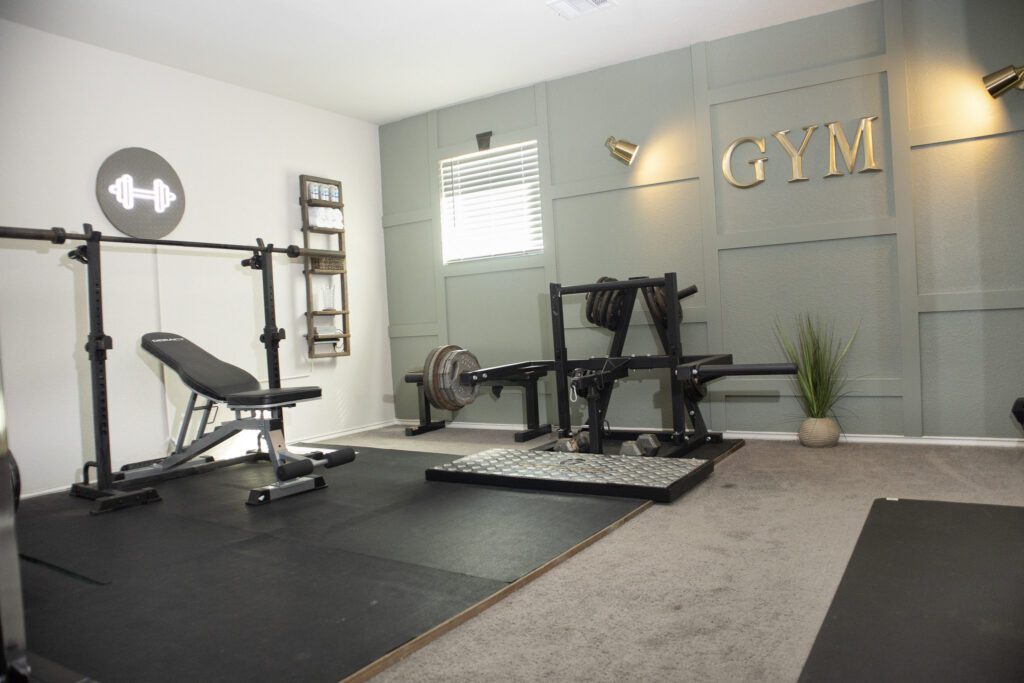
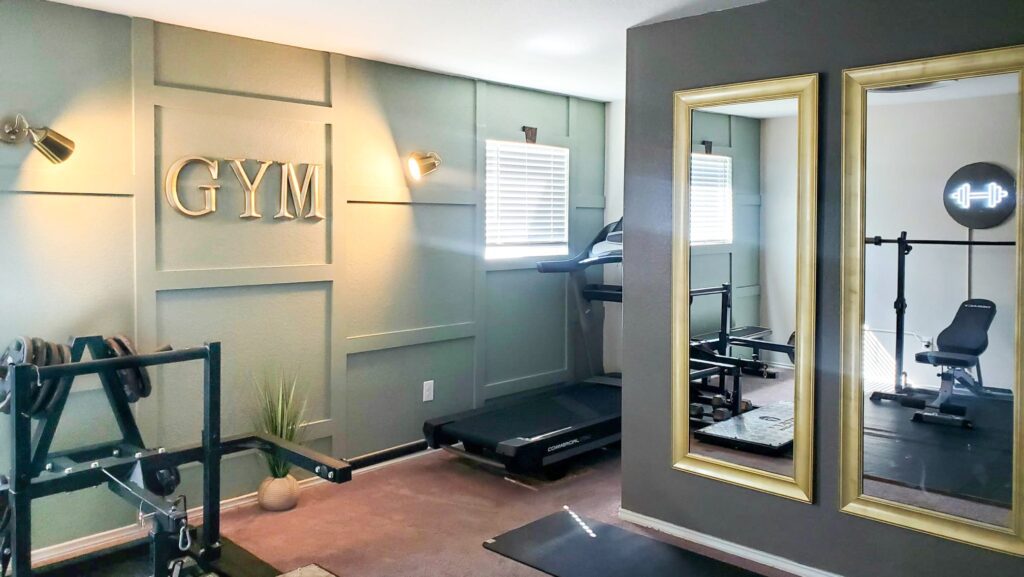
Step 3: Install Glamorous Gym Lighting and Golden Letters
When it comes to wall décor and accents, there is no better place than Hobby Lobby. I found these 12″ big glamourous wall letters, which were exactly what was needed to make this wall pop. Of course, I only bought them when they are on sale and 50% off! The best, they came already golden colored so I could simply hang them with nails to the wall without further modification.

Accent Lights: Wall Sconces
The accent wall is an exterior wall which made it very difficult to run additional electricity from the attic to add these luxurious wall sconces. It was easier to run an additional wire from each of the two outlets on the wall. I didn’t want to add a light switch, which came with the drawback that I had to install wall lights which come with an on/off switch. For some reason, these were not easy to find, especially as I didn’t want to spend more than $50 for both lights together. Luckily, I found the these golden sconces on Amazon.
Step 4: Upgrade the Ceiling with a Golden Flush Mount Ceiling Fan with Dimmable Lights
Our gym in on the 2nd floor above the garage facing primarily the south side. This causes the room to be usually warmer than the other rooms in our house. A fan definitely helps with overall air circulation during the workouts. I was searching originally for light fixtures to replace the builder grade light in the room when I came across this ceiling fan on Amazon. A flush mount ceiling fan was the only option for this room given the low 8ft ceiling and needing all the head space in a gym. This fan has it all: the golden accent, flush mount ceiling fan and dimmable lights. We are very happy with our choice.
Step 5: Create a Statement Gym Mirror Wall
Does a gym need a mirror? This may be debatable, but I feel it is in itself an accent piece adding a luxurious feel besides making the room appear to be bigger. You can find cheap mirrors on Facebook Marketplace, however, you may need a van or truck for transportation. We only have a car which can fit mirrors up to 3ft in width. I decided to buy two identical mirrors from Walmart so that they can fill one of the walls. They were originally black, so I sprayed them golden to match the golden accent theme.
Step 6: DIY Wooden Shelf
It is very easy to create a simply small wooden shelf using some scrap wood. There is really no need to spend a lot of money buying a flimsy shelf using fake wood from the store. I build this ladder-style shelf to hold the few essentials such as towels, drinks, phone and gloves:

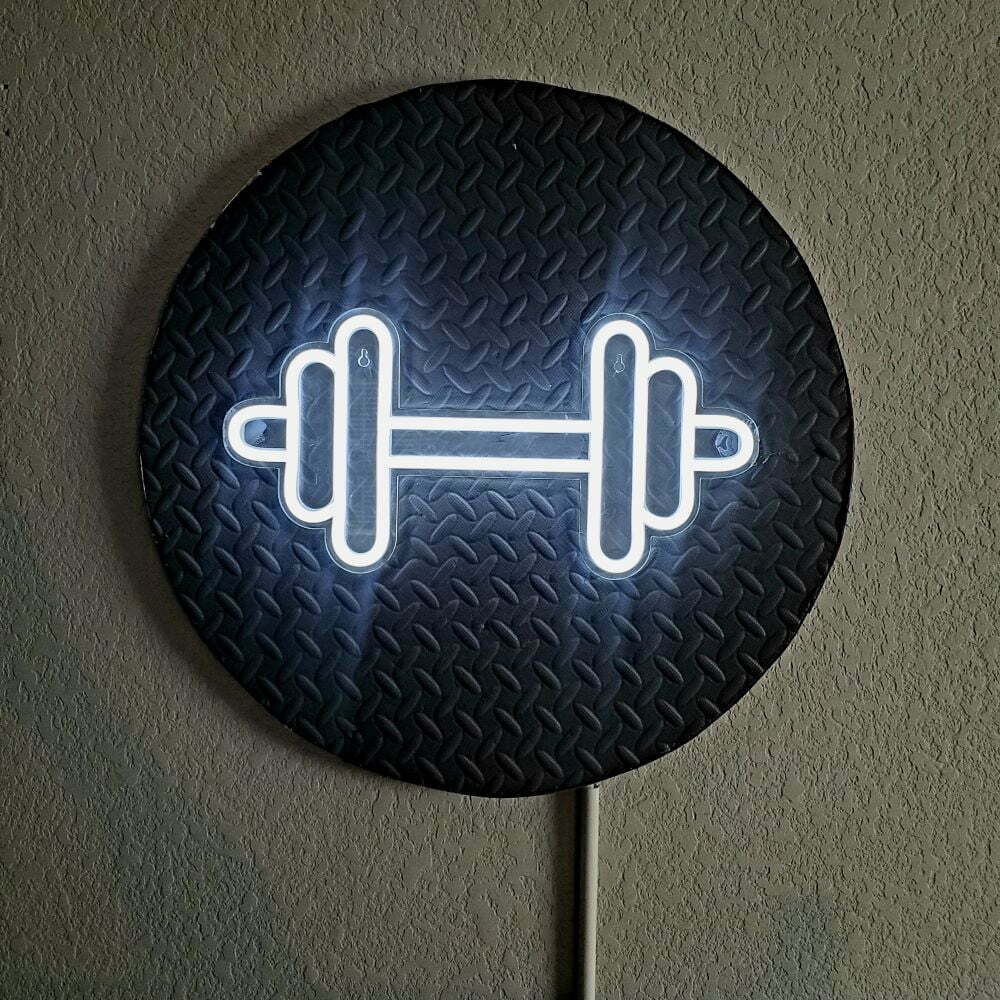
Sep 7: LED Gym Sign
There are some nice LED gym signs on Amazon, however, I feel they look a little naked when they just hang on the wall as is. I decided to pimp up the barbell LED sign with some material I still had:
I had some old exercise foam mats which I cut in the shape of a circle. It is relatively easy to cut with a pair of scissors and pug in hole to push thru the wires of the LED sign. Then I attached a border using 3/4″ plywood edge banding (stained with my favorite Varathane Dark Walnut wood stain) with the glue gun. And here it is, the Barbell LED sign. To keep the look clean, I concealed and secured the LED cable inside a cord cover channel along the wall.
Step 8: Gym Storage Wall Rack
Originally, most of our workout equipment was just laying in a corner. A storage solution was absolutely needed but I wanted a wall rack which also serves as a design accent piece. This is how I came up with a slat wall storage rack:
I simply used a leftover OSB board and painted it in the same color of the wall: SW7029 Agreeable Gray. Then I used 1×2 strip fur boards as slats, painted them in Urban Bronze and attached them to the OSB board with a brad nailer. I drilled these heavy duty garage hooks from Amazon into the slats. Then I hang the entire board with wood screws to the wall (I marked the studs first with the stud finder).
Step 9: Renter Friendly Gym Flooring
Since this is only a temporary home for us, we didn’t want to remove the carpet or install permanent rubber flooring that might limit resale appeal. Instead, we screwed a layer of two OSB boards directly into the floor. On top, we laid 3mm-thick rubber flooring that was sold at Home Depot as a roll (now discontinued). This setup protects the main workout area from heavy weights while remaining easy to remove before selling.
Q&A, Pro Tips
Q: Can this gym be converted back into a bedroom?
A: Yes! The neutral color palette and removable décor and rubber flooring make it easy to transition.
Q: Is drywall really strong enough for board and batten?
A: Absolutely—when installed properly, it’s lightweight, affordable, and durable. Your entire wall is drywall to begin with—this just adds another layer.
Q: Is the rubber flooring holding up over time?
A: We glued the rubber flooring to the OSB boards, which is necessary to keep it stable during workouts. After about two years, some wear and tear has become visible, so this setup is best considered temporary. For a more permanent solution, I would definitely recommend investing in thicker, gym-grade rubber flooring designed for long-term use.
Related Projects
For more details on how to install the board and batten wall using drywall, check out my bedroom makeover project Cheap Board and Batten Accent Wall (No Wood or MDF needed!).
Shop the Look
Shop the look on Amazon,