DIY Bathroom Mirror Frame: Budget-Friendly Upgrade for Builder-Grade Mirrors
Builder-grade homes almost always come with those large, wall-to-wall bathroom mirrors. For the longest time, I didn’t think there was anything wrong with them… until I saw how much a simple frame can elevate the entire space. There are plenty of mirror frame kits out there—but they can be surprisingly expensive for what they are. So instead, I went the DIY route. Using simple wood trim and a few tools, I created a custom mirror frame for a fraction of the cost—and the result looks just as good (if not better).
Disclaimer: This post contains affiliate links. I may earn a small commission if you make a purchase, at no extra cost to you.
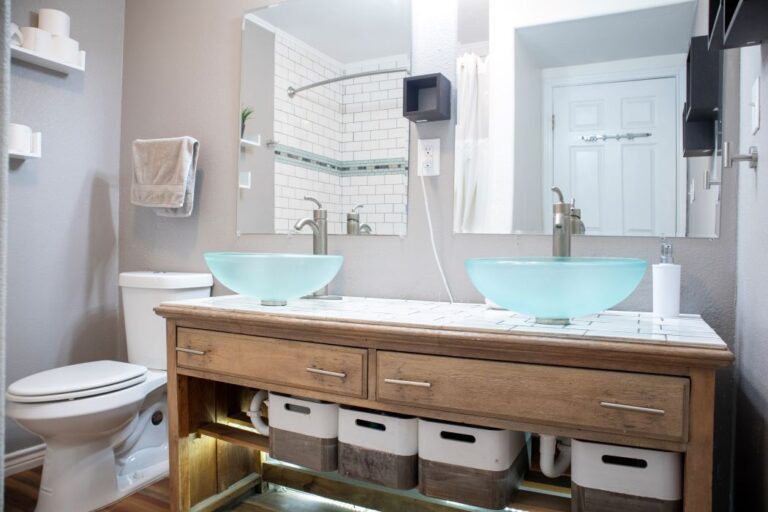
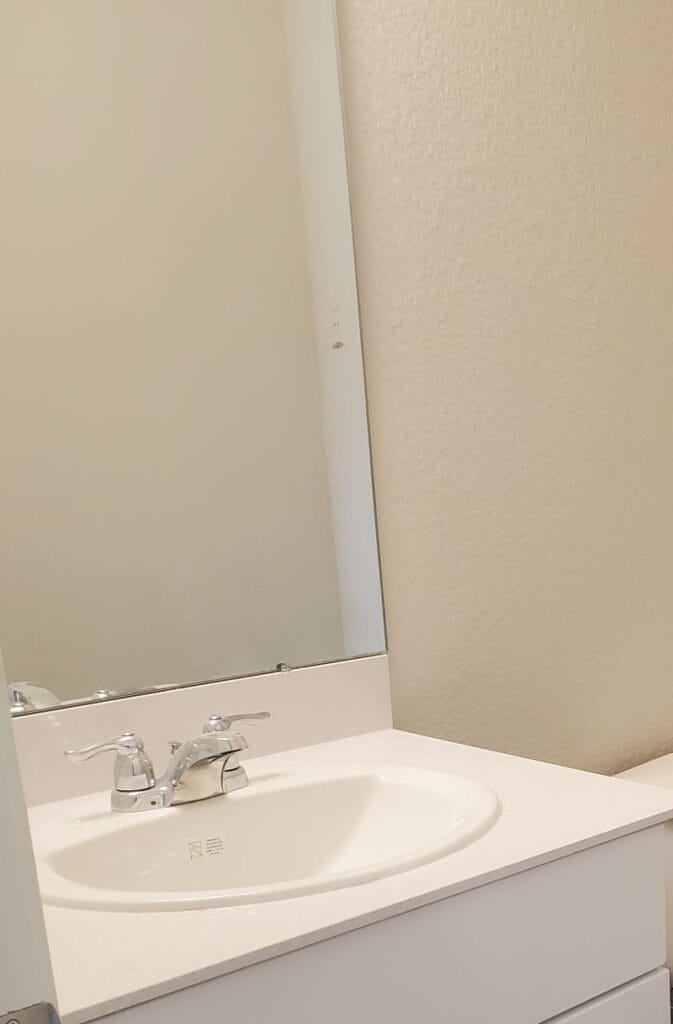 Before
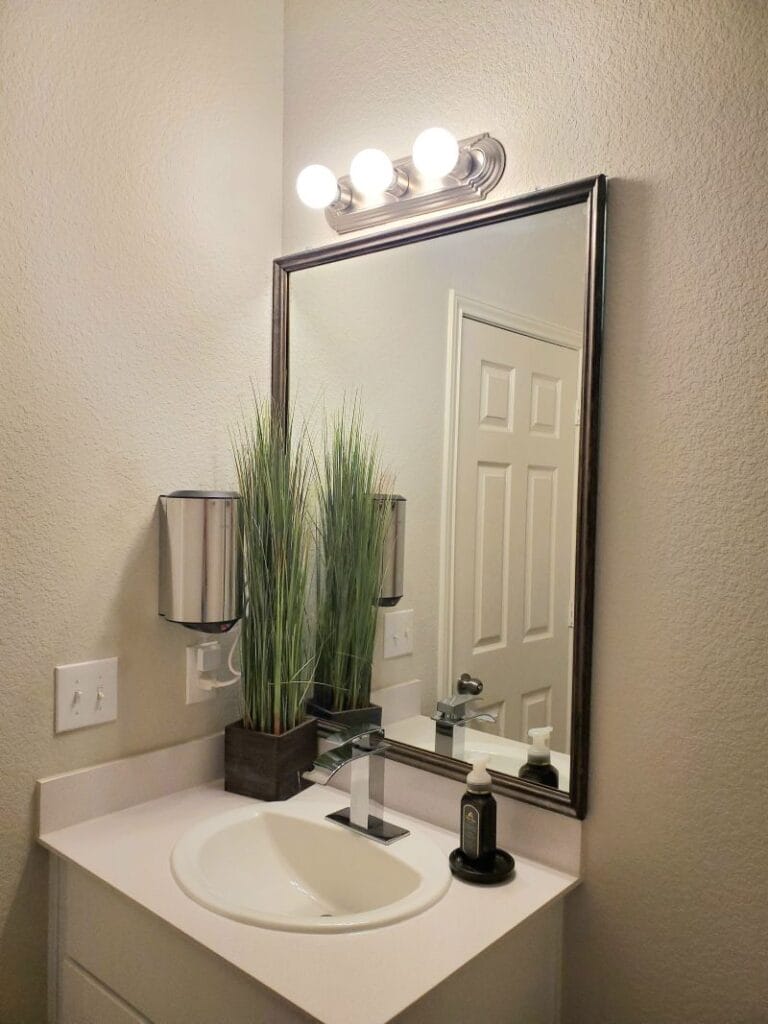 After
After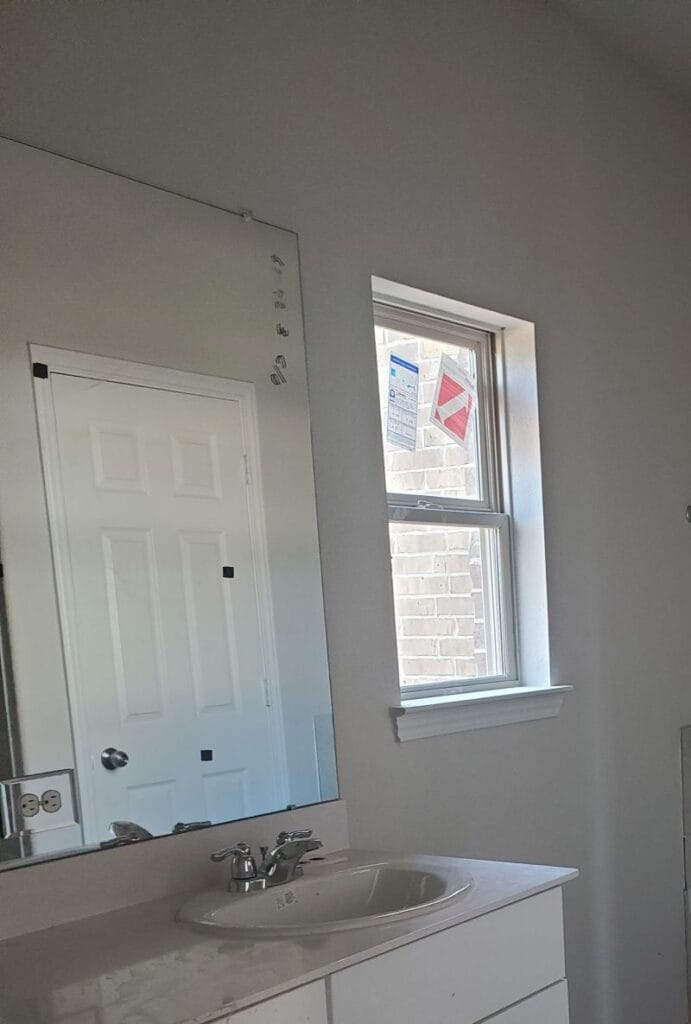 Before
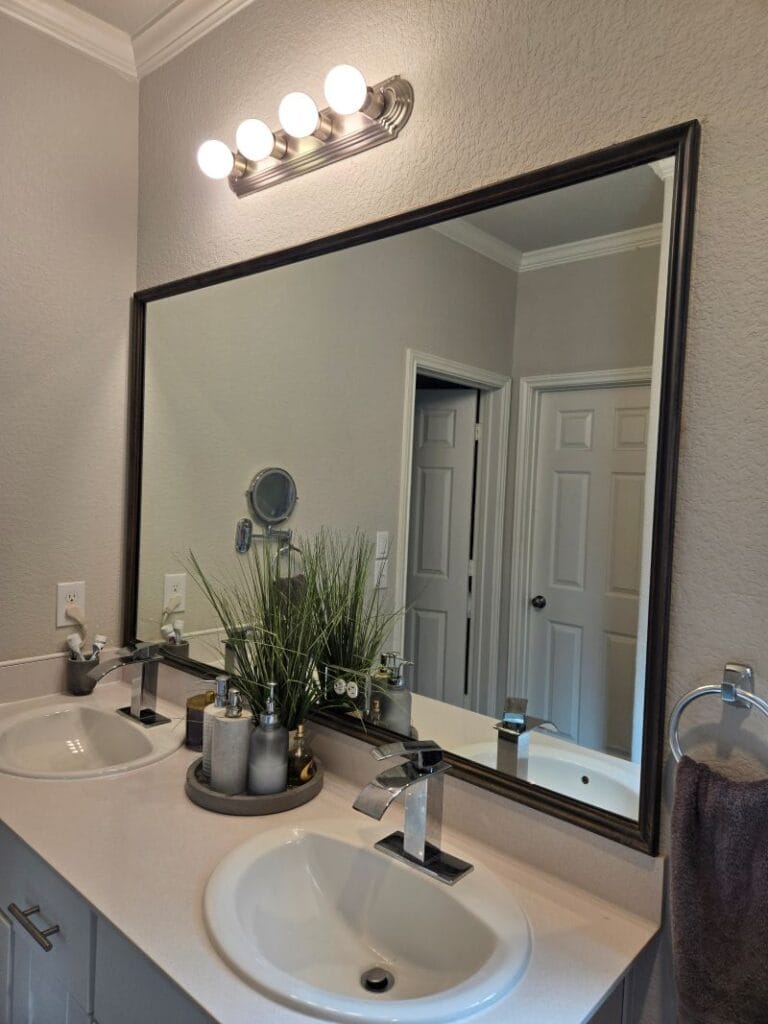 After
After
Project Snapshot / Quick Facts
- Skill Level: Beginner
- Time Required: 1 Day
- Cost: ~$20-60
Materials & Tools You Need for DIY Mirror Frame
Materials
- Window trim
- Wood stain or paint
- Adhesive (liquid nails or caulk)
- Brad nails
Tools
- Miter saw
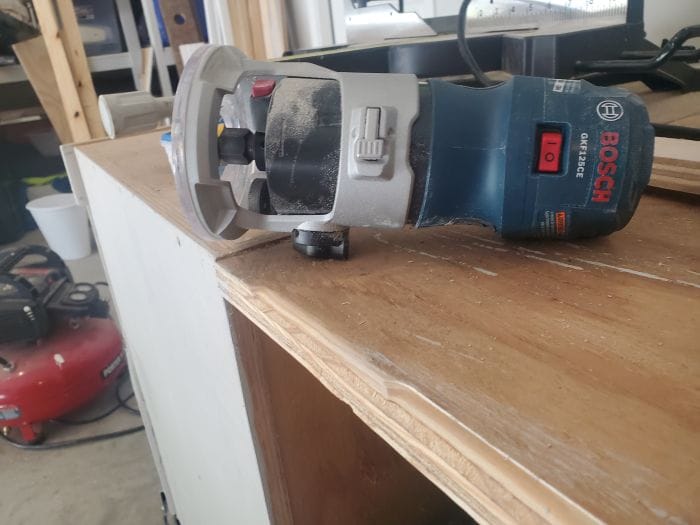
- Router (for notching around clips)
- Brad nailer
- Measuring tape
- Safety Gear (My pink PPE from Amazon)
Building a DIY Mirror Frame (Step-by-Step)
Step 1: Measure & Cut the Trim
Start by measuring your mirror dimensions. Cut trim pieces using a miter saw at 45° angles for clean corners. Dry-fit all pieces to ensure everything lines up properly.
Pro Tip: Cut the trim slightly longer than the mirror so it overhangs the edge a bit instead of sitting perfectly flush with it.
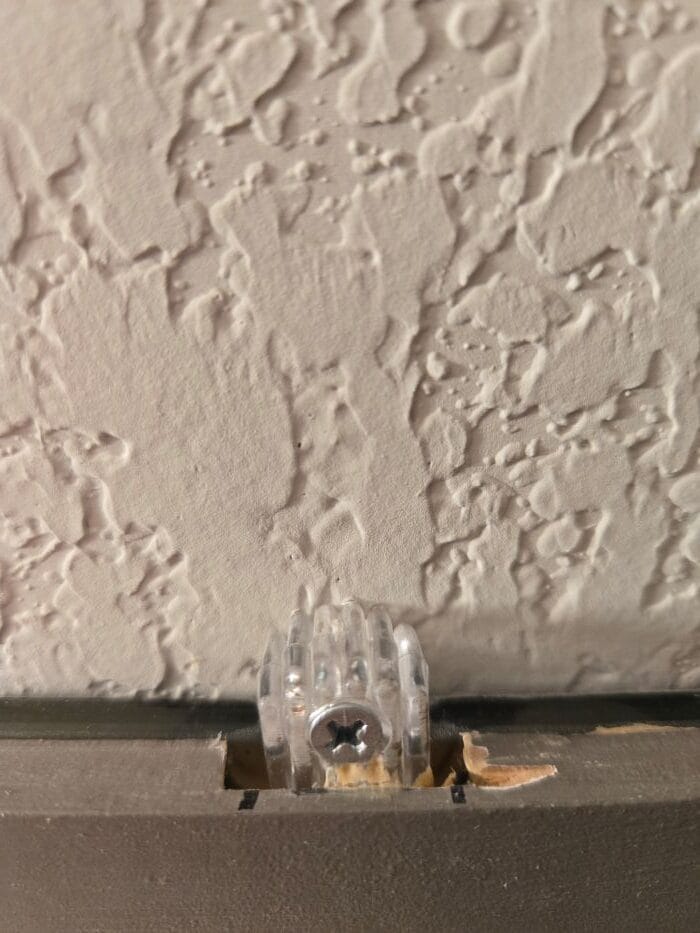
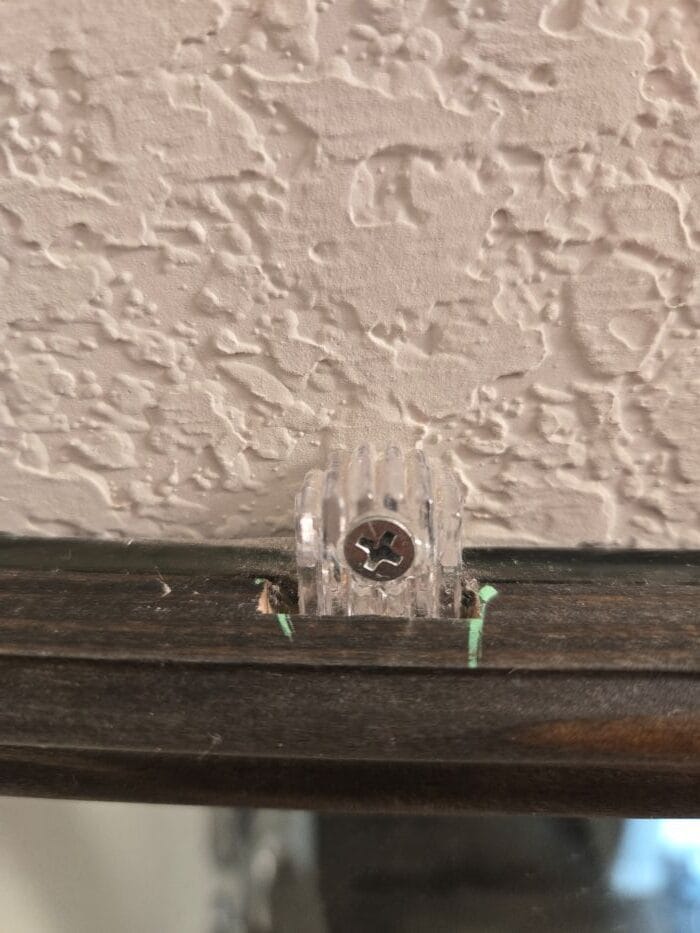
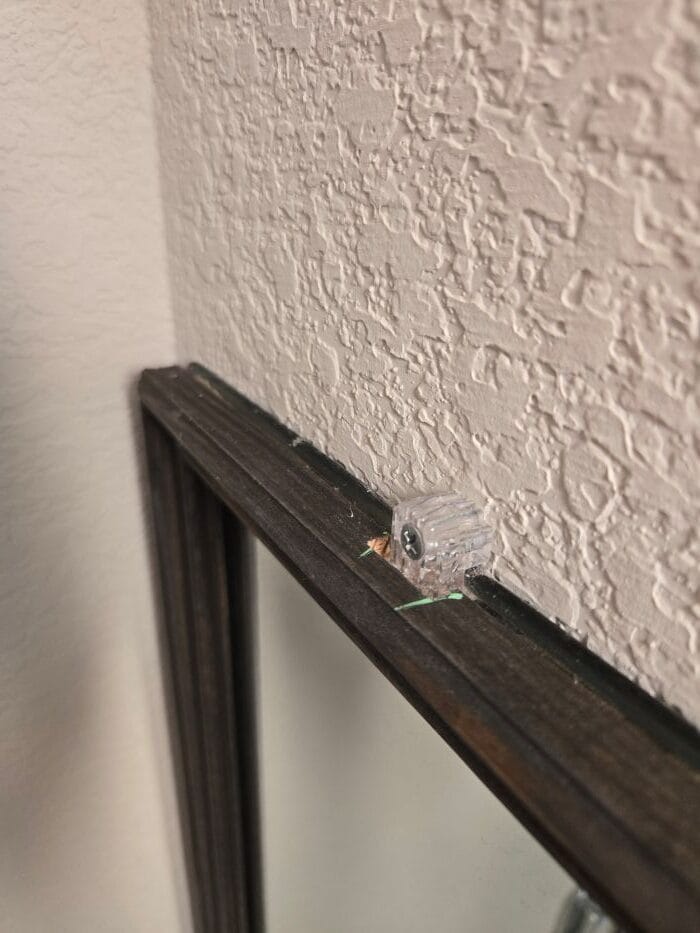
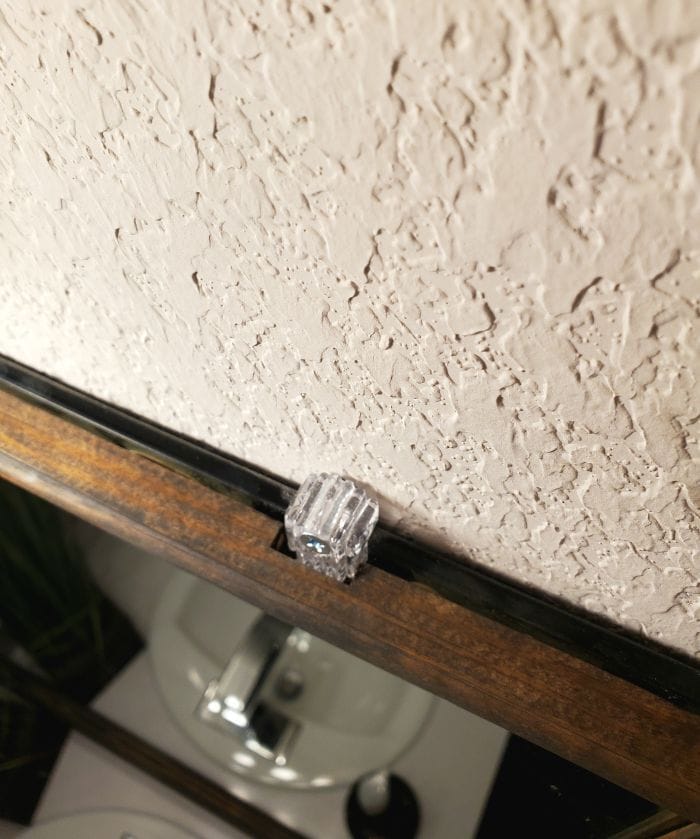
Step 2: Customize for Mirror Clips
Most builder-grade mirrors have small metal clips holding them in place. These clips often overlap the mirror surface. To work around them, I used a router to notch out small sections on the back of the trim. This allowed the trim to sit flush against the mirror.
Step 3: Paint or Stain the Frame
Before installation:
- For the master bathroom, I used a wood stain for a warmer, natural look
- For the secondary bathroom, I simply painted the trim
Let everything dry completely before installing.
Step 4: Attach the Frame to the Mirror
To attach the frame to the mirror I applied adhesive to the outer edge of the trim (to avoid visible glue in the reflection) and pressed each piece onto the mirror one at a time. Additionally, I added a brad nail at each corner for extra stability and to ensure sharp corners.
Note: One thing to keep in mind with this method is that the edges of the mirror are not concealed from the side, since the frame is simply attached to the front surface. If you want a fully wrapped look, you would typically need to use picture frame molding, which is often more expensive. It might be possible to modify standard window trim by routing out the back, but in most cases, the trim isn’t thick enough to achieve a clean result. In my situation, the mirror was installed flush with the backsplash, so there wasn’t enough space to fit a full wrap-around frame anyway. Adjusting the mirror height would have been required—which simply wasn’t worth the effort or the risk of damaging the mirror.
Tip: Originally, I used liquid nails, which worked well for initial hold but after a few years, one trim piece came loose. I reattached it using transparent caulk. This worked even better because it doesn’t reflect visibly in the mirror and so far it holds well.
This small upgrade made a huge difference. Now the mirror feels intentional and finished. It matches the style of the bathroom and looks like a custom installation. And best of all—it cost a fraction of store-bought kits or replacing the mirror entirely.

- After
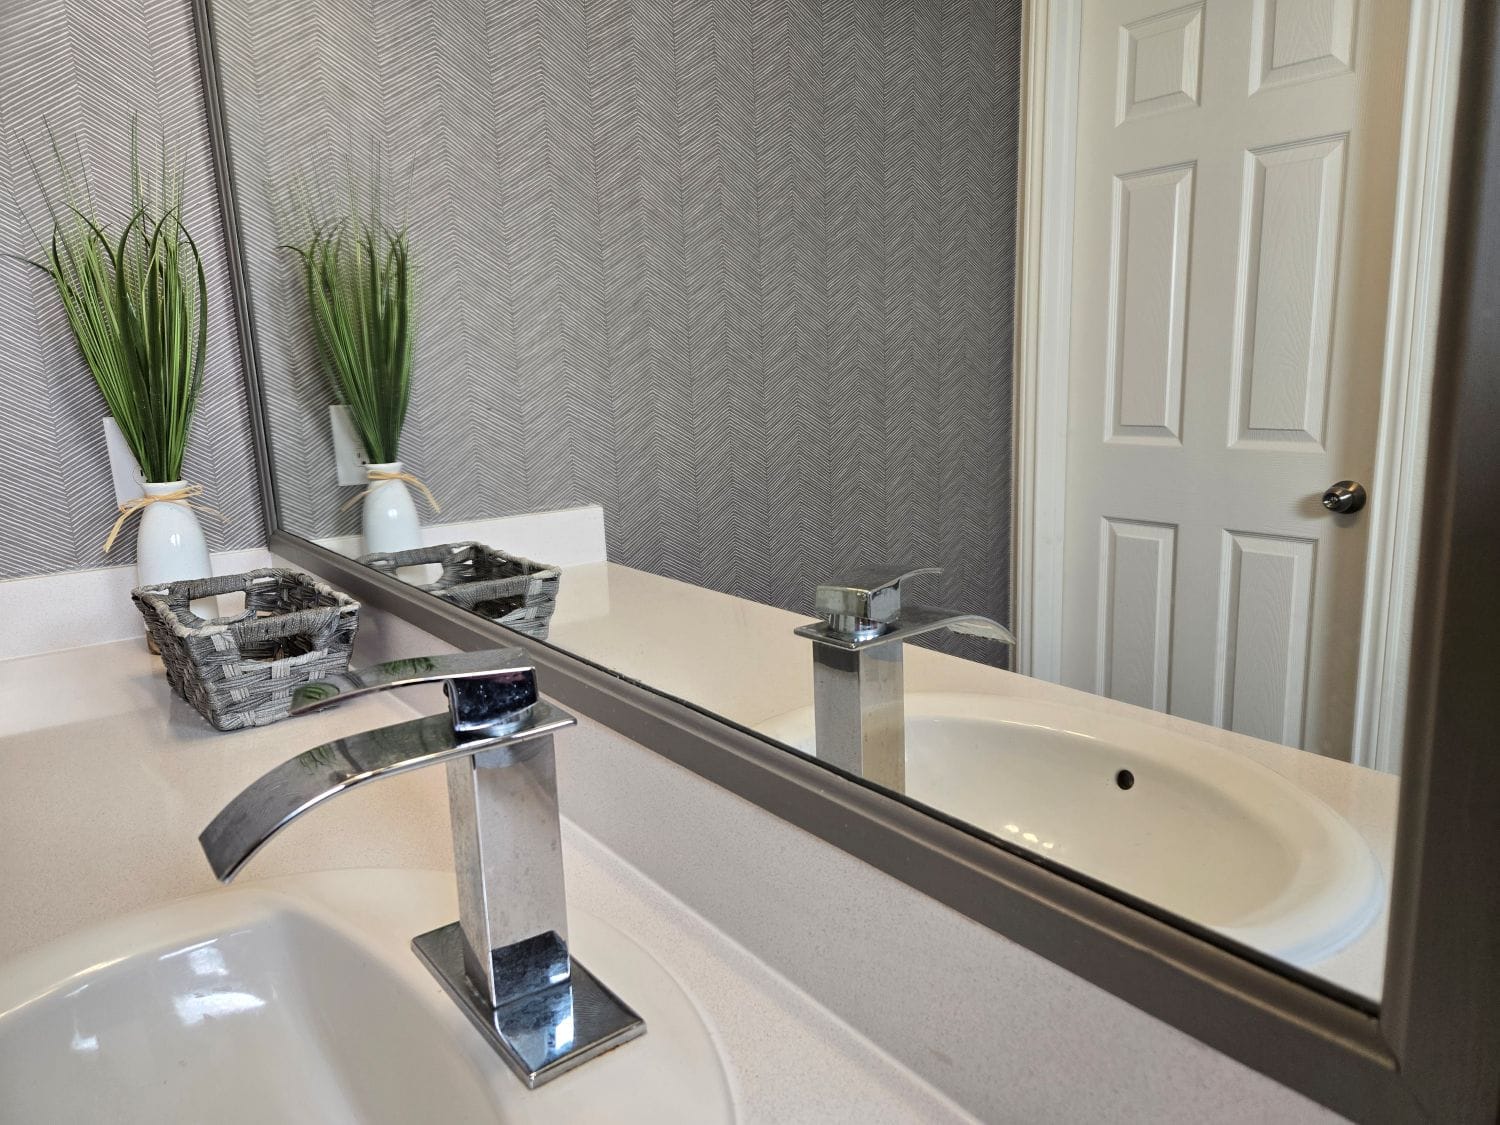
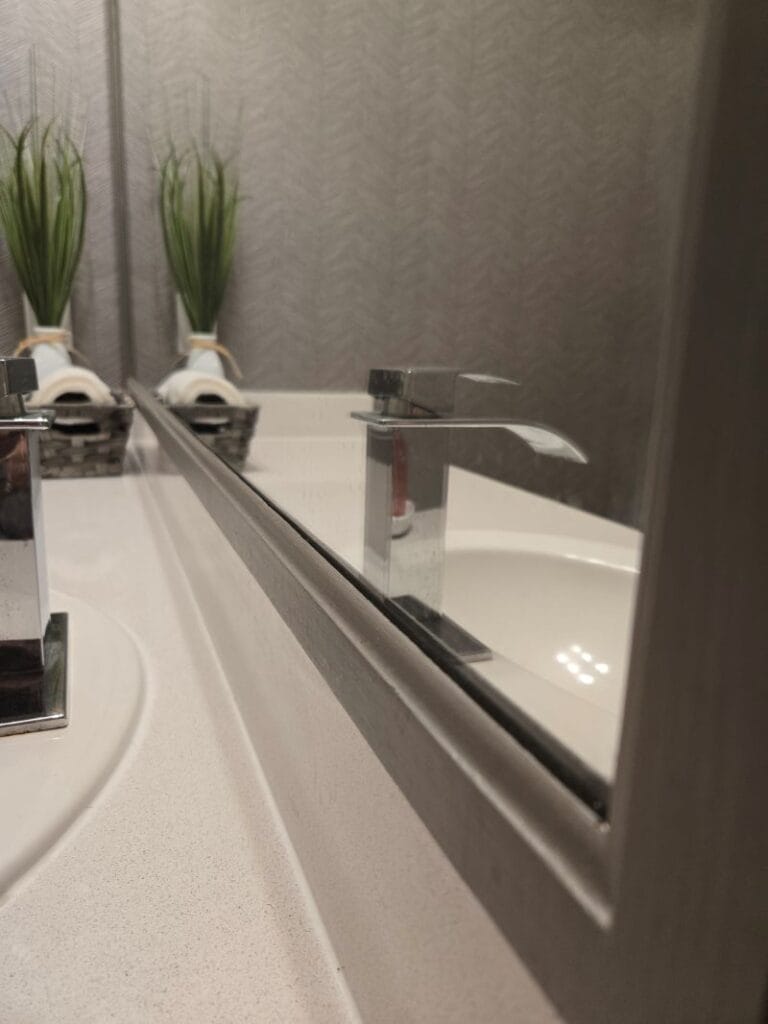
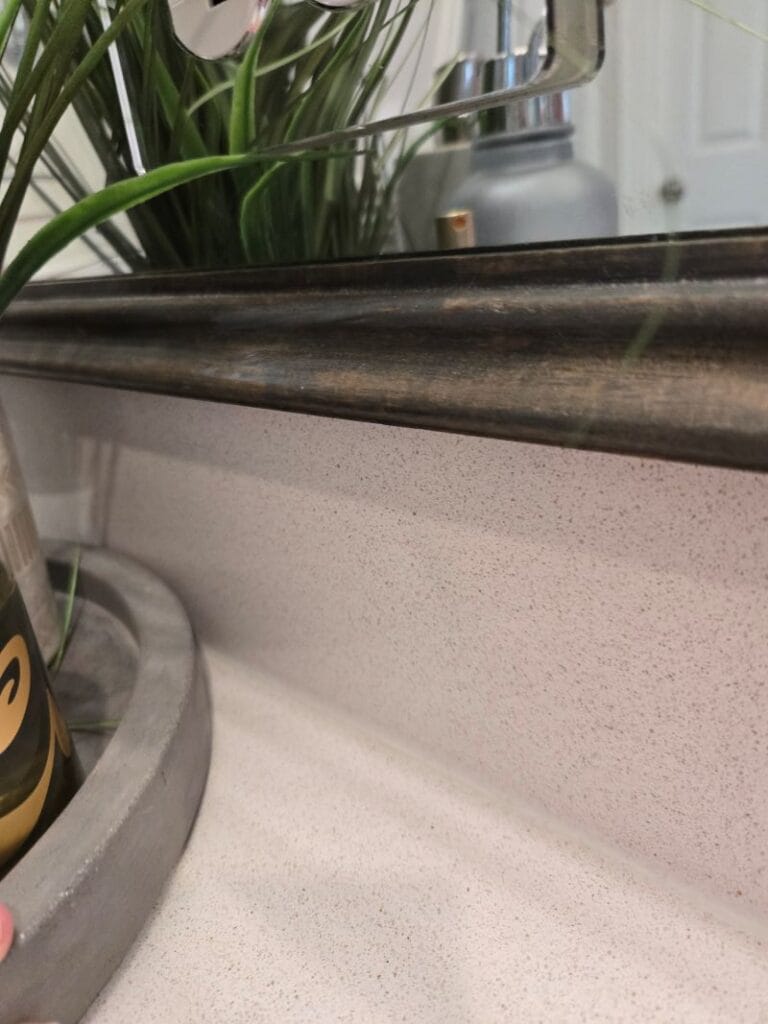
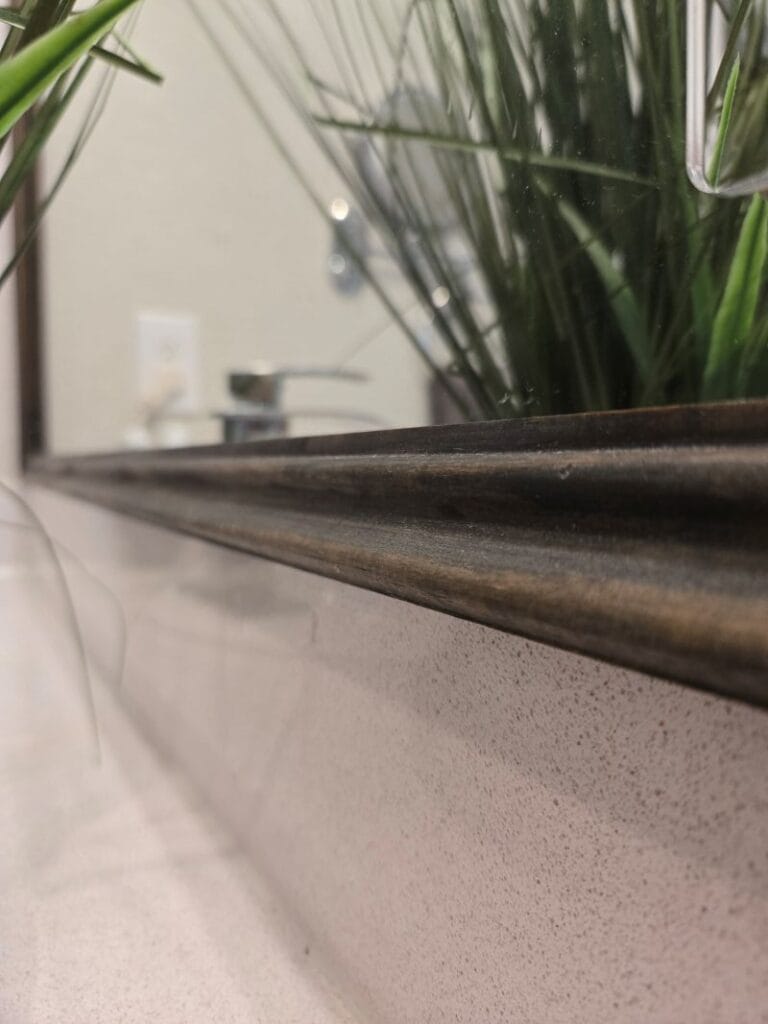 Mirror Frame just above backsplash
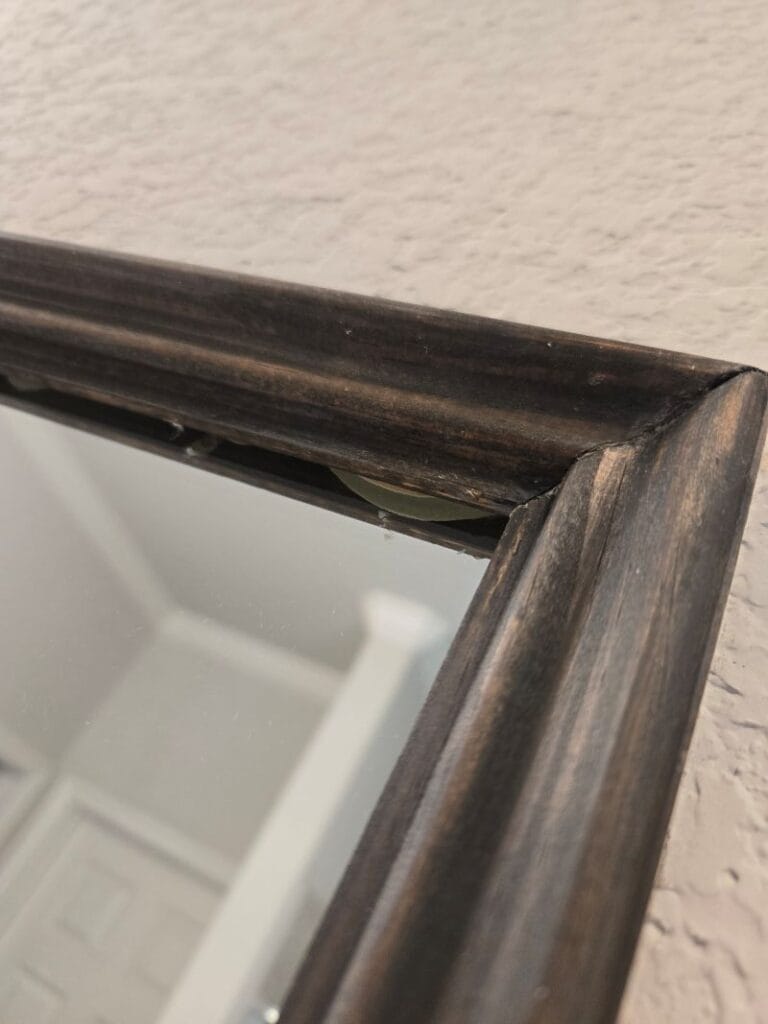 Glue slightly visible
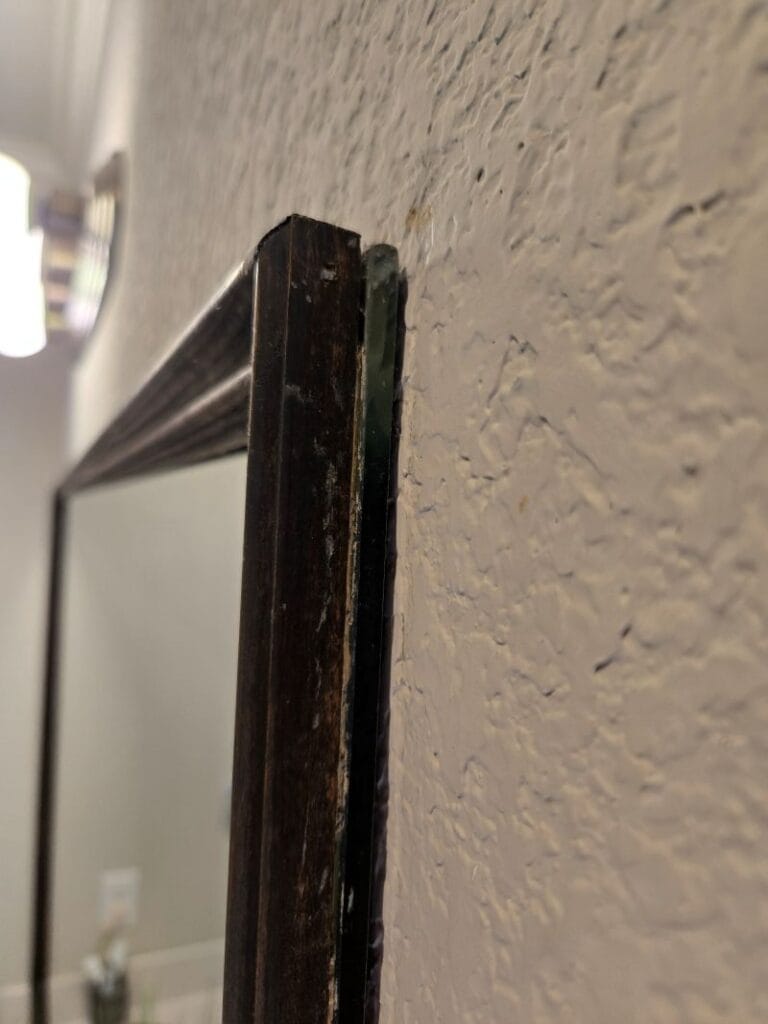 Exposed Mirror Edge from the side
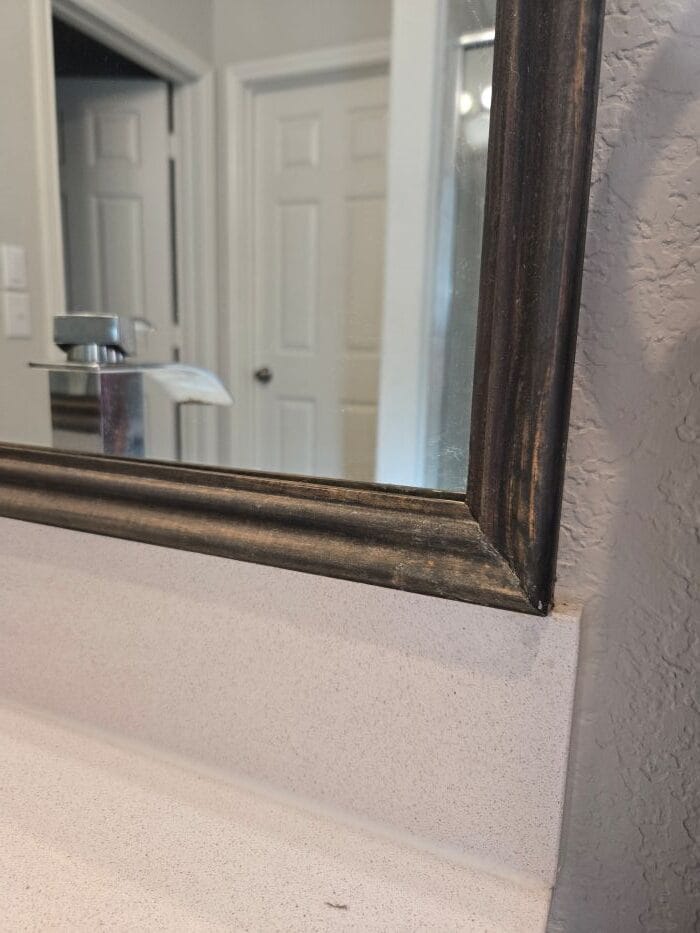
DIY Custom Mirror Frame Q&A, Pro Tips
Q: Do I need to remove the mirror?
A: No, this method works directly on the existing mirror.
Q: Will the frame cover the mirror edges?
A: No, but it’s barely noticeable unless you look closely from the side. Pro Tip: Cut the trim slightly longer than the mirror so it overhangs the edge a bit instead of sitting perfectly flush with it.
Q: Is this renter-friendly?
A: Not ideal, as the trim is glued on—but it’s removable with effort.
Related Projects
Looking for further small upgrades in your home which make a huge difference? Check out my related projects:
- After