How to Build A Recessed Wall Niche
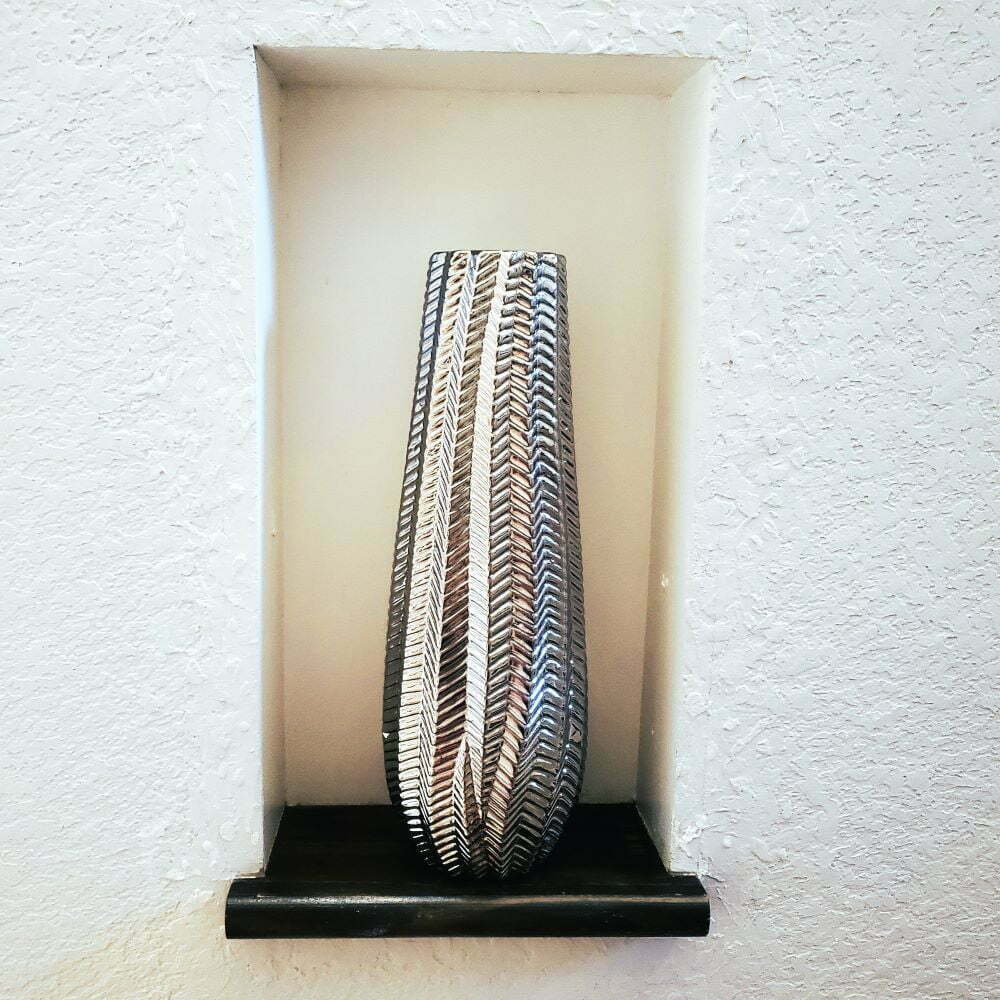
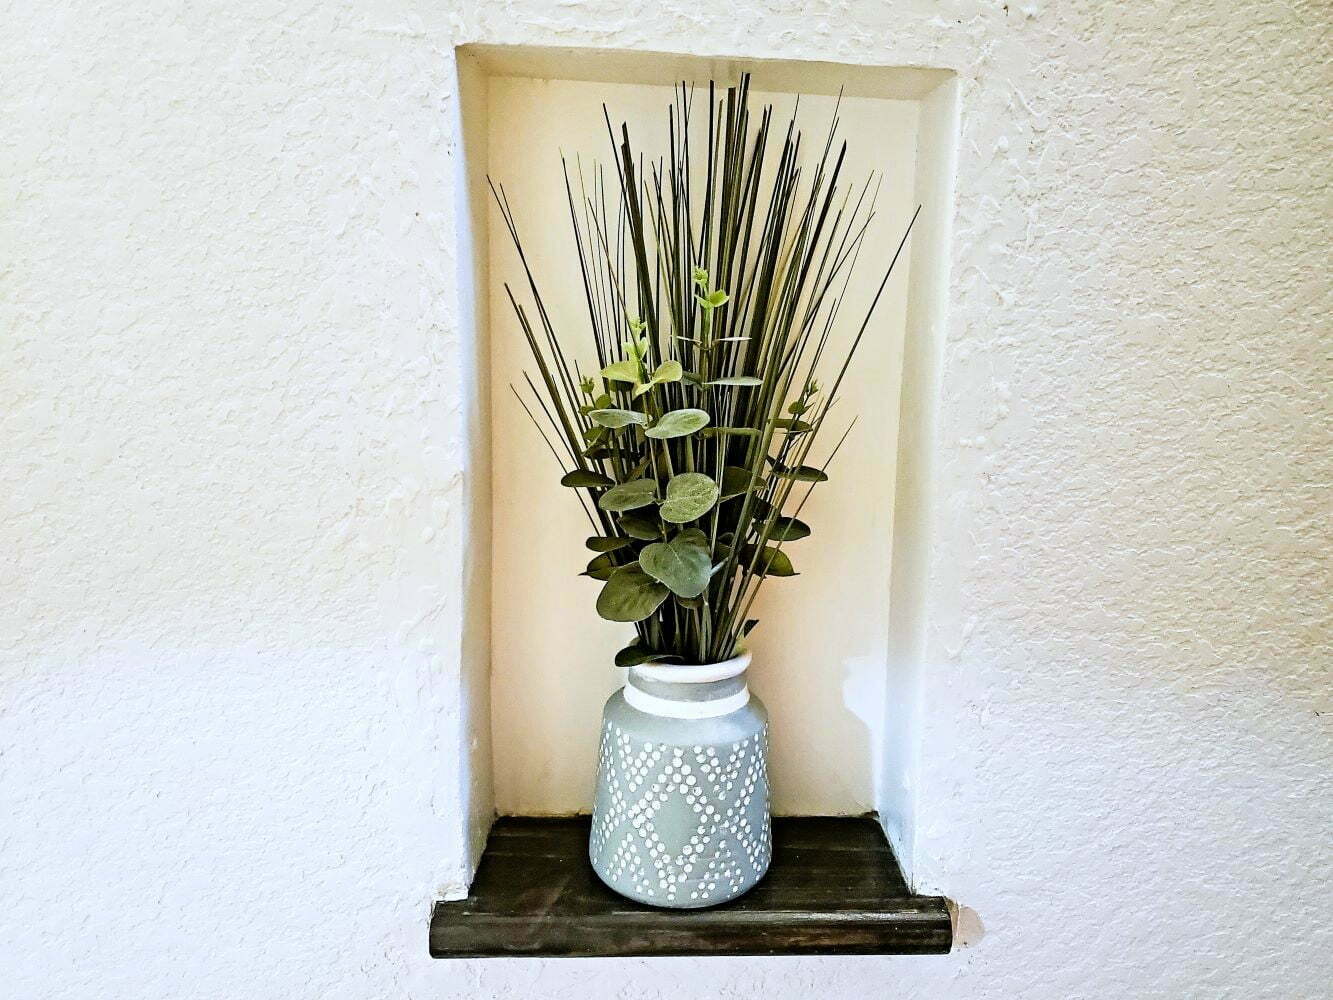
Tight space, boring wall? No problem! With these easy recessed wall niches you can immediately add interest or add storage space out of nowhere. I wanted to add interest to our stairway wall by adding a little wall niche.
Disclaimer: This post contains affiliate links. I may earn a small commission if you make a purchase, at no extra cost to you.
Project Snapshot / Quick Facts
- Skill Level: Beginner/ Intermediate
- Time Required: 1-2 Weekends
- Cost: ~$30
Materials & Tools You Need
Materials
- Scrap wood (for framing)
- Drywall joint compound
- Wood screws
Tools
- Table Saw/ Miter Saw
- Stud finder
- Drill
- Measuring tape
- Putty knife & sanding sponge
- Safety Gear (My pink PPE from Amazon)
Recessed Wall Niches (Step-by-Step)
1. Cut the Hole for the Wall Niche
At first I determined the location of the wall studs with the stud finder and cut a rectangle into the drywall with a drywall knife. I measured exact dimensions of the created hole.
2. Build a Frame
I cut 3 3/4″ wide strips from 1/2″ or 3/4″ plywood (whatever I still had left). The strips are used as the left, right and top panel of the frame and will be completely flush with the wall. Thus, it’s important to cut them wide enough to fill out that wall space.
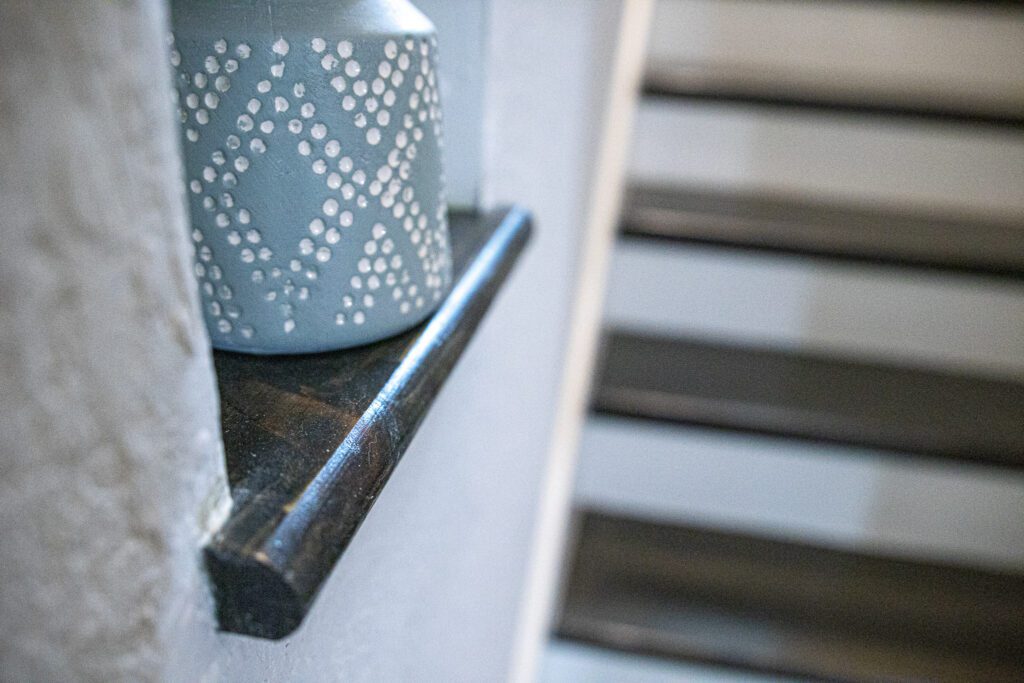
For the bottom piece, I cut a wider 5″ wide board from the stair treads I had leftover from my stair makeover project. The bottom board will not be flush with the wall and will look like a window sill. I stained it to match the new wooden stairs and also applied a coat of Oil-Base Polyurethane for Floors Clear Semi-Gloss (Rust-Oleum Parks PRO Finisher).
Then I assembled all pieces like a frame with the brad nailer. To add stability, I installed a thin 1/8″ MDF panel as the backwall.
3. Install the Frame inside the Wall
When I cut the hole in step one, I made sure I started one side right next to a wall stud. This way, it was easy to attach the frame to it. The frame was narrower than the space between two studs. I added some scrap wood inside the wall to fill the gap between the frame and the next stud. This way, I could simply drill the frame into wood on both sides. I made sure I covered the screws with wood filler.
4. Mud and Paint to Finish the Wall Niche
To hide the wooden frame and make it flush with the rest of the wall, I applied some Easy Sand 45 Minute Lightweight Joint compound. Once dried, I added some knock-down texture with a sponge and a drywall knife to make sure the new recessed niche just blends into the wall. Finally, I painted the wall and frame. Ready, to display some plants, sculpture are artwork in the recessed niche.
Related Projects
Looking to further upgrade your walls? Check out my related projects:
- DIY Recessed Wall Niches with LED Lights: Brighten a Dark Hallway on a Budget
- Modern Wainscoting Accent Wall
Shop the Look
Get inspired and shop the look.