Outdoor DIY Fire Pit on a Budget: Create a Cozy Backyard Gathering Space
A wood-burning DIY fire pit is one of those backyard upgrades that instantly creates a warm, inviting gathering space. Whether you’re hosting friends or just relaxing in the evening, it adds both function and charm. The best part? You don’t need to spend thousands to get that custom look.
With a bit of planning and some budget-friendly materials, we built our own outdoor DIY fire pit area from scratch—and it quickly became one of our favorite spots in the yard.
Disclaimer: This post contains affiliate links. I may earn a small commission if you make a purchase, at no extra cost to you.
Project Snapshot / Quick Facts
- Skill Level: Beginner
- Time Required: 1-2 Weekends
- Cost: ~$150-400
Materials & Tools You Need for Building a DIY Fire Pit
Materials
- Fire bowl (approx. 30”)
- Retaining wall blocks (limestone or concrete)
- Gravel (about 1 cubic yard)
- Concrete mix (for border)
- Sand (for leveling)
- MDF strips (for concrete form)
Tools
- Spray paint
- Shovel
- Level
- Table saw (for cutting MDF strips)
- Stakes (Scrapwood)
- Wheelbarrow (optional)
- Safety Gear (My pink PPE from Amazon)
Building a DIY Fire Pit (Step-by-Step)
Step 1: Mark the DIY Fire Pit Area
Start by defining the layout of your fire pit space.
- Placed a stake in the center of the desired area
- Attached a rope and used it as a guide
- Spray-painted a perfect circle on the lawn
We chose:
- ~14 ft diameter for the full seating area
This step helps visualize the final space and keeps everything symmetrical.
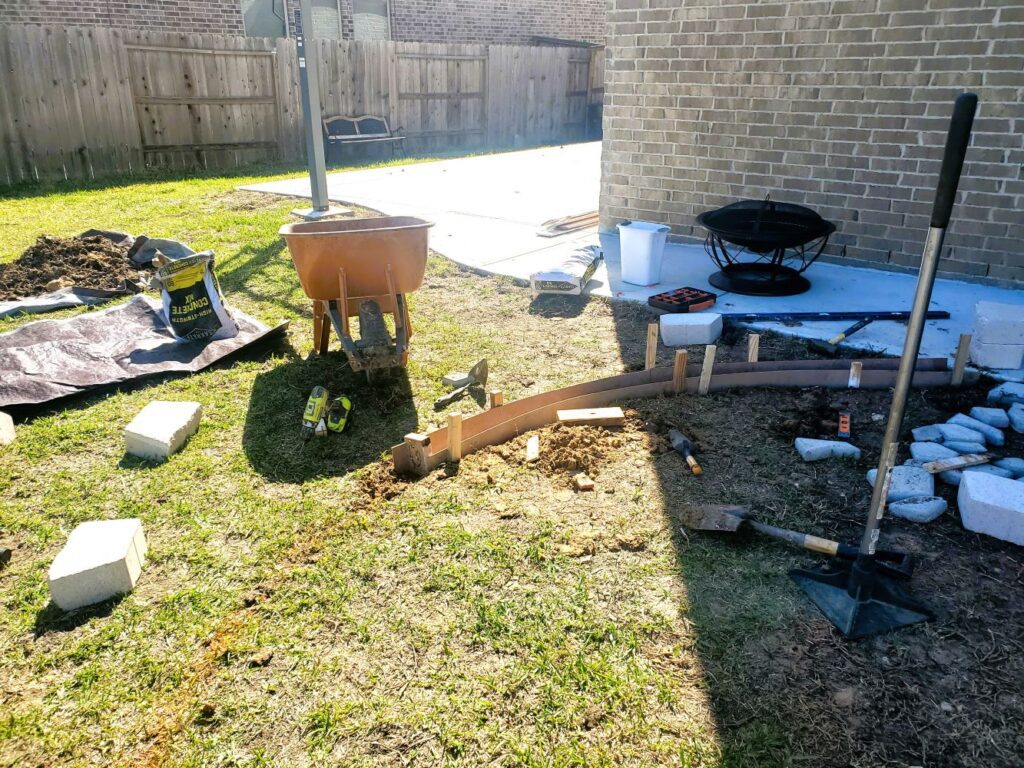
Step 2: Build a Concrete Border
To contain the gravel and define the space:
- Cut MDF panels into thin strips using a table saw
- Formed a circular mold along the spray-painted line
- Secured the mold using stakes
Then:
- Mixed and poured concrete into the mold
- Worked section by section for better control
This created a clean, durable border that holds everything in place.
Tip: Keep the mold level to ensure an even, professional-looking edge.
Step 3: Level the Ground & Prep the Base
Before installing the DIY fire pit:
- Marked the exact center of the circle
- Added a layer of sand to level the ground
- Smoothed everything out using a level
A solid, level base is key for both safety and appearance.
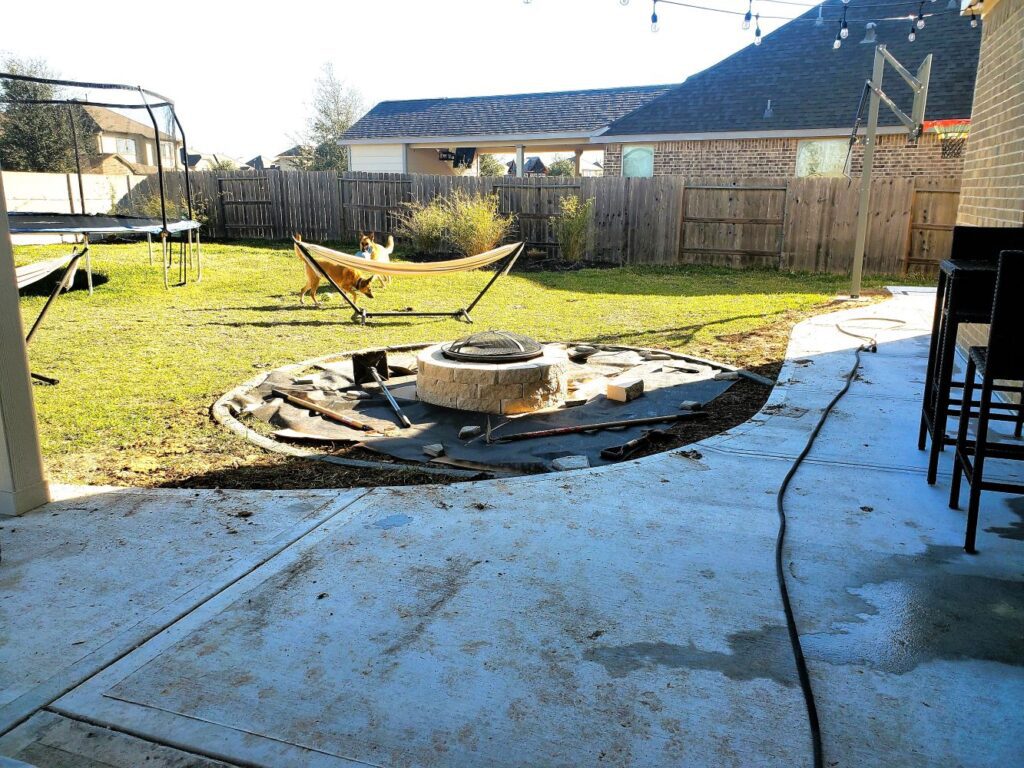
Step 4: Build the DIY Fire Pit Structure
For the main fire pit:
- Used a 30” fire bowl as the core
- Placed it at the center
Then built around it using:
- Limestone retaining wall blocks
Details:
- Approx. 33 blocks total
- Stacked in 3 rows around the bowl
This creates a permanent, clean look while still keeping the fire contained safely.
Tip: You can often find fire bowls secondhand to save even more money.
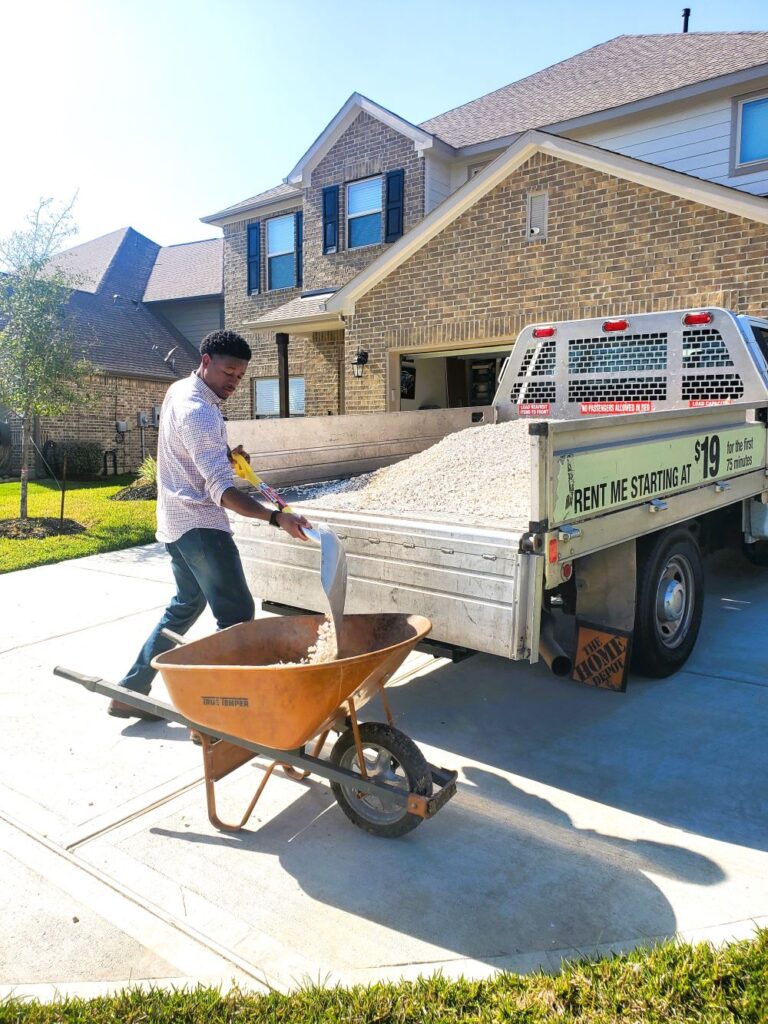
Step 5: Fill the Area with Gravel
To complete the space:
- Filled the entire circle with limestone gravel
- Used about 1 cubic yard total
Why gravel?
- Budget-friendly
- Provides drainage
- Adds texture and contrast
To save money:
- Rented a flatbed truck
- Picked up gravel from a local supplier instead of buying bags
This made a big difference in overall cost.
What I learned (important!):
Originally, we installed landscaping fabric underneath the gravel to prevent weeds and grass growth. While it helped initially, over time weeds and grass still pushed through—and it turned into constant maintenance.
So I changed the approach and added a thin layer of concrete underneath the gravel. This made a huge difference: No more weeds or grass growing through and almost zero maintenance now!
At first, I was concerned about drainage, especially during heavy rain. But even with torrential downpours, we’ve never had standing water—so it turned out to be a great long-term solution.
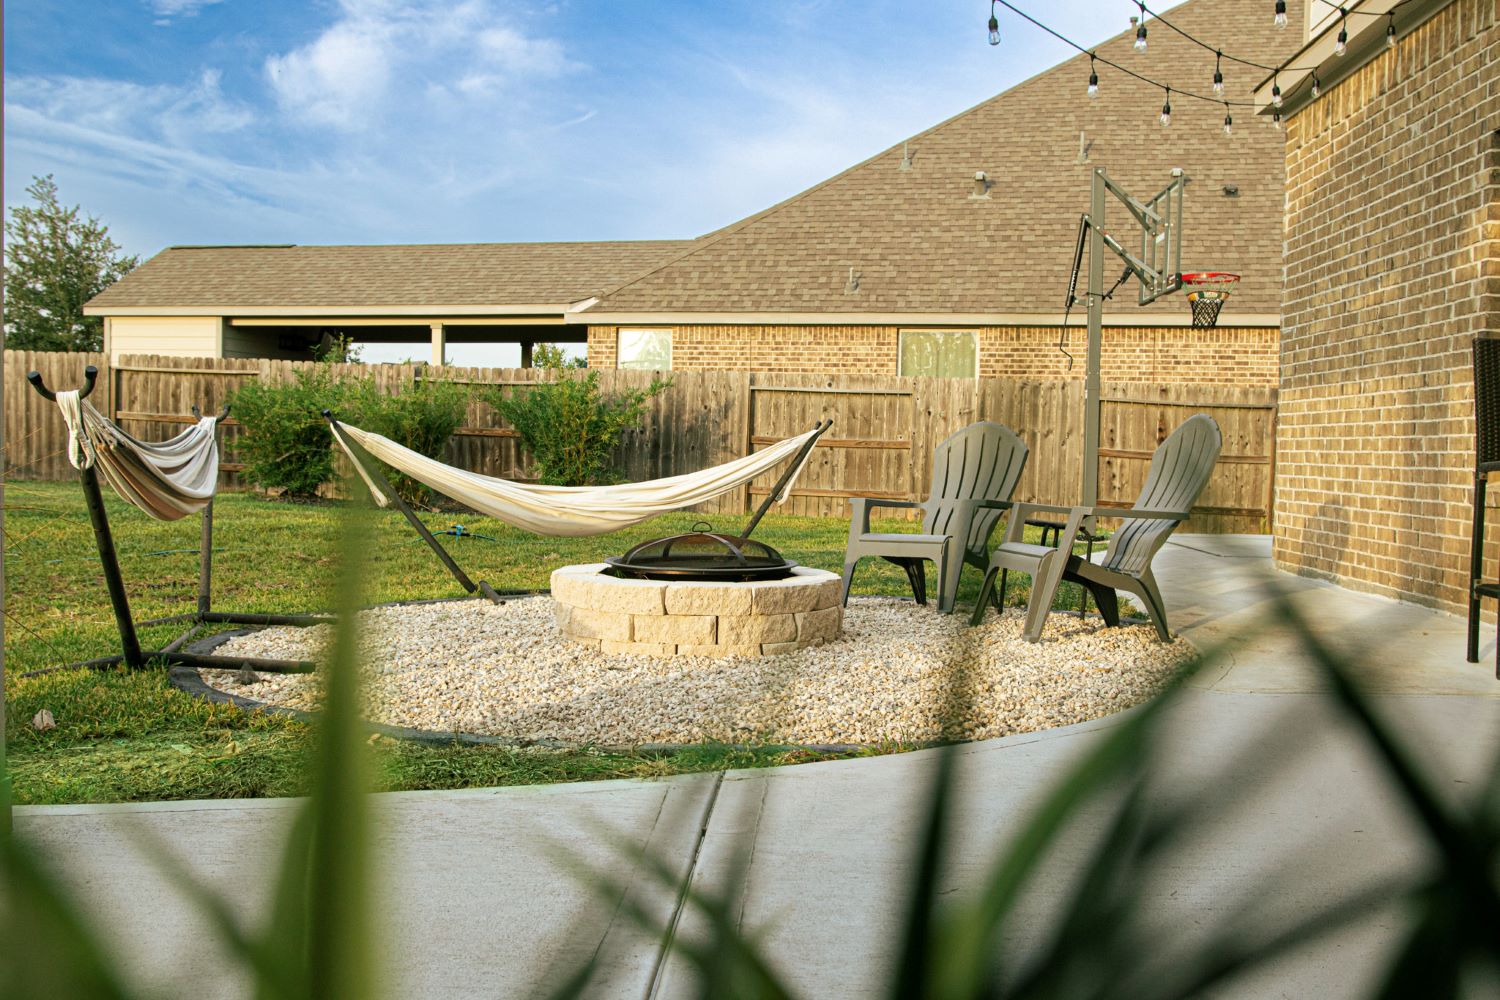
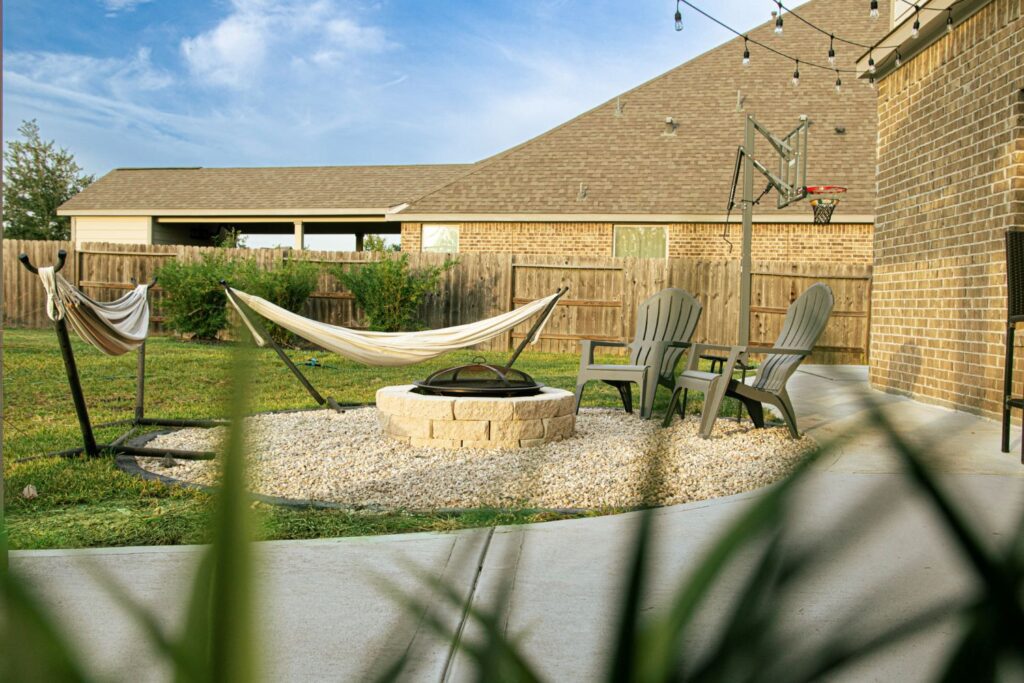
Step 6: Add Seating & Style the Space
To turn the DIY fire pit into a true hangout area:
- Placed Adirondack chairs around the pit
- Added hammocks nearby for extra lounging space
Now the area works with a fire or just as a casual seating zone.
This fire pit completely changed how we use our backyard.
Now we have:
- A dedicated entertaining space
- A cozy place to relax year-round
- A visually appealing backyard feature
Even when it’s not in use, it adds structure and character to the yard.
DIY Custom Desk Q&A, Pro Tips
Q: Do I need a fire bowl?
A: Not necessarily, but it helps with safety and structure.
Q: Can I use pavers instead of gravel?
A: Yes, but they are more expensive and still require a base layer.
Q: How big should a fire pit area be?
A: Around 12–14 ft diameter works well for seating.
Q: Is this safe for wood burning fires?
A: Yes, when built with proper materials and spacing. Always make sure to follow local code and permit requirements.
Related Projects
Looking to upgrade your outdoor living area? Check out my related projects:
- Things to Consider when Building a Patio Cover on a Budget
- Best Affordable Patio Entertainment Ideas (Backyard Must-Haves)
- How to Install a French Drain (Torrential Rain Drainage Solution)