Easy, Cheap DIY Garage Shelves and Organization
Garages, sheds, and basements are lifesavers when it comes to storing all the things we don’t need every day. Seasonal decorations, lawn equipment, tools, paint leftovers, and random home project supplies all need a place to live.
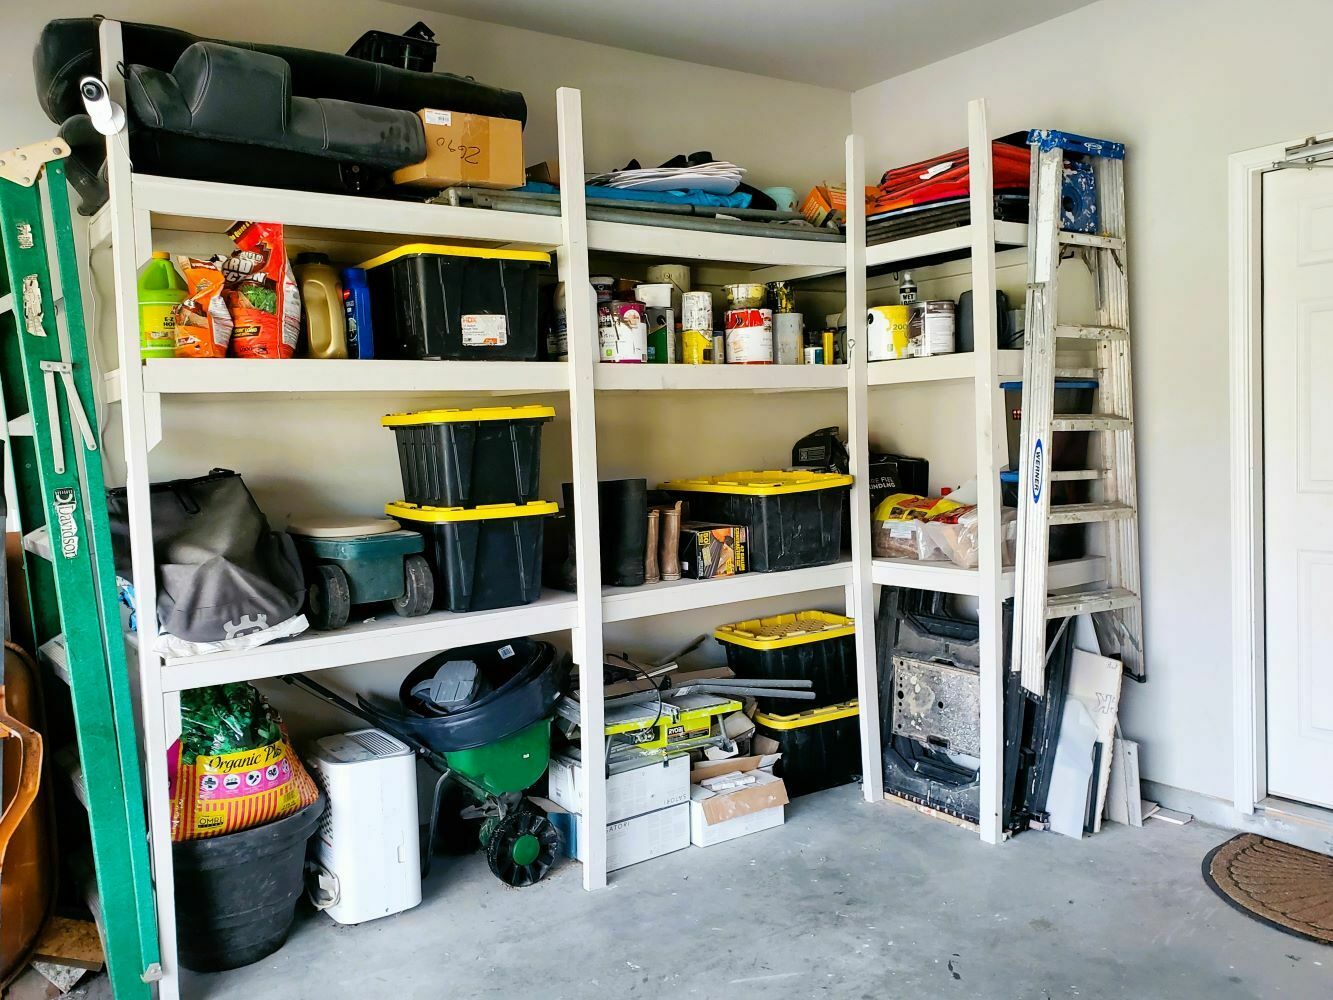
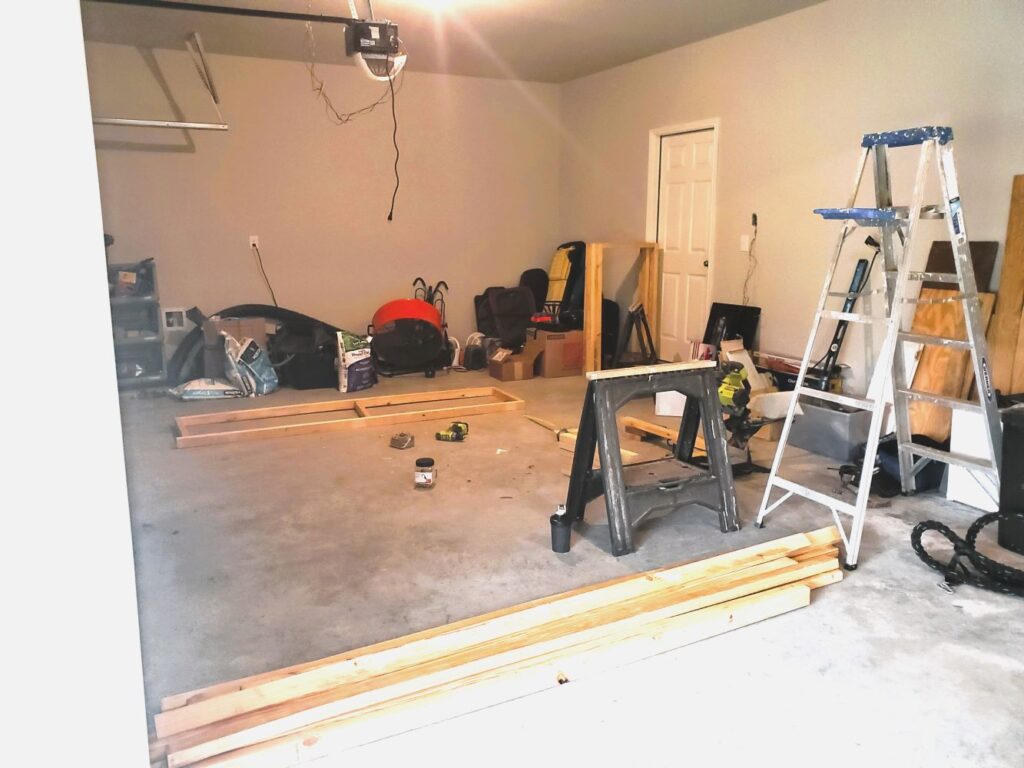
When we moved into our new home, we were excited about having a large three-car garage. But it didn’t take long before that space became exactly what garages tend to become: a growing pile of clutter with no real organization.
I needed a storage solution quickly, and since this was one of my first projects in the new house, I decided to build my own garage shelves.
Store-bought garage cabinets and shelving systems are available everywhere, but they often come with limitations. I wanted something strong, customizable, and built around my exact storage needs. Most importantly, I didn’t want to spend hundreds or thousands of dollars just to organize a garage.
So I built my own heavy-duty garage shelving system completely by myself using affordable materials.
Disclaimer: This post contains affiliate links. I may earn a small commission if you make a purchase, at no extra cost to you.
Project Snapshot / Quick Facts
- Skill Level: Beginner
- Time Requires: 1-2 Weekends
- Cost: ~$200-$300
Material & Tools List
Materials
- 2×3 lumber for shelf frames
- 3/4 inch plywood for shelf surfaces
- Long wood screws for wall attachment
- Smaller wood screws for plywood attachment
- Wood filler
- Paint (Agreeable Gray)
- 2×6 boards for tool storage
- Heavy-duty garage hooks
Tools
- Stud finder
- Laser level
- Drill/impact driver
- Circular saw
- Orbital sander
- Measuring tape
Planning the Garage Shelves
Before building anything, I first thought about what I actually needed to store. The goal was not just to create shelves—it was to create a system that made sense.
I wanted:
- Strong shelves that could hold heavy storage bins
- A custom size that fit the garage layout
- Solid shelf surfaces instead of wire racks
- Enough depth for larger boxes and equipment
- Maximum use of available materials
The long wall allowed me to create:
- 8-foot-long shelves
- Additional 4-foot shelves around the corner
I chose these measurements because they allowed me to maximize the use of standard 8-foot lumber.
Step-by-Step: DIY Garage Shelves
Building the Frames
For the structure, I used 2×3 studs to create the shelf frames.
Each shelf was designed to be:
- 24 inches deep
- Strong enough for large storage containers
- Wide enough to use plywood efficiently
The 24-inch depth worked perfectly because one standard 4×8 plywood sheet could be cut efficiently with minimal waste.
To prepare for installation:
- I located the wall studs using a stud finder
- Marked their locations
- Used a laser level to make sure every shelf would be perfectly aligned
The shelves would later be secured directly into the wall studs for maximum strength.
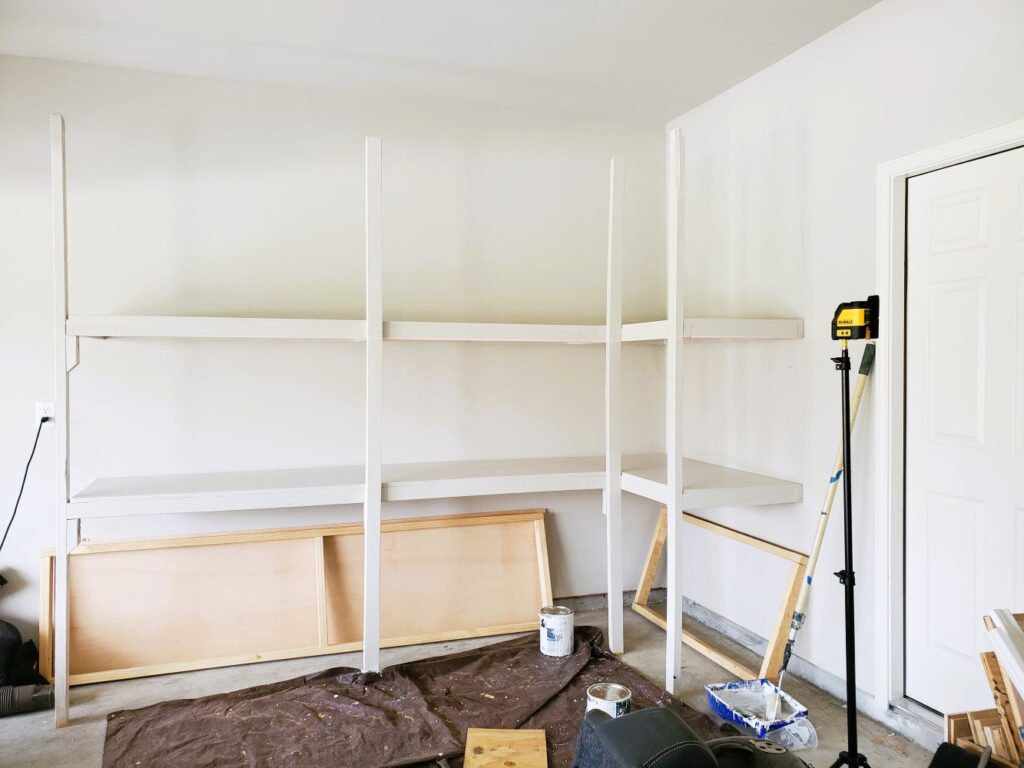
Installing the Garage Shelves
The first shelf was definitely the hardest because I was working alone.
I had to:
- Hold the frame in place
- Attach the legs
- Keep everything level
- Secure it to the wall
To make this easier, I temporarily attached one leg to the frame so it could support itself while I secured the shelf to the wall.
Once the frame was attached:
- I adjusted the legs to the exact height
- Added additional screws and support blocks
- Installed the plywood surface on top
Using the laser level throughout the process made a huge difference and helped keep everything straight.
Custom Shelf Heights for Maximum Storage
One of the biggest advantages of building shelves yourself is being able to customize the spacing. I designed each shelf height based on what I wanted to store.
The first shelf was installed around 34 inches high, allowing enough room underneath for larger and heavier items.
The second shelf was spaced around 29 inches above it, which allowed two standard storage bins to fit perfectly.
The top shelf had a smaller 17-inch spacing, which worked well for smaller containers and frequently used items.
Instead of adjusting storage to fit the shelves, I built the shelves around my storage.


Adding the Plywood Shelf Surface
For the shelf tops, I used 3/4-inch plywood.
I considered using OSB because it was slightly cheaper, but I chose plywood because:
- It has a smoother finish
- It looks cleaner
- It is more durable
After installing the plywood:
- Sanded rough edges
- Filled small gaps with wood filler
- Prepared everything for paint
A simple finishing step made the shelves look much more intentional.
Finishing the Shelves
To create a cleaner built-in appearance, I painted the shelves using Agreeable Gray to match the garage walls. This small detail made the shelves blend into the space instead of looking like a temporary storage solution. The result was a custom garage storage system that looked much more expensive than it actually was.
Adding Long-Handled Tool Storage
Shelves solved the storage problem for boxes and containers, but I still needed a better solution for long tools. Shovels, rakes, garden tools, and other equipment were taking up valuable floor space. For this, I reused leftover 2×6 lumber. I painted the board to match the shelves and attached it directly into wall studs. Then I added heavy duty garage hooks from Amazon.

This was one of the first projects I completed in our new home, and it immediately made a huge difference. Instead of digging through piles of boxes, everything now has a place. The garage became more organized, easier to maintain and more functional for future DIY projects.
The best part is that the shelves were built specifically for our needs, using affordable materials and a little creativity.
Q&A, Pro Tips
Q: Are DIY garage shelves strong enough for heavy storage bins?
A: Yes. When built with proper framing and attached securely into studs, they can hold significant weight.
Q: Why use plywood instead of OSB?
A: Plywood provides a smoother finish and better durability, although OSB can be a cheaper alternative.
Q: Can one person build garage shelves alone?
A: Yes, although the first installation step is easier with a second person helping hold materials.
Related Projects
Tired of chaos and lack of storage? Take a look at the budget-friendly storage solutions we’ve added around our home.
- DIY Pantry Makeover: From Builder-Grade Shelves to a Smart, Space-Saving Storage System
- How to Build a Mudroom Under the Stairs (Step-by-Step)
- DIY Custom Closet on a Budget: Build a Built-In Closet from Scratch
Shop the Look
Add garage organization solutions with my favorite Amazon finds