Earthy Home Office Makeover: DIY Wooden Slat Wall That Transformed the Space
This room started as a very typical home office problem: a large blank wall, a desk with big screens that felt visually lost, and absolutely no warmth. I wanted the space to feel earthy, cozy, and creative—somewhere I actually enjoy spending long workdays.
The wooden slat wall became the foundation of the transformation, but it wasn’t the only element. The real challenge was figuring out how to balance large monitors on a wide wall without making everything feel disconnected. The solution ended up being a mix of texture, scale, and meaningful art—and the result is a home office that feels modern, relaxed, and completely intentional.
Disclaimer: This post contains affiliate links. I may earn a small commission if you make a purchase, at no extra cost to you.
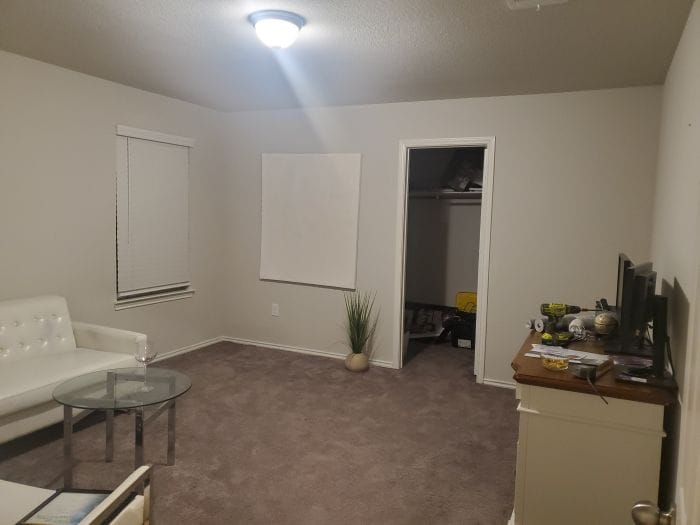 Office Before
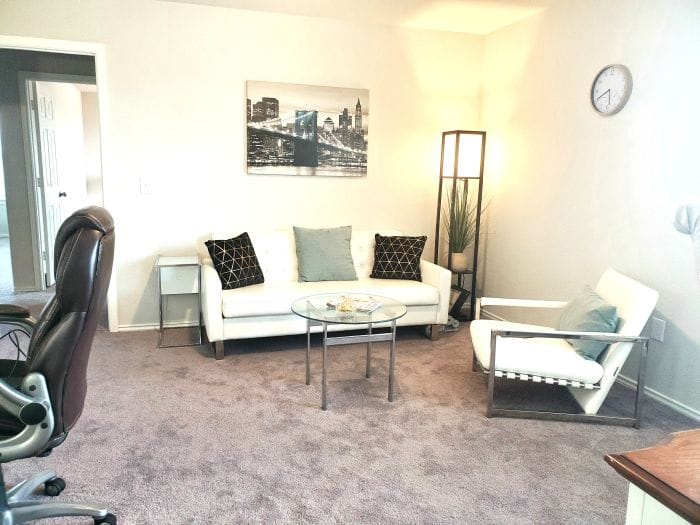 Office Before
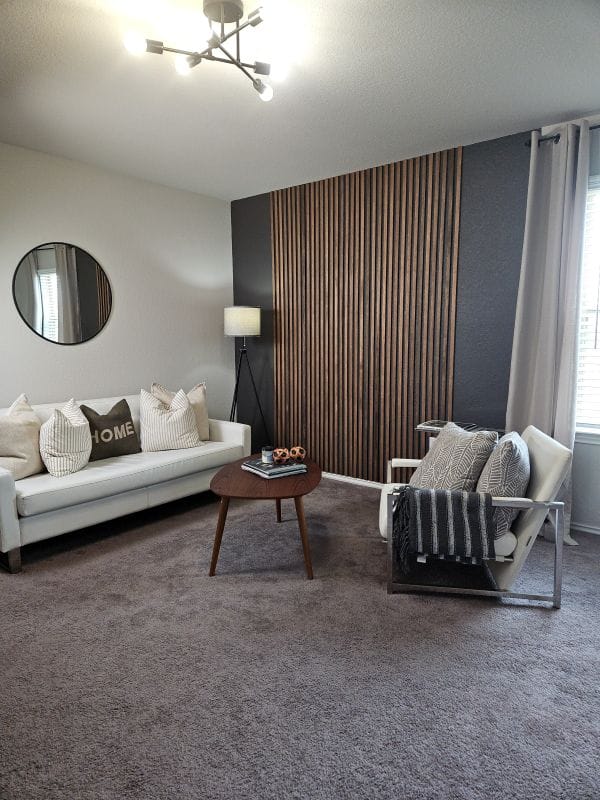 Office After
Project Snapshot / Quick Facts
- Skill Level: Beginner
- Time Requires: 1-2 Weekends
- Cost: ~$200
Material & Tools List
Materials
- 1/2″ Plywood sheet
- Wood stain (Here Ebony and Dark Walnut from Varathane)
- Sanding Pads
- Brad nails
- Wood Glue
- Wood Putty
Tools
- PPE (Hearing Protection, Gloves, Safety Glasses). Get my favorite (Pink) PPE from Amazon
- Line Laser Level (Amazon)
- Studfinder (Amazon)
- Table Saw
- Sanding block
- Orbital Sander
- Nail Gun
- Drill
Step-by-Step: Home Office Transformation with Slat Wall
Design Goal: Creating an Earthy, Cozy Home Office
The vision for this office was clear:
- Warm wood tones
- A grounded, earthy color palette
- Black-and-white artwork for contrast
- Natural greenery for softness
Most importantly, I wanted everything to feel connected—no wall left feeling like an afterthought.
Step 1: Building the Wooden Slat Accent Wall
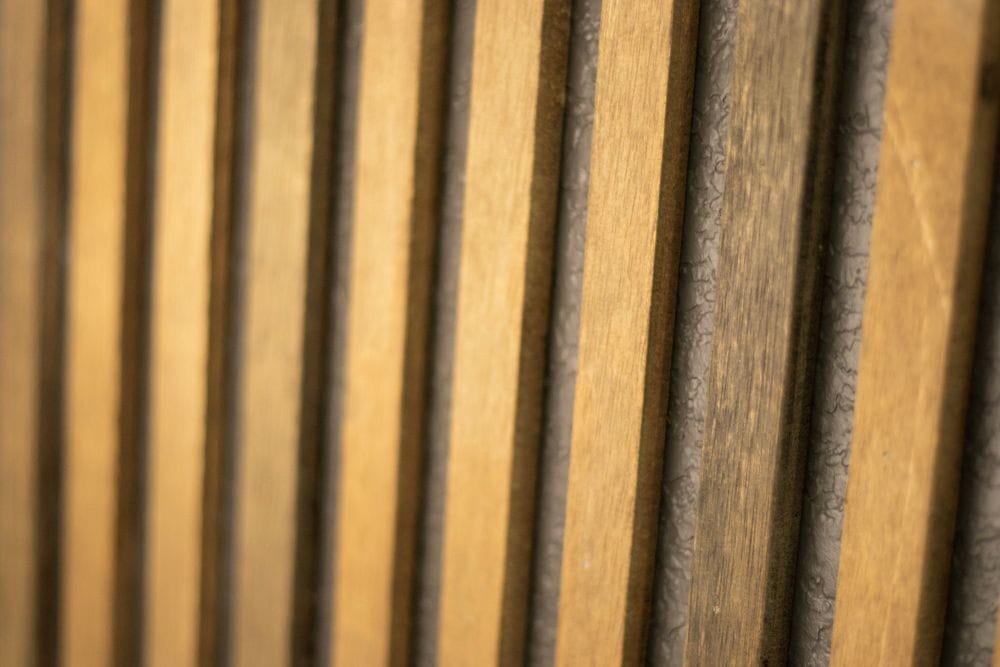
To achieve the warmth I was after without blowing the budget, I used 1/2″ birch plywood, ripped into 1″ wide slats on the table saw. Hardwood slats would have been beautiful, but plywood made this project affordable while still delivering the same visual impact. After cutting, I sanded all edges lightly with an orbital sander to remove splinters and rough spots.
💡Pro Tip: At the time of this project, the only tool I had was a table saw. Ripping a full 4′ × 8′ sheet of plywood by yourself is extremely difficult, so I highly recommend breaking sheets down into 2′ × 8′ sections and having a second person help guide the cut to keep it straight. I’ve since invested in a track saw—something I honestly wish I had done much earlier in my DIY journey. It would have saved me a ton of frustration from uneven, less-than-ideal cuts. If you’re dealing with the same struggles, I strongly recommend investing in a track saw like this Kreg saw with a track. Trust me—you’ll never want to use a circular saw again.
Step 2: Staining Slats for Depth and Character
I started staining with Varathane Dark Walnut, but quickly realized it felt too dark and cool against the deep wall color. For the remaining slats, I switched to Varathane Early American, which added warmth and balance.
💡Pro Tip: Using two stain tones turned out to be a happy accident—it gave the wall more depth and a natural, layered look rather than something overly uniform.
Step 3: Painting the Back Wall
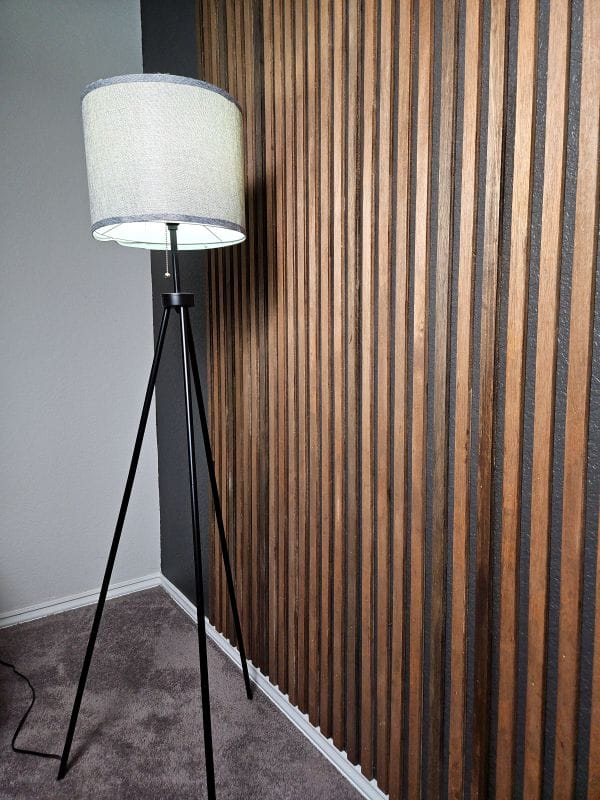
While the slats dried, I painted the wall in Urban Bronze (SW 7048). This dark, earthy backdrop allowed the wood tones to really stand out without overpowering the room.
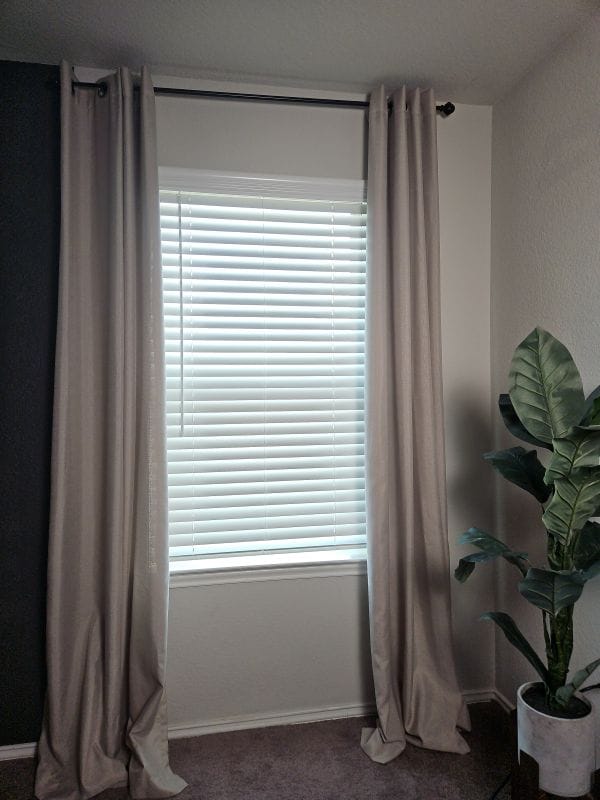
Around the window, I softened the look by keeping Agreeable Gray (SW 7029) and aligning the paint transition behind the curtains for a seamless finish.
Step 4: Installing the Slats
Because I didn’t have enough slats to cover the entire wall with wide spacing, I centered the design instead—leaving negative space on both sides. I left a space of about 3/4″ between the slats. Installation was done using heavy-duty construction adhesive and a brad nailer, with a laser level to ensure everything stayed straight.
This step alone completely changed how the room felt.

Step 5: Tying in the Desk & Large Screens
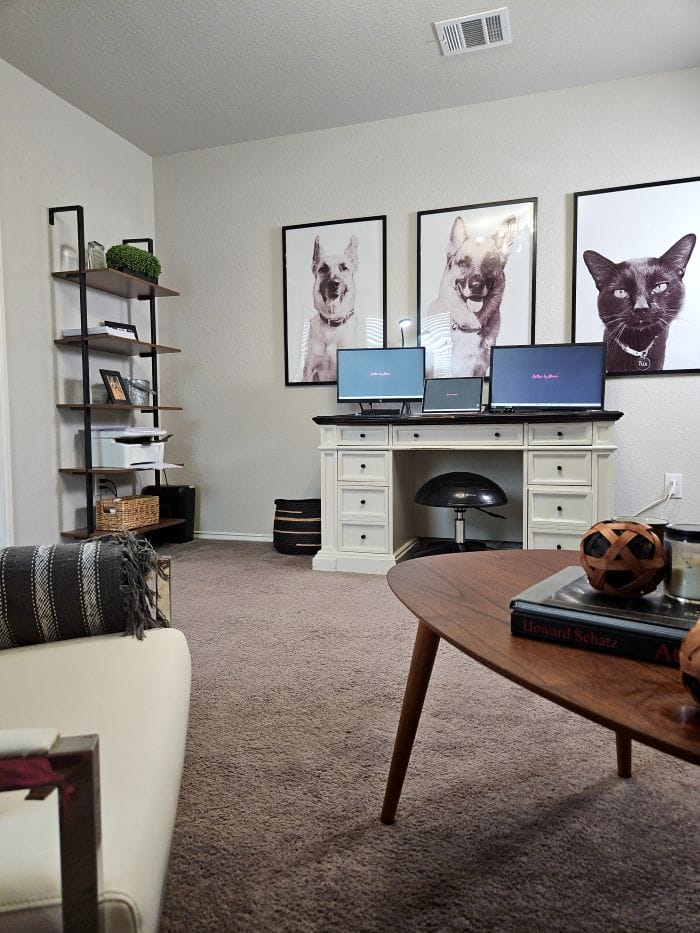
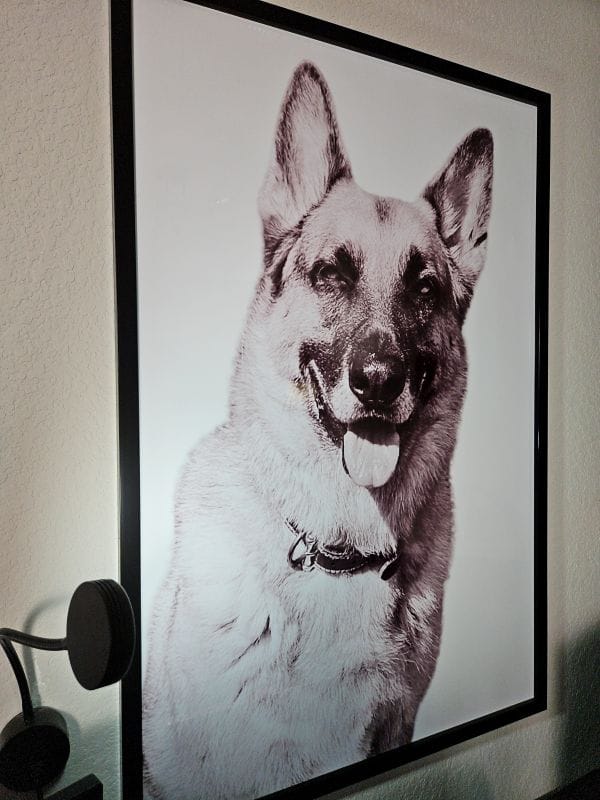
Once the slat wall was finished, the next challenge became obvious: how do you keep a desk with large monitors from looking lost on a big wall?My solution was scale and symmetry. I added three oversized poster frames (From Amazon) above the desk, featuring black-and-white portraits of our pets. Keeping them monochromatic helped maintain the earthy, modern feel while adding personality and warmth. The large frames visually anchor the desk area, making the screens feel intentional rather than floating on a blank wall.
Step 6: Finishing Touches That Pulled the Room Together
To make sure the entire office felt cohesive, I tied in the remaining walls with complementary elements:
- A wooden ladder shelf for office essentials and decor
- A dark green plant to bring in organic contrast
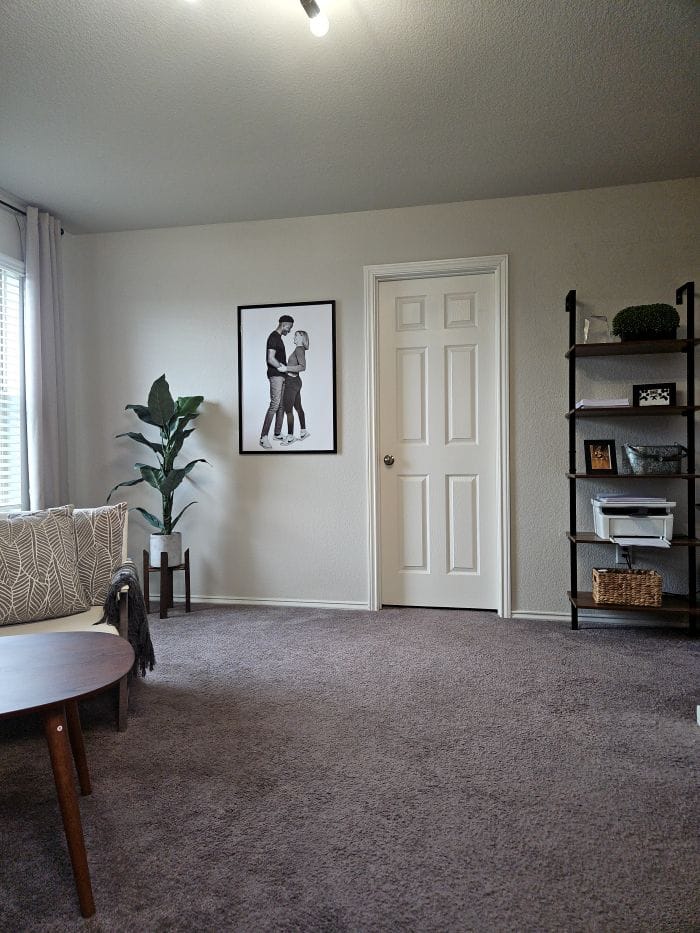
- Another black-and-white portrait—this time of my husband and me—for a personal touch
With these additions, every wall now speaks the same design language: wood tones, black and white, and soft olive green accents.


Finished Reveal / Results
The transformation is night and day. What was once a cold, empty office is now warm, relaxed, and inspiring. The wooden slat wall adds texture, the artwork balances the scale of the room, and the layered materials create a space that feels both modern and cozy. You never look at the slats from the side where you can notice the plywood. I think using plywood and spending more time on ripping but only a fraction on costs compared to hardwood is absolutely negotiable.
In the end I’m actually happy that I didn’t have enough slats which forced me to center them on the wall, leaving about 20″ of blank wall to the left and right. While this room is currently used as an office, the layout can be easily re-purposed by placing a queen-size bed with two night stands in front of the accent wall. As this is not our forever home, I want to make sure design features accommodate the new owner.
This is hands down one of my favorite room makeovers—we didn’t just decorate a home office, we gave it a soul.
Q&A, Pro-Tips
Q: How did you get the slats so straight?
A: Honestly—they’re not perfectly straight. I used a table saw, and handling long plywood sheets while ripping narrow slats isn’t easy. That said, small variations are barely noticeable once everything is installed. My best advice: don’t overthink it, trust the process, and just keep cutting 😉
Q: Is Urban Bronze too dark for a small room?
A: I usually gravitate toward light, airy spaces, so this color was definitely outside my comfort zone—especially since the room faces north and gets less natural light. Initially, I painted the entire wall, and it felt too dark. What made it work in the end was balancing the deep color with warm wooden slats and layering in plenty of light sources. Four years later, I still love how cozy and inviting it feels.
Q: How did you create the pet portraits?
A: Very simply! I took a ton of photos outside using just my phone—it takes patience since pets rarely stay still. Once I found a few good shots, I edited them in Canva by removing the background and applying a black-and-white filter. For printing, I used CVS. Even though I got a low-resolution warning, I did a test print first—and they turned out great.
Related Projects
Tired of boring walls? Take a look at the budget-friendly accent walls we’ve added around our home.
Shop the Look
Create this earthy, cozy Home Office setup with the items (or similar) that brought this project to life: Shop my Home Office