Floor-to-Ceiling Curtains with LED Lighting (Luxury Look on a Budget)
If your space feels small or lacks that cozy, elevated atmosphere, floor-to-ceiling curtains are one of the easiest ways to transform a room. By pairing tall curtain panels with hidden LED lighting, you can instantly create a warm, hotel-style ambience—without the luxury price tag.
This DIY requires only basic tools, affordable materials, and a free afternoon. By the end, you’ll have stunning soft lighting, higher-looking ceilings, and a completely refreshed room.
Disclaimer: This post contains affiliate links. I may earn a small commission if you make a purchase, at no extra cost to you.
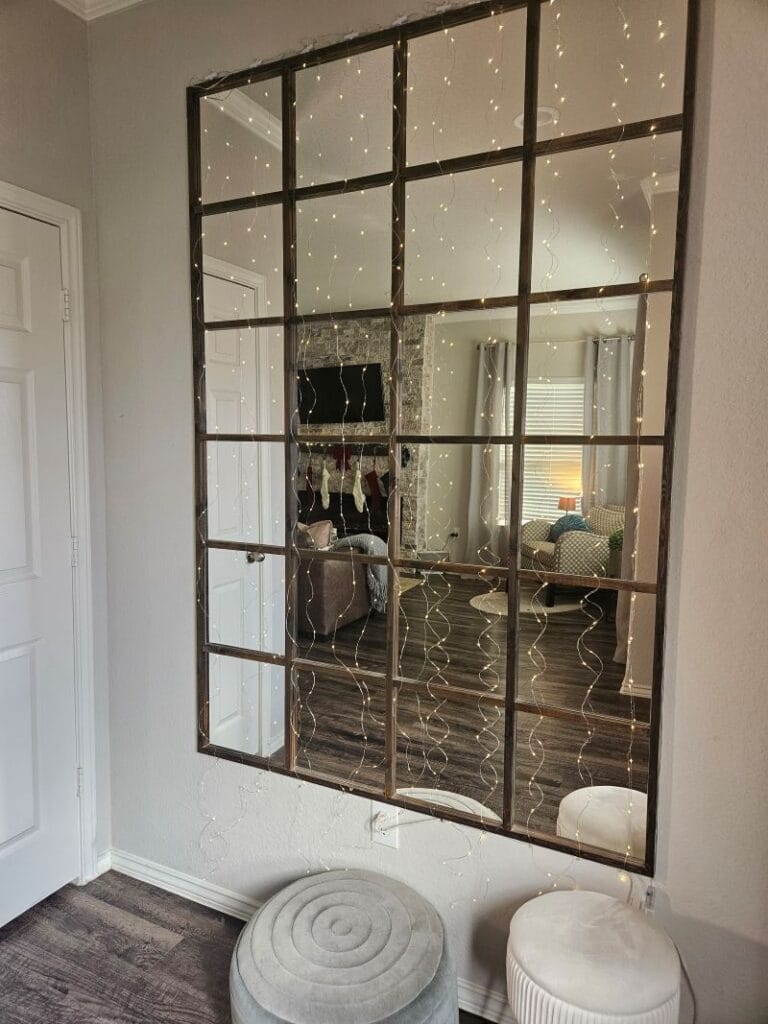
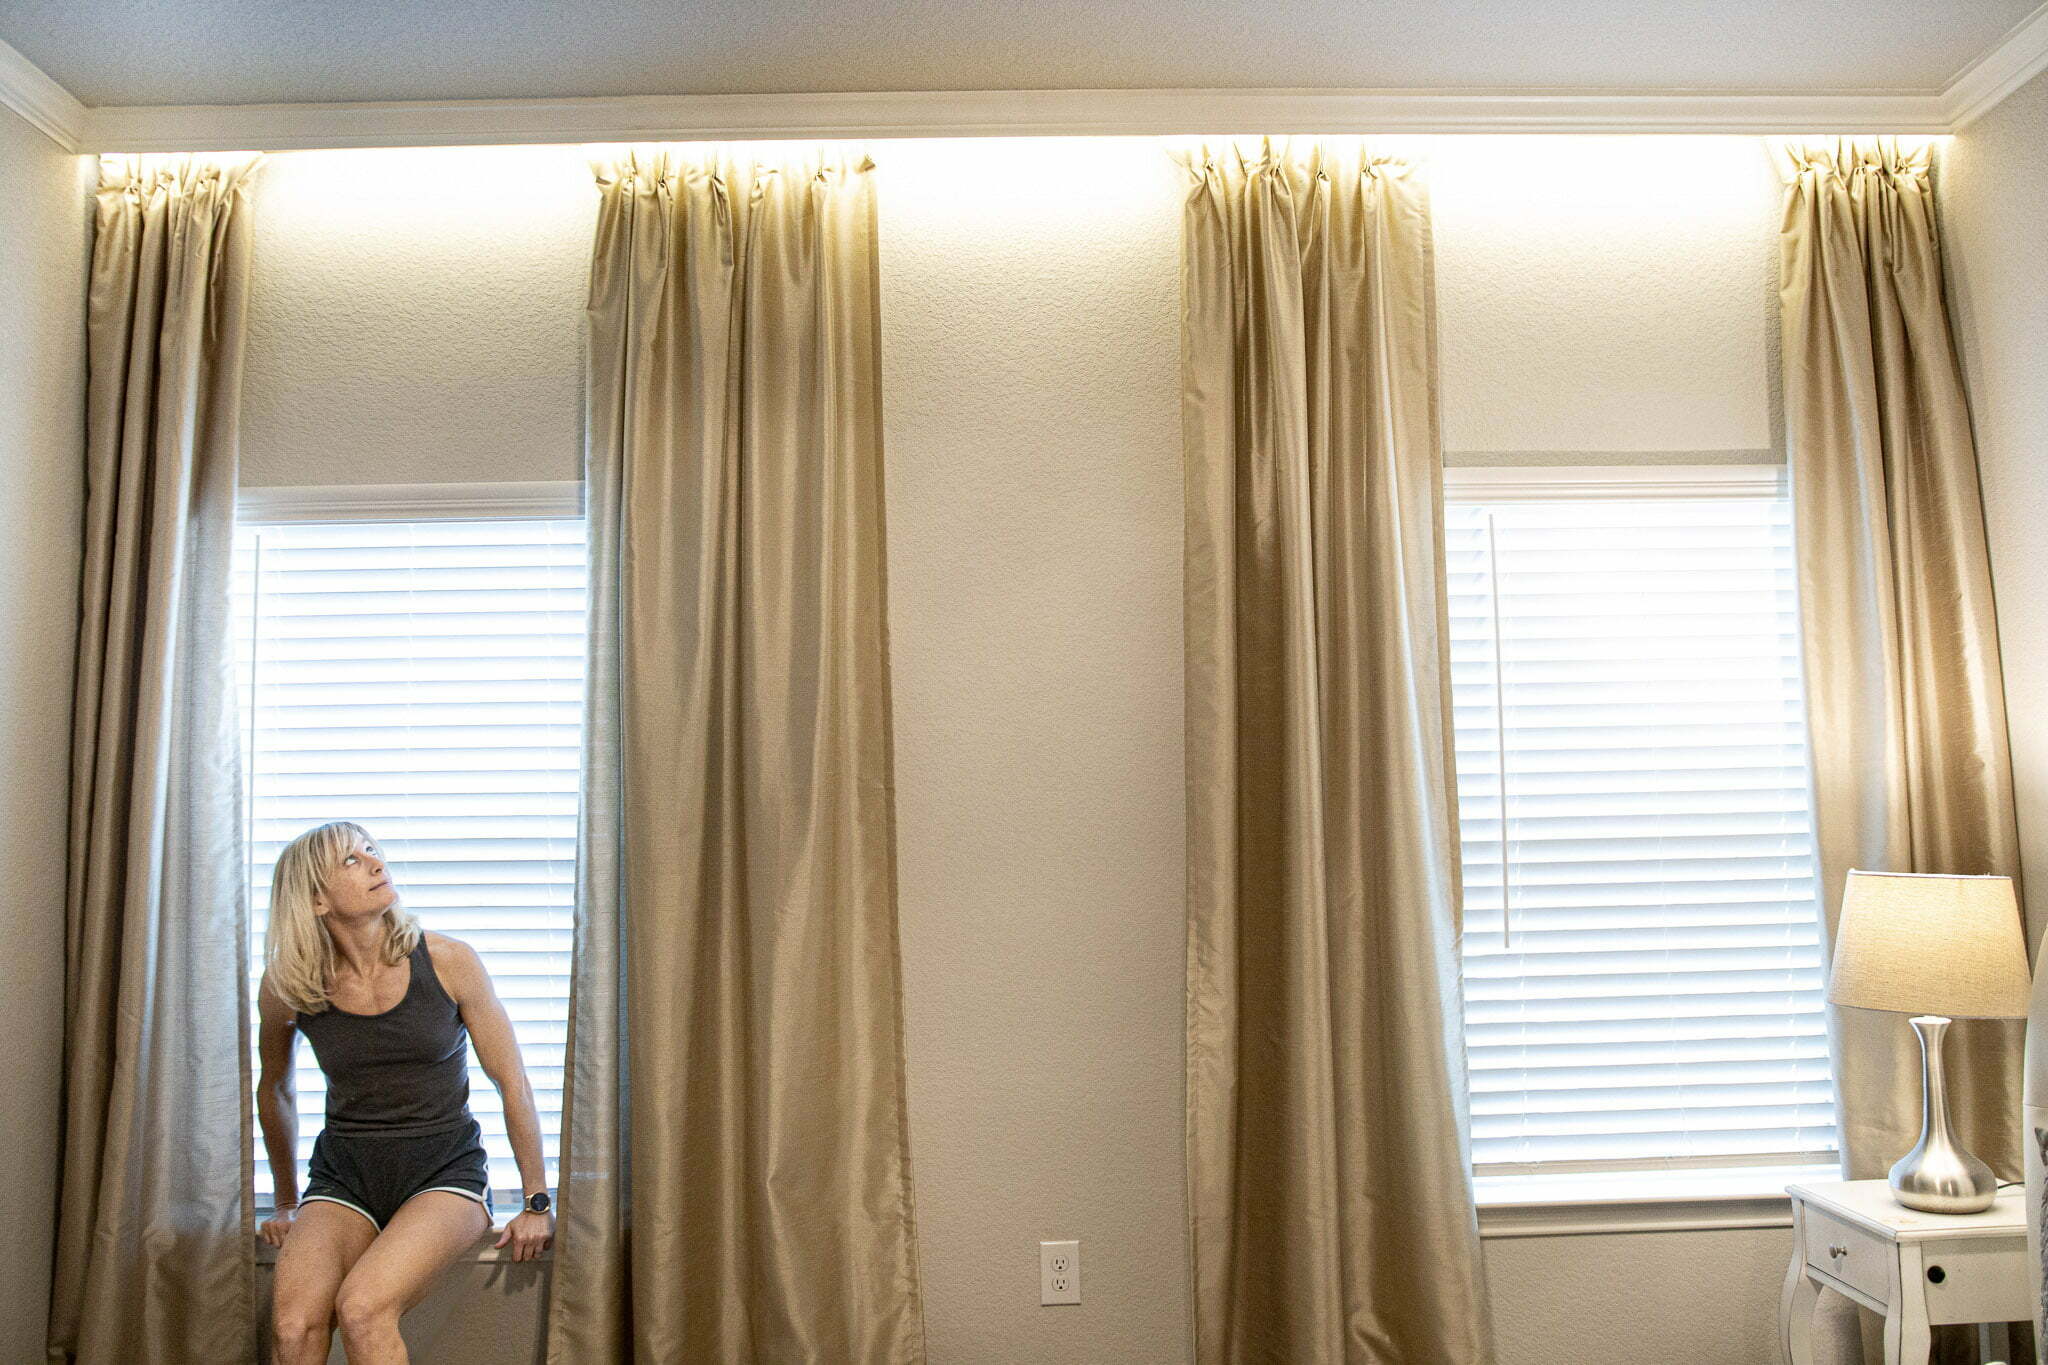
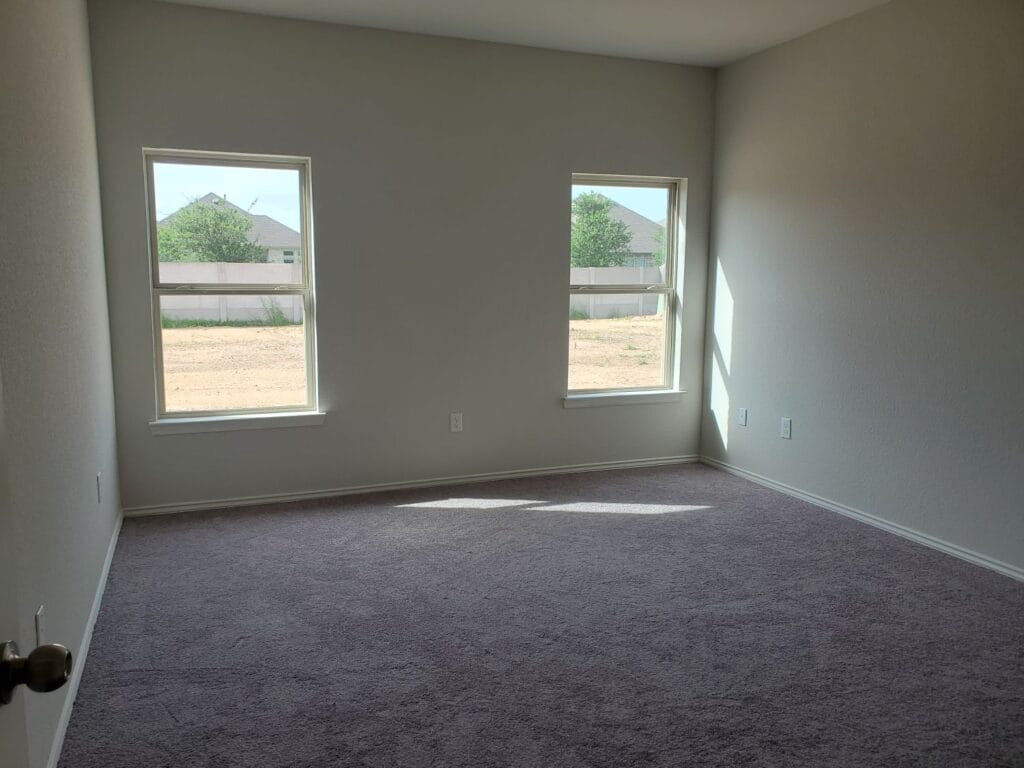 Bedroom Before
 Bedroom After
Project Snapshot / Quick Facts
- Skill Level: Beginner
- Time Requires: 1-2 Weekends
- Cost: ~$200-$250
Material & Tools List
Materials
- Curtain Track. Note: The goal was to attach the curtains right at the ceiling behind the crown molding. In order to do so, you will need curtain track rails instead of common curtain rods. Local home improvement stores do not seem to sell these curtain ceiling tracks nor could I find them for a reasonable price online. The cheapest option I could find was on Amazon.
- Curtains (I chose 30×108″ for each each panel for 9ft ceiling): I’m in love with these Marquee Curtain Panels in Champagne Beige from Amazon. The faux silk texture makes the bedroom look very luxurious.
- LED Strip Light: 💡 Tip: Warm white LEDs create the coziest, most hotel-like ambience.
- Plywood or similiar
- Wood Screws
- Paint to match ceiling
Tools
- Drill
- Saw
- Stud finder
- Brad nailer
- Ladder
Step-by-Step: Floor to Ceiling Curtains
Step 0: Preparation: Remove Existing Crown Molding (If You Have It)
- If your room already has crown molding installed, remove it before you begin. You’ll need a clear, flat ceiling surface to mount the plywood support strip and the new molding.
- Use a small pry bar and a thin putty knife to gently loosen the molding without damaging the drywall.
- If you plan to reuse the same molding, label each piece as you remove it so you know where it goes later.
- For more tips on removing molding cleanly and reshaping it if necessary, see my Modern Wainscoting Accent Wall post.
Step 1: Find Studs & Install the Main Plywood Support
- Use a stud finder to locate studs along the ceiling where the curtain track will run. Mark stud locations with painter’s tape before drilling to make alignment easier.
- Cut a long plywood strip to the full length of your curtain wall.
- Hold the strip flush against the ceiling and drill it directly into the studs.
- This creates a solid base so you’re not dependent on stud spacing when mounting the flexible track.
- Paint the strip the same color as the ceiling for a seamless look.
Step 2: Add a Secondary Support Strip at a 90° Angle
- Attach a second wood strip perpendicularly to the plywood strip to form an “L” shape.
- This creates a nailing surface for the crown molding and a ledge for mounting the LED strip.
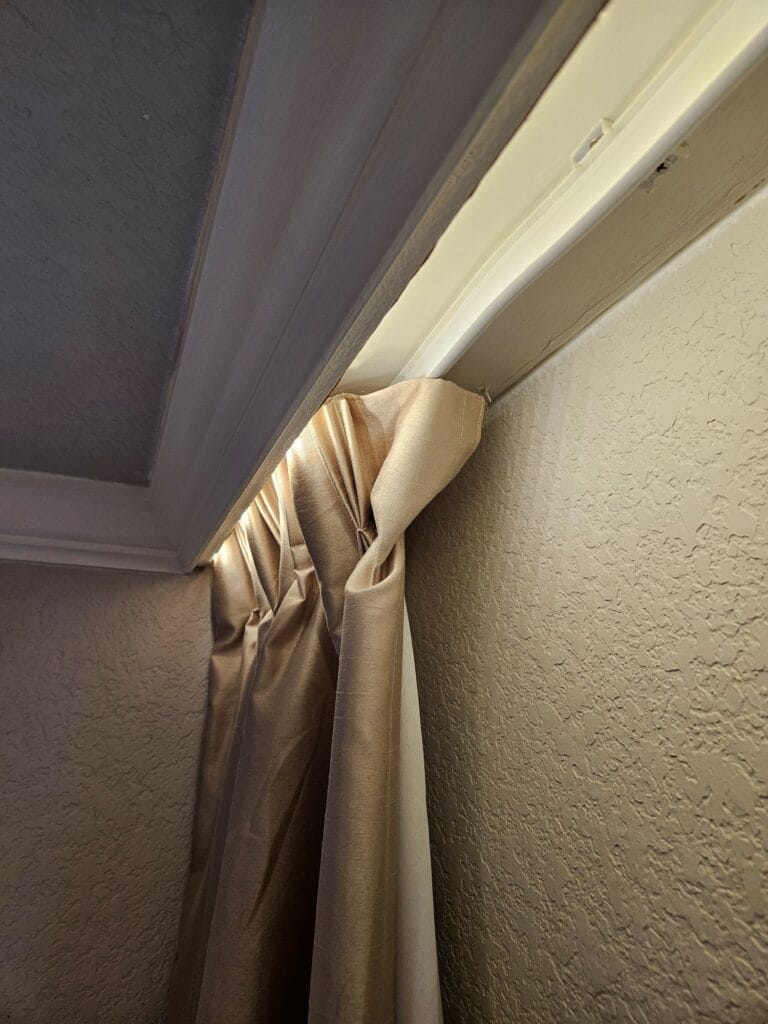
Step 3: Install the Ceiling Curtains Track
- Install the flexible ceiling curtain track onto the plywood strip.
- The flexible material can be difficult to straighten but it’s okay—your crown molding will hide it.
- If visible straightness is important for your design, choose IKEA’s VIDGA track for a cleaner line. It costs a little bit more but is still so much cheaper than other track systems you can find online.

Step 4: Hang the Floor to Ceiling Curtains
- Choose curtains long enough to skim the floor (108″ works well for 9′ ceilings). 💡 Tip: Faux silk or textured panels add instant luxury without the cost.
- Attach curtains to the track using the included hooks or rollers.
- Adjust the positioning so the bottom of the curtains just touches the floor for a tailored look.
Step 5: Attach the Crown Molding
- Position the crown molding on the 90° support strip, leaving space behind it for LED lighting.
- Nail the molding into the support strip, not the ceiling, so everything aligns cleanly.
- Work slowly to ensure straight, gap-free lines.
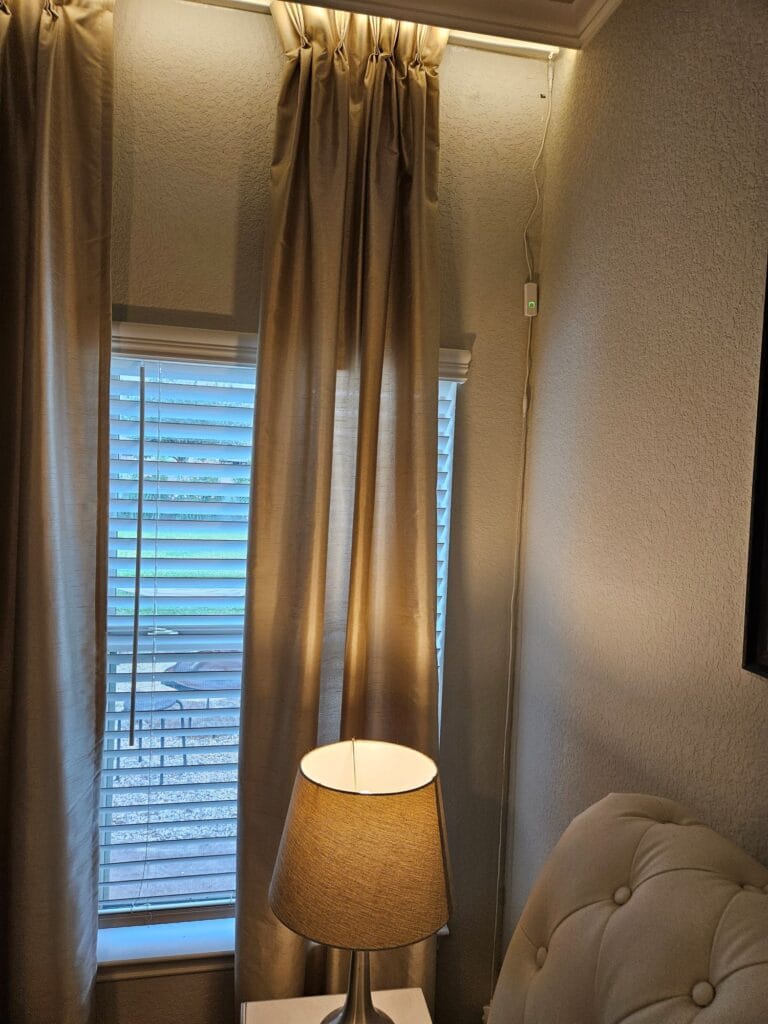
Step 6: Install the LED Strip for backlit Ceiling Curtains
- Peel and stick the LED strip onto the horizontal part of the support strip behind the molding.
- Run the power cable up into the corner behind the curtains, down the wall, and into an outlet.
- Use a smart plug to automate your lighting so it turns on at sunset.
- Adjust strip placement for a softer or brighter glow.
Q&A, Pro Tips
Q: Can I do this without crown molding?
A: Absolutely. If you don’t have crown molding, you can use a simple straight board or trim piece to conceal the LED strip while still creating the same soft, ambient glow.
Q: What would you do differently if you were doing this project again?
A: If I were working within the same budget, I honestly wouldn’t change anything—the setup works beautifully. But if this were my forever home and budget wasn’t a concern, I’d upgrade to straight ceiling-mounted curtain tracks and have the LED lighting hardwired for a cleaner, more permanent finish.
Q: Why did you use flexible curtain tracks if you needed a straight run?
A: I would have definitely preferred a straight curtain track—they’re easier to work with and give a cleaner line. But since this was a budget-friendly project, I chose the flexible track from Amazon. The straight versions were at least five times more expensive, so the flexible option made the most sense for this build.
Shop the Look
Create this cozy, hotel-inspired setup with the items (or similar) that brought this project to life: Shop my Bedroom