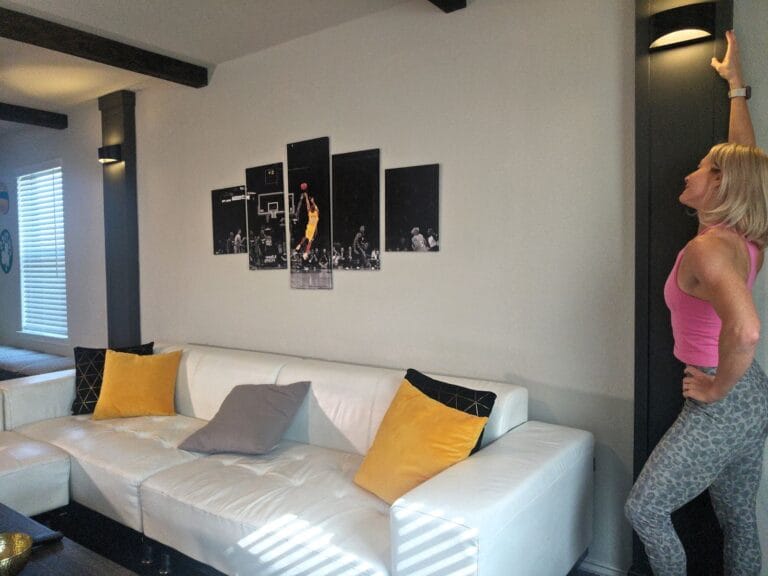
DIY Recessed Wall Niches with LED Lights: Brighten a Dark Hallway on a Budget
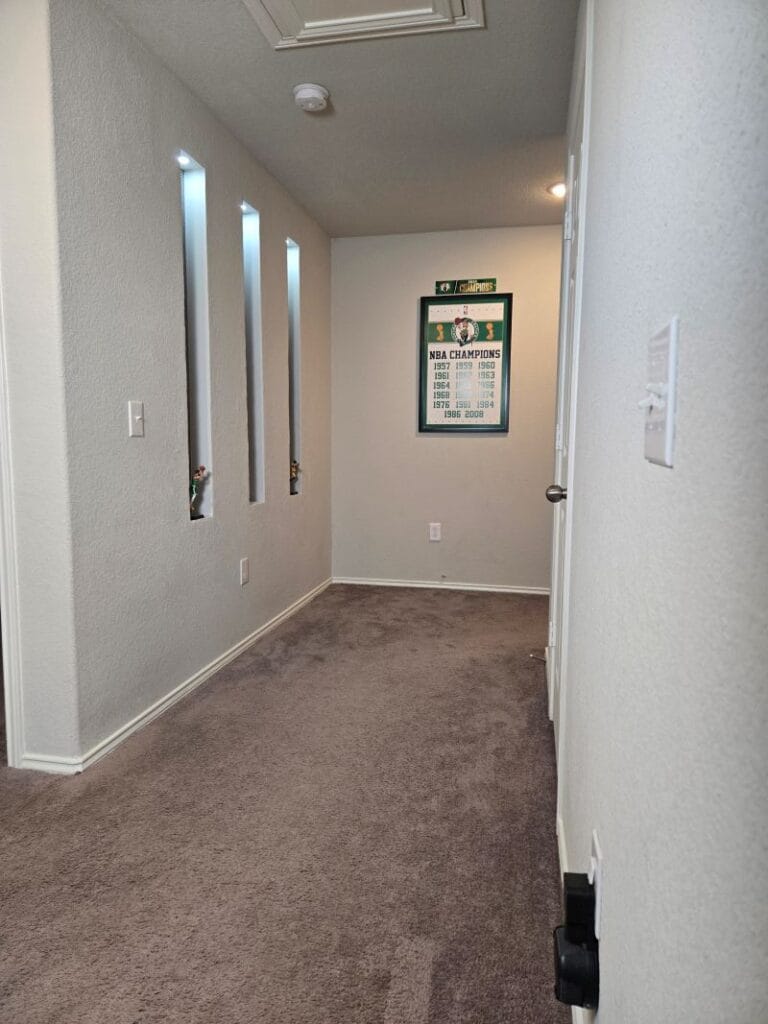
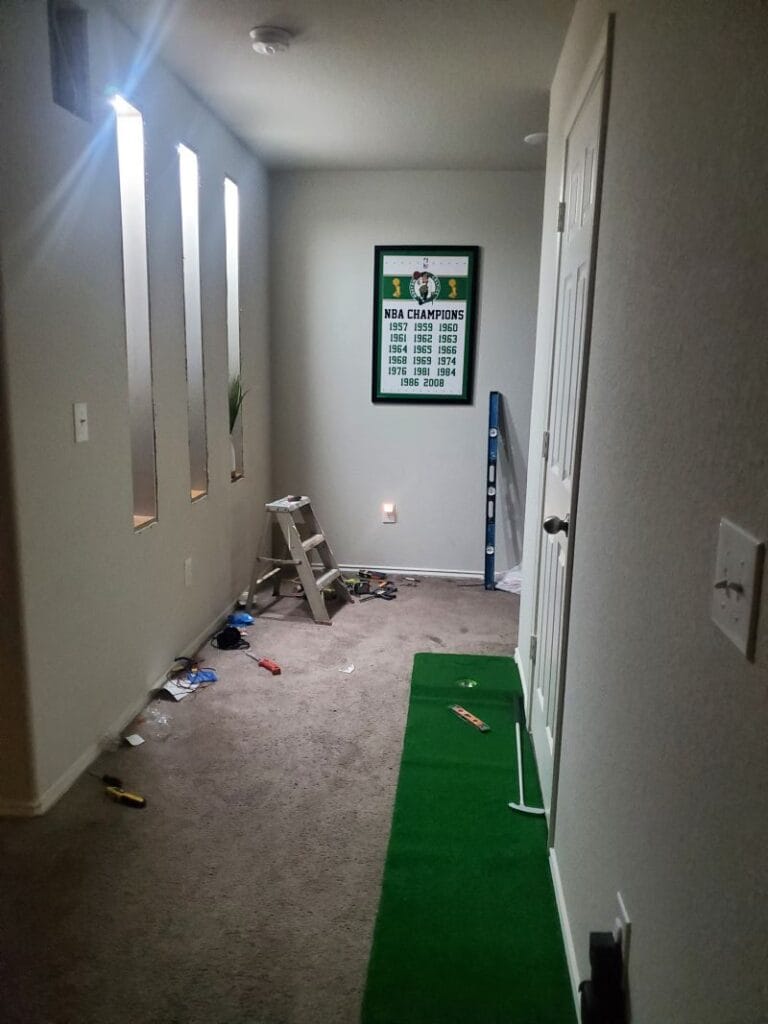
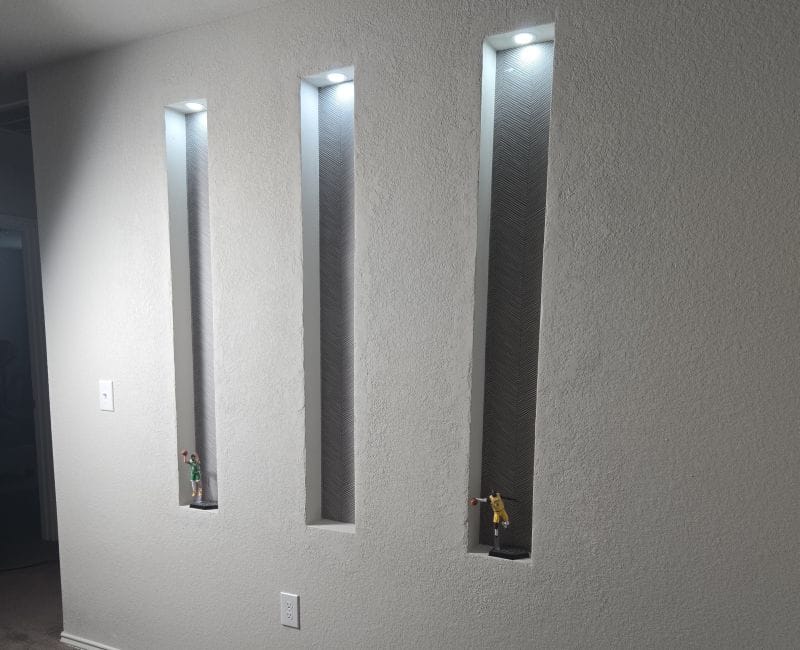
Our hallway had one major problem—it was long, dark, and lacked any natural light. The walls felt empty, but I didn’t want to just hang pictures and call it done.I wanted something more custom. Something functional and visually interesting. That’s when I came up with the idea of adding recessed wall niches with built-in LED lighting. Not only would they break up the flat wall, but they would also provide soft lighting and a perfect place to display decor. The best part? This project was done mostly with scrap materials, making it incredibly budget-friendly.
Disclaimer: This post contains affiliate links. I may earn a small commission if you make a purchase, at no extra cost to you.
Project Snapshot / Quick Facts
- Skill Level: Beginner/ Intermediate
- Time Required: 1-2 Weekends
- Cost: ~$30
Materials & Tools You Need
Materials
- Scrap wood (for framing)
- Drywall strips
- 2in LED lights or small recessed lights (I used these from Amazon)
- Electrical wire + switch
- Drywall joint compound
- Wallpaper (optional for backing)
- Wood screws
Tools
- Table Saw/ Miter Saw
- Stud finder
- Drill
- Drywall saw
- Level
- Measuring tape
- Putty knife & sanding sponge
- Safety Gear (My pink PPE from Amazon)
Recessed Wall Niches (Step-by-Step)
Step 1: Plan Recessed Wall Niches Layout & Locate Studs
The first step was figuring out where the niches could go.
- Used a stud finder to map out all studs behind the wall
- Goal: place three evenly spaced niches centered on the wall
- Important: each niche needed at least one stud on the side for easy mounting
Things I considered:
- Visual balance along the hallway
- Spacing between niches
- Height placement for eye-level display
- Tip: Stud placement determines your design—work with it, not against it.

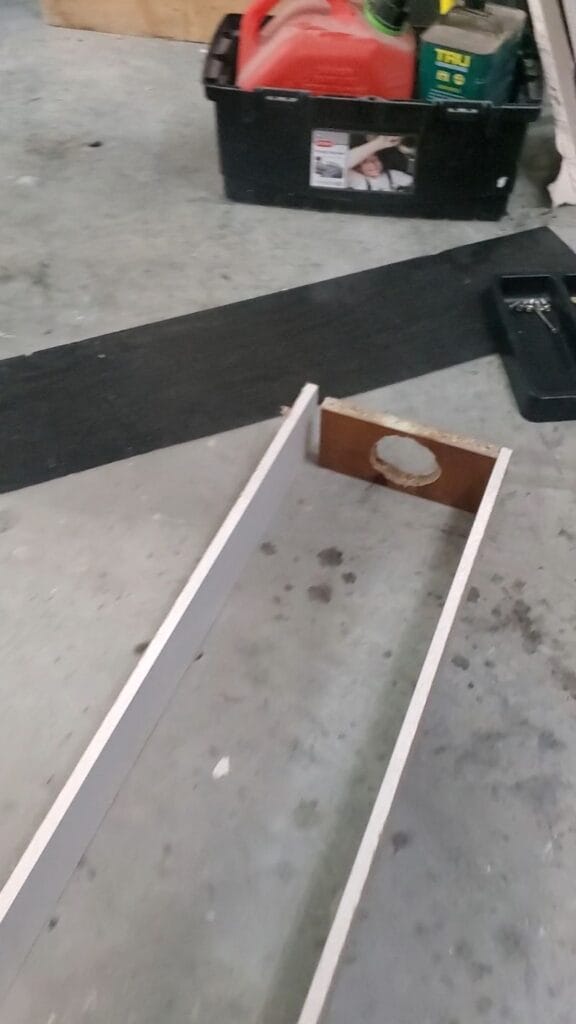
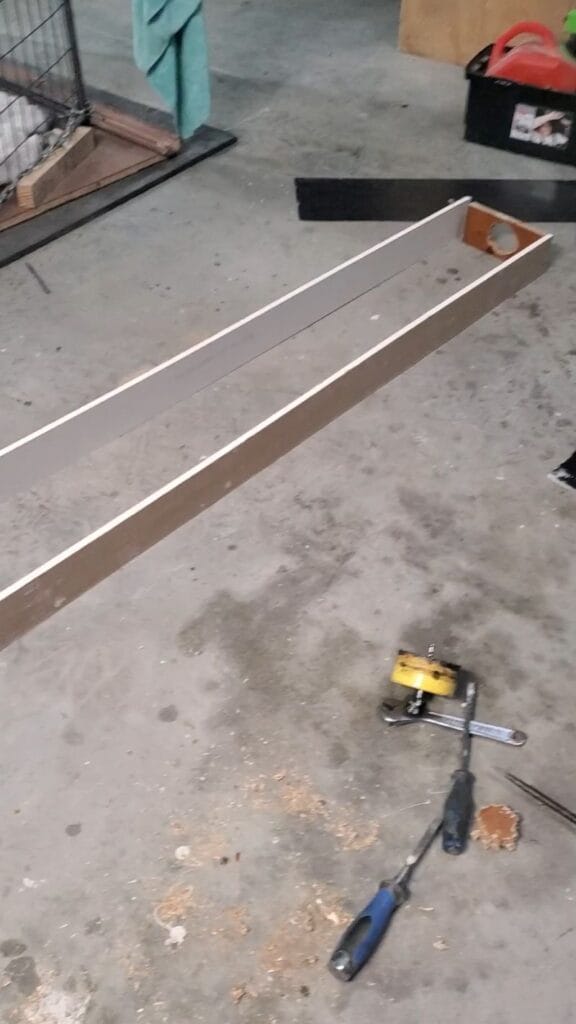
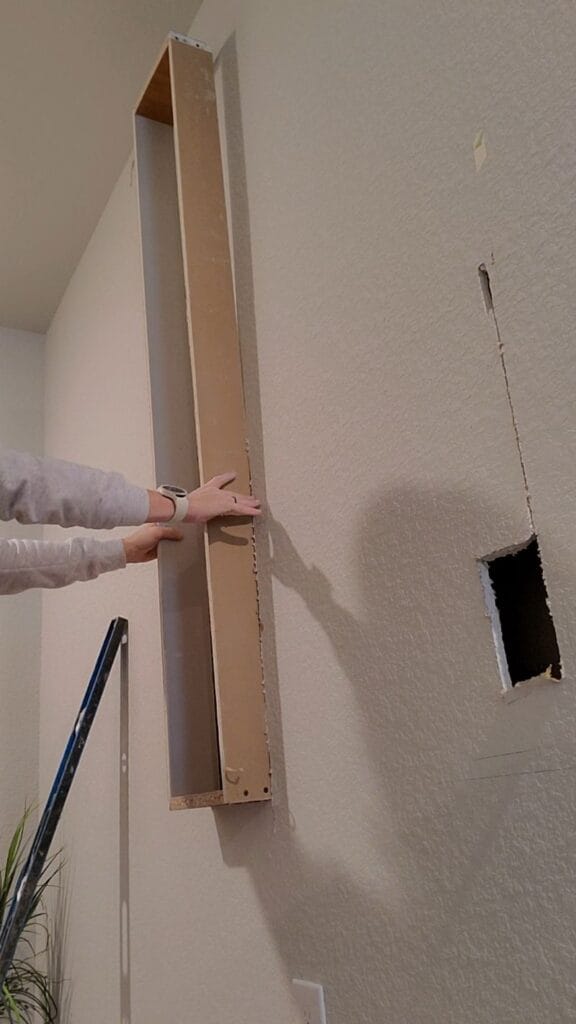
Step 2: Build the Recessed Wall Niches Boxes (Cubbies)
Before cutting into the wall, I built the niche inserts.
- Used scrap wood and drywall strips
- Depth = stud depth + drywall thickness (so everything sits flush)
Each cubby included:
- Top, bottom, and side panels
- A thin MDF back panel (in my case, multiple pieces due to limited material)
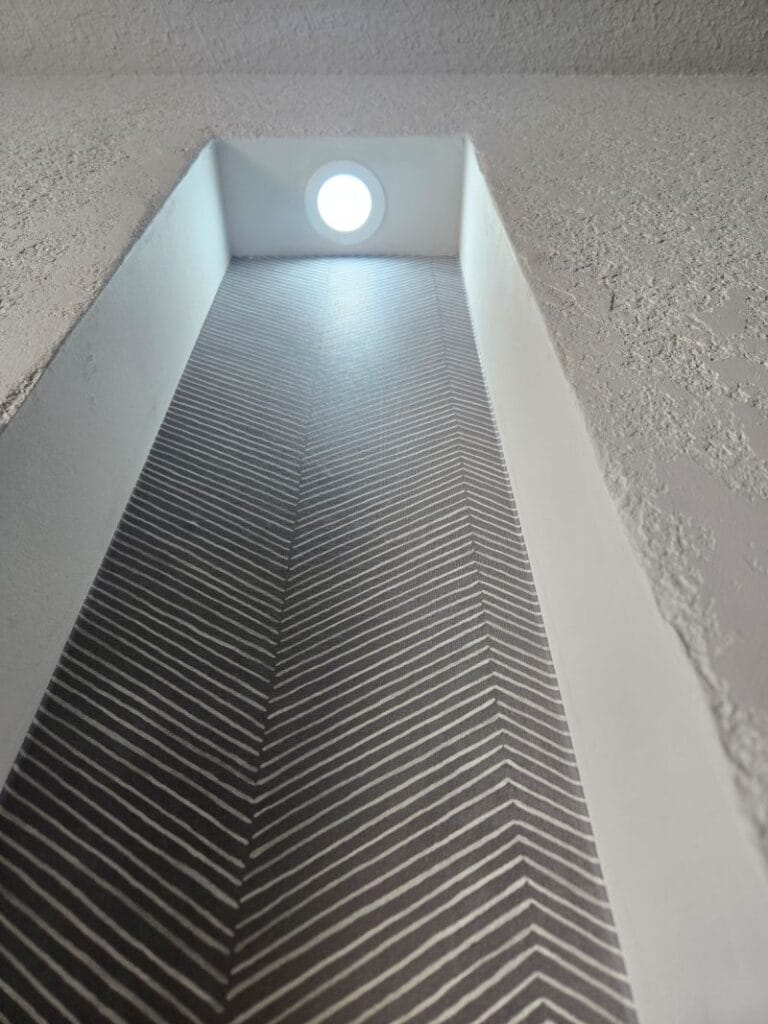
For lighting:
- Drilled a hole in the top panel sized to fit the LED light
Tip: Build all cubbies first so you can match the wall cutouts perfectly.
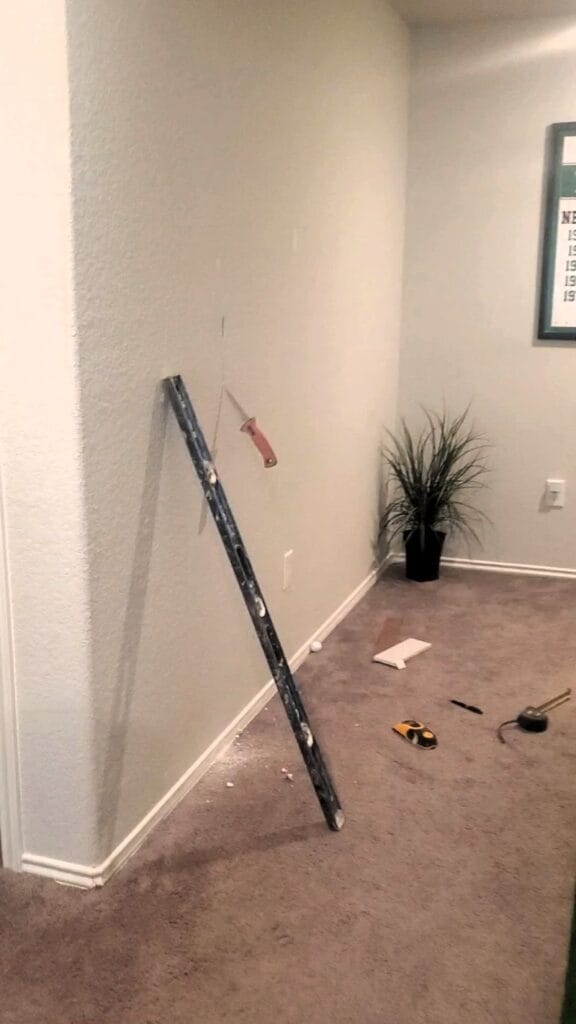
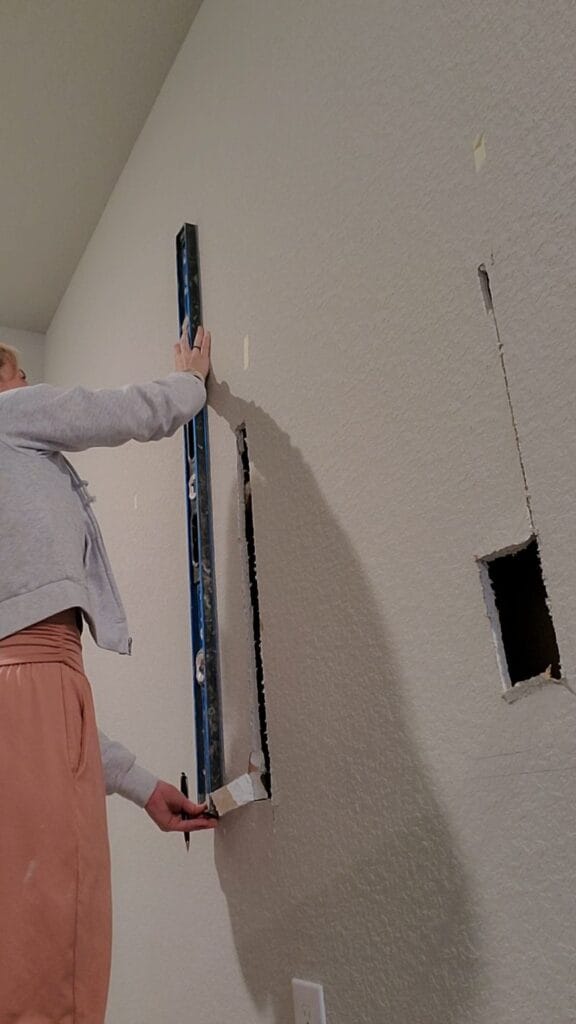
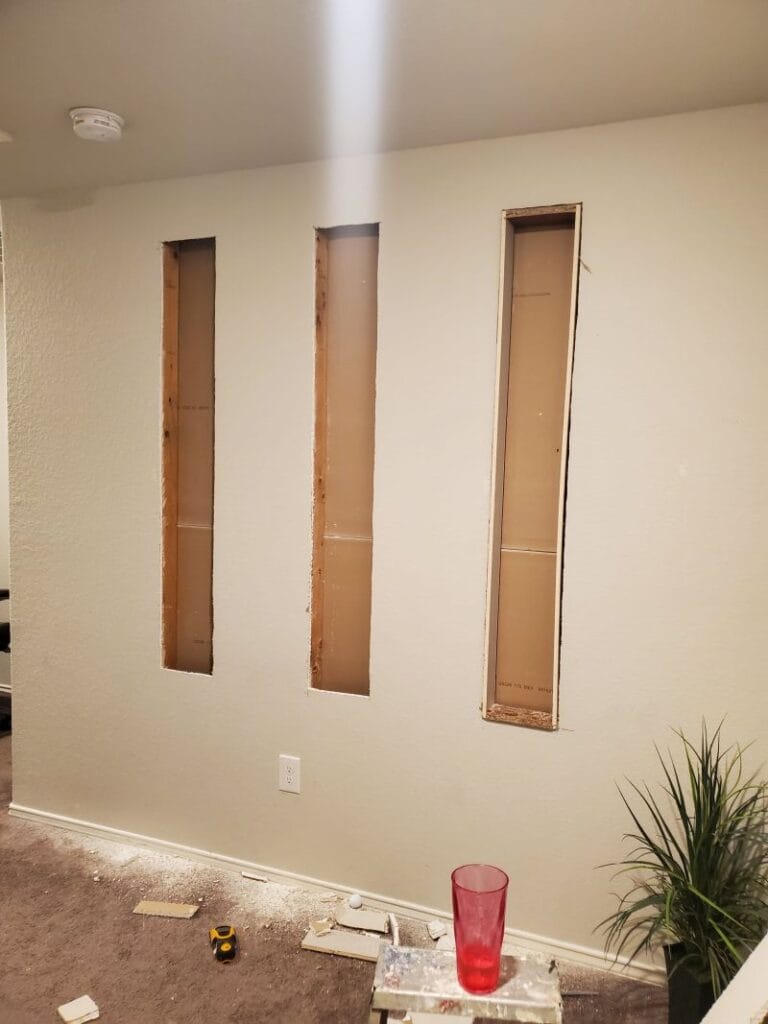
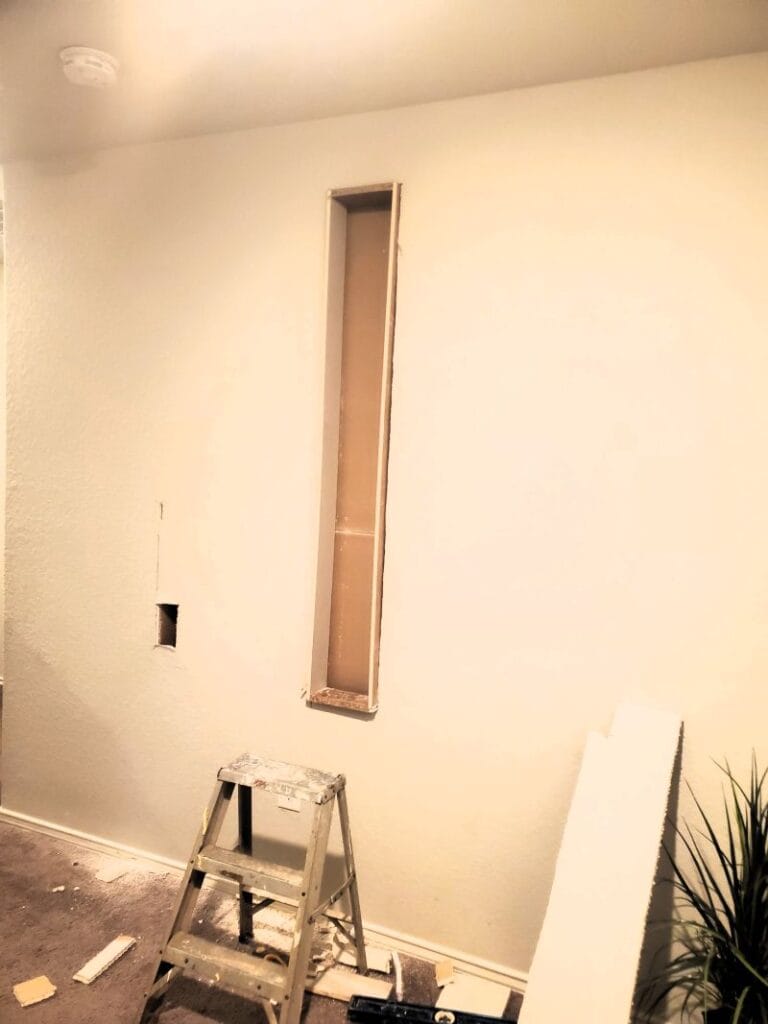
Step 3: Cut Openings in the Drywall
Once I had the cubbies ready:
- Marked exact placement on the wall
- Double-checked measurements and spacing
- Cut openings using a drywall saw
Since I planned carefully:
- Each cutout aligned with at least one stud
- This made installation much easier and more secure

Step 4: Add Framing Support Inside the Wall
To securely mount the cubbies:
- Installed additional wood supports inside each opening
- Added framing to:
- The bottom
- The open side (if no stud was present)
This created a solid structure to screw the cubbies into.
Tip: Even if you have studs, adding extra support makes installation much easier.
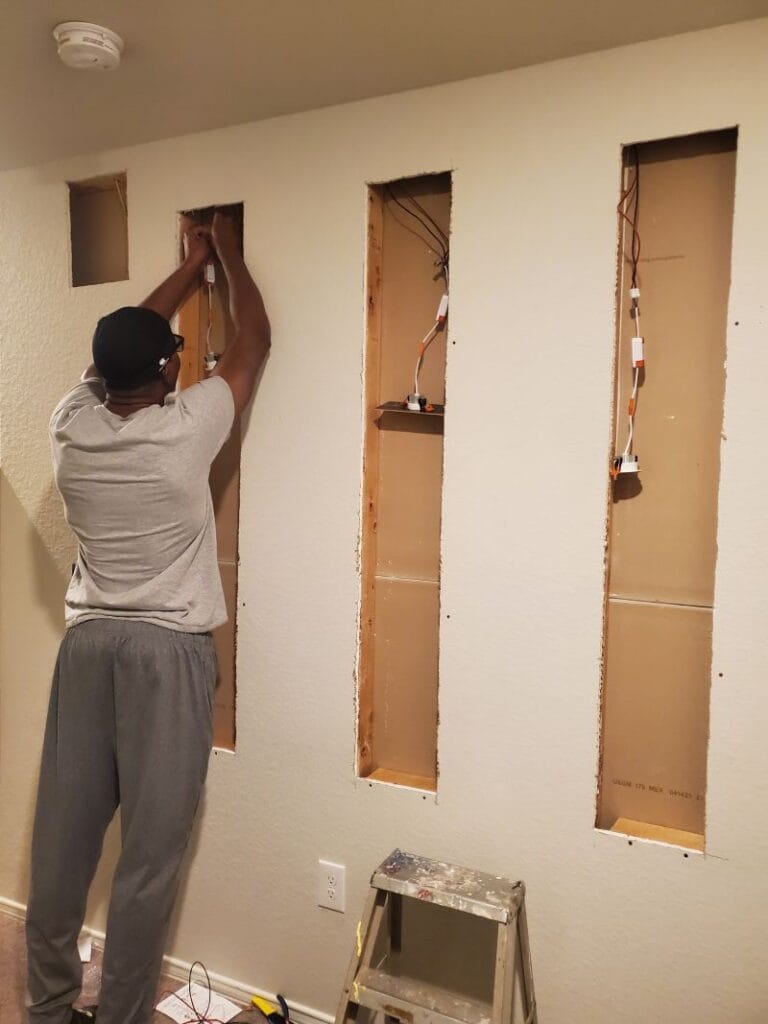
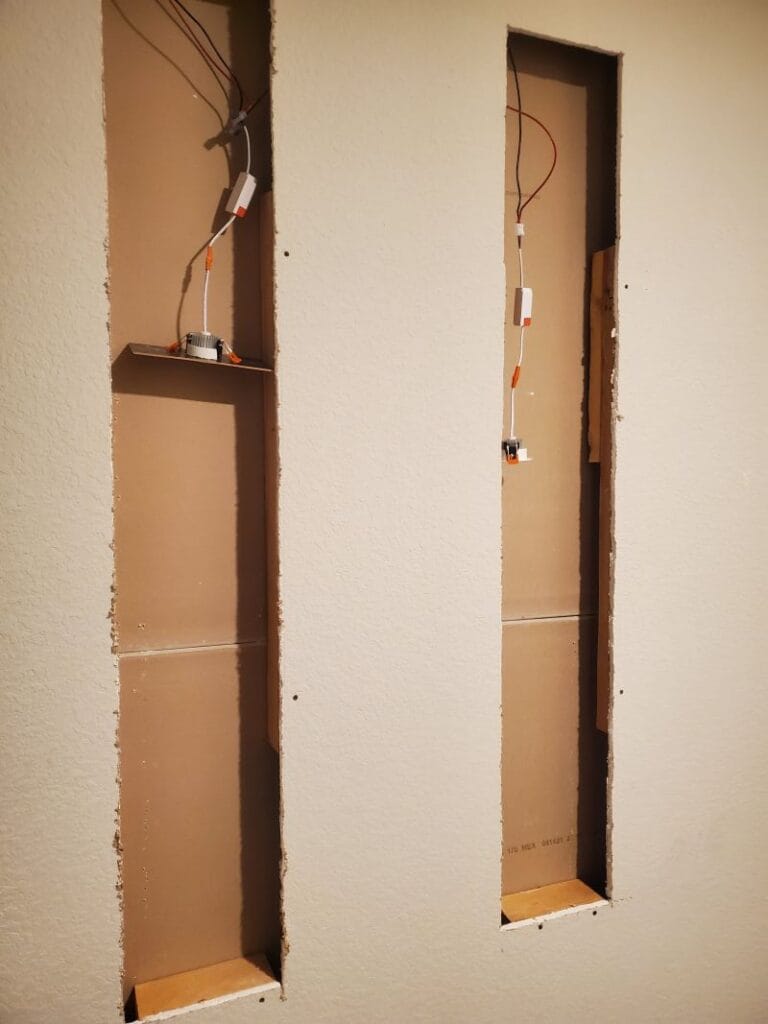
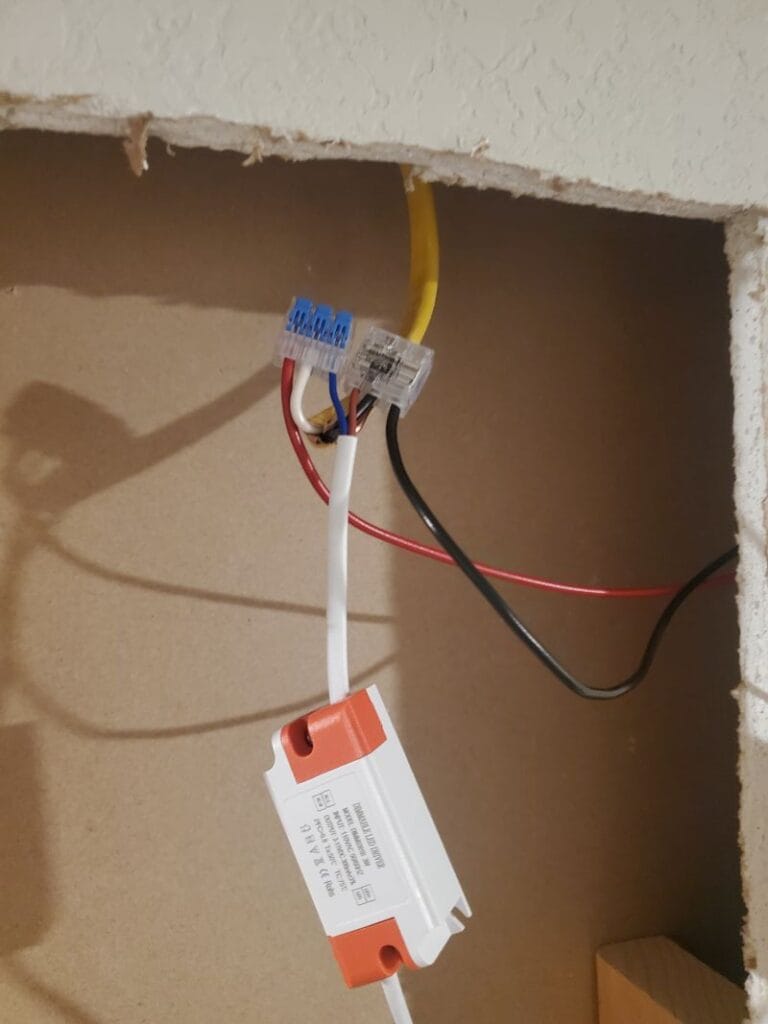
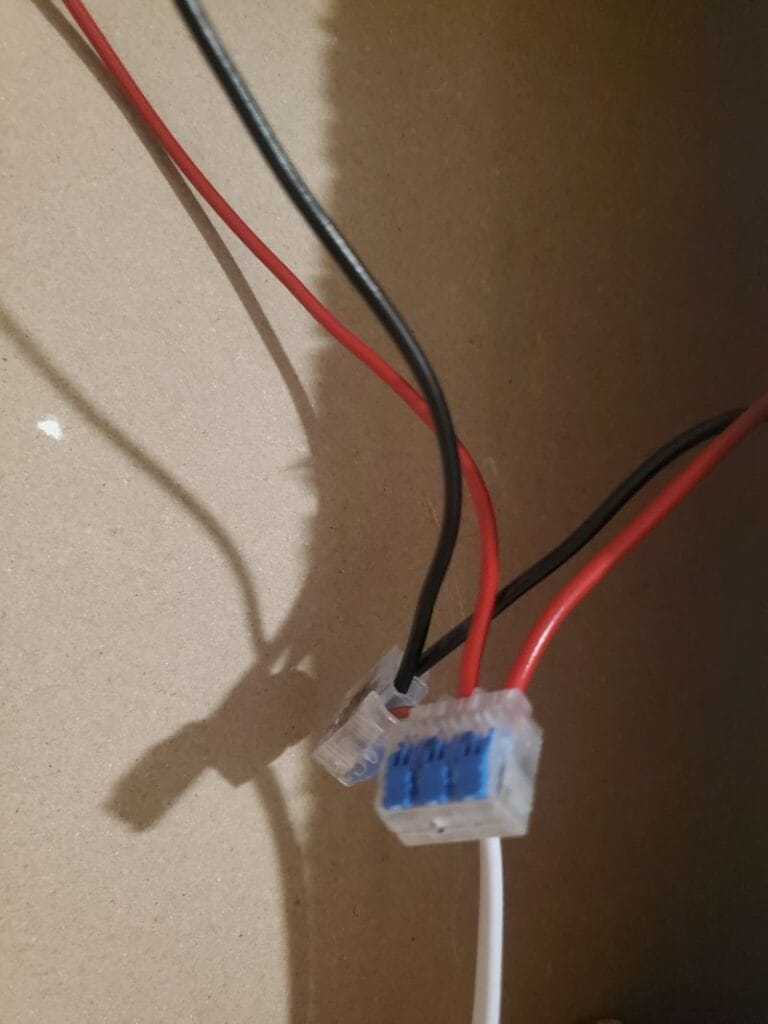
Step 5: Install LED Lighting & Wiring
Next came the electrical work.
- Installed LED puck lights into the pre-drilled holes in each cubby
- Routed wiring through the wall
Since this was on the second floor:
- Ran wiring through the attic for easier access
- Added a wall switch to control the lights
Once everything was connected:
- Tested all lights before moving forward
Tip: Always test wiring before closing up the wall.
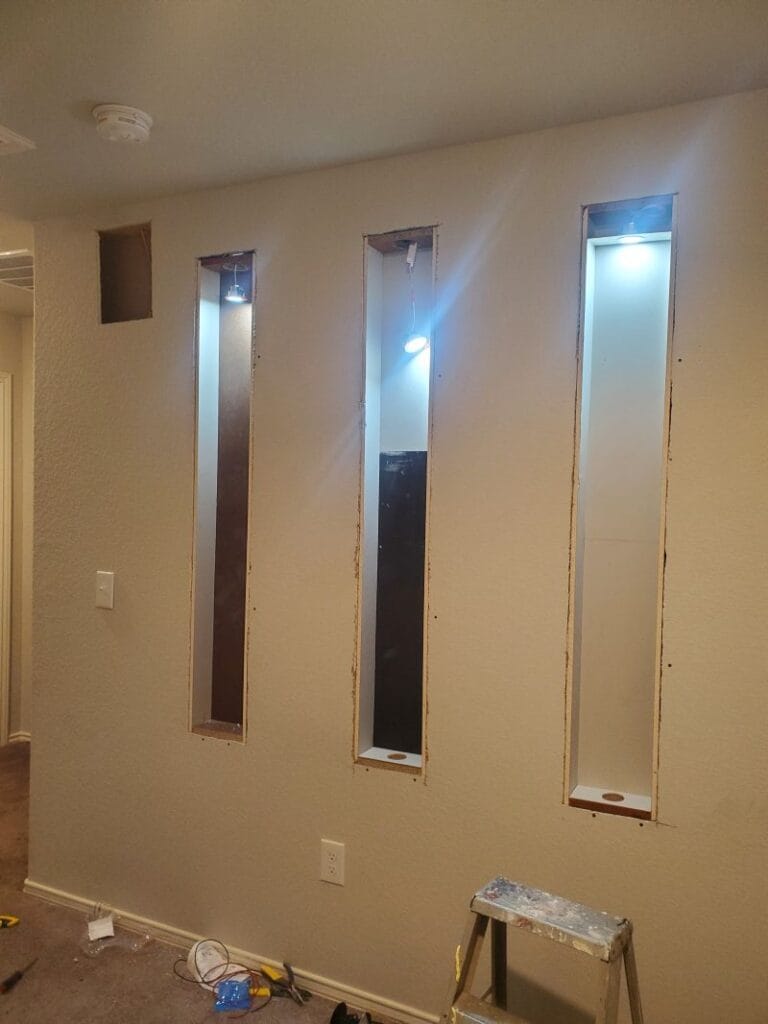
Step 6: Install the Recessed Wall Niches Boxes
With lighting ready:
- Slid each cubby into its wall opening
- Secured with wood screws into the framing/studs
- Installed LED lights into the top panels
At this point, the niches were fully functional and lit.
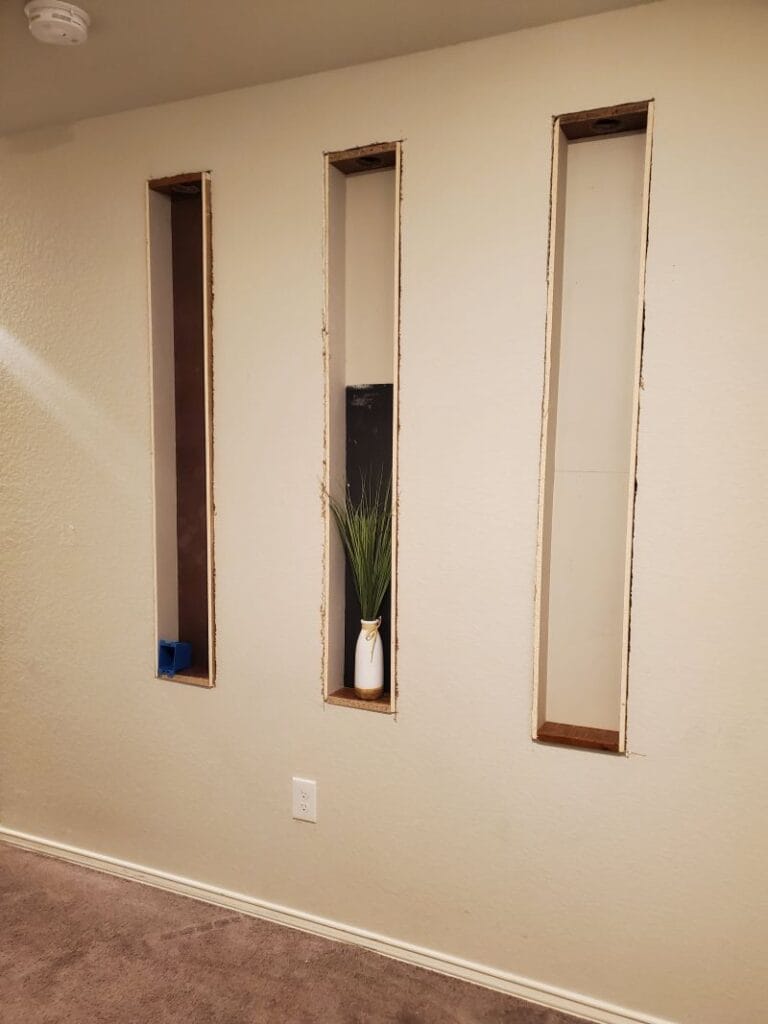
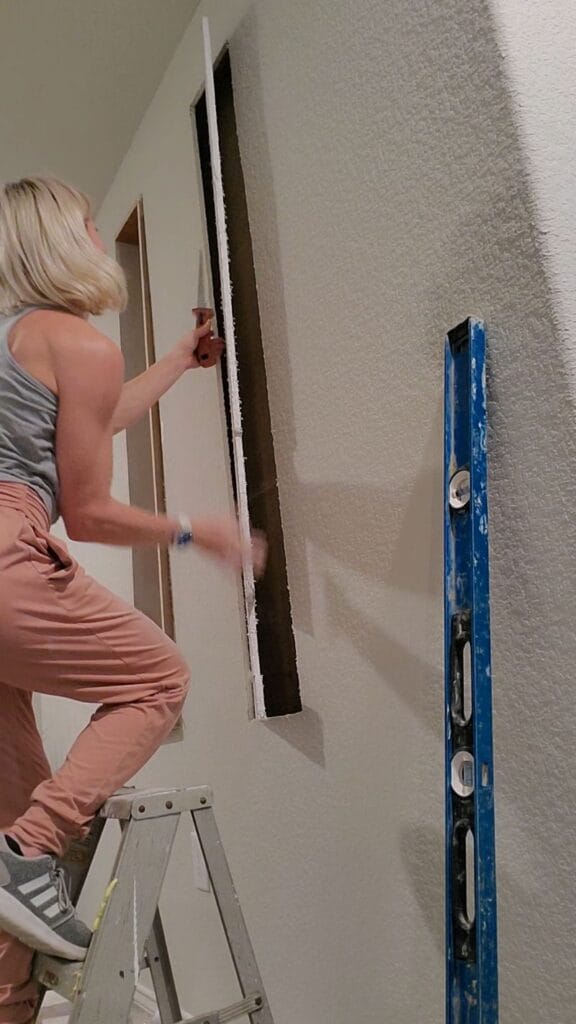
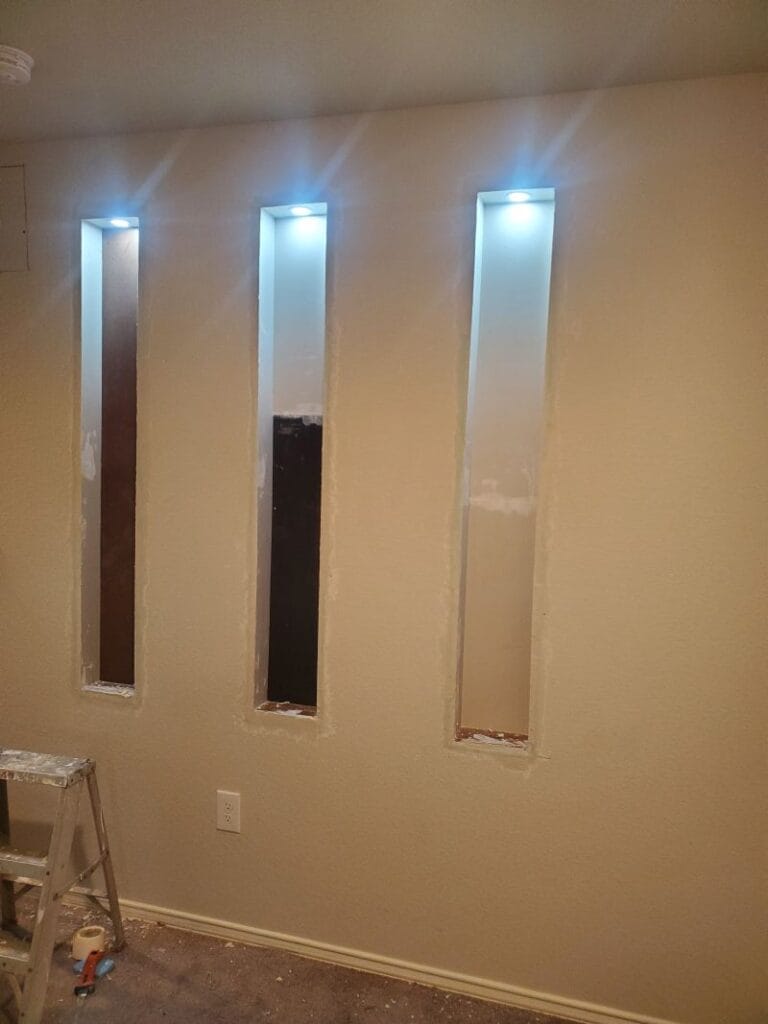
Step 7: Finish Edges & Smooth Surfaces
To make the niches look built-in:
- Applied drywall joint compound around all edges
- “Floated” seams to create a smooth transition
Challenge: The back panels were made from multiple MDF panel pieces. This created visible seams
Solution: Sanded smooth as much as possible and Applied joint compound over seams.


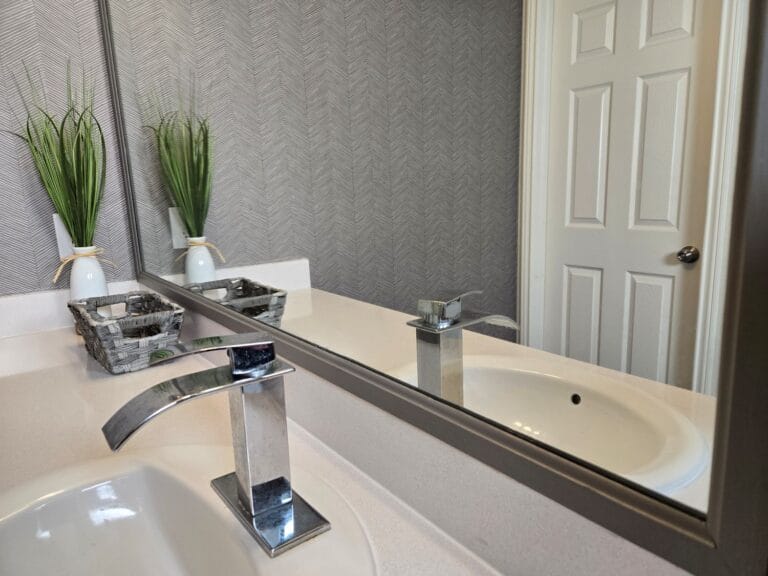
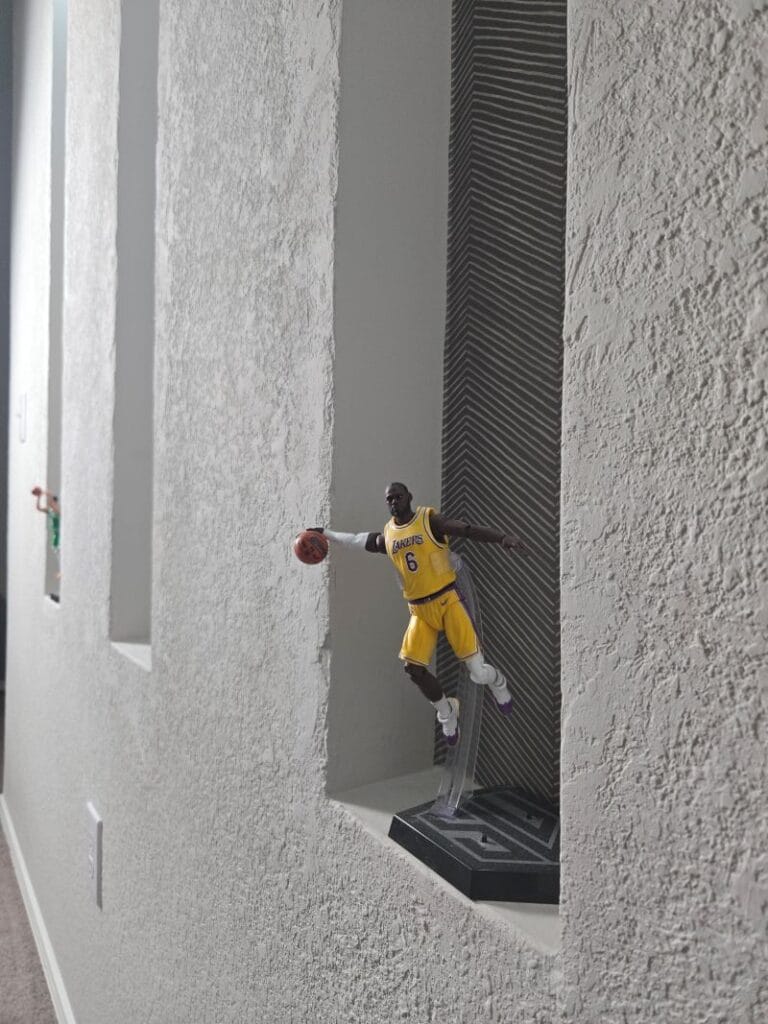
Step 8: Add Wallpaper for a Clean Finish
To fully hide imperfections and add style:
- Installed wallpaper on the back of each niche
This step:
- Covered any remaining seams
- Added a decorative element
- Elevated the overall look
Tip: Wallpaper is a great way to fix imperfections creatively.
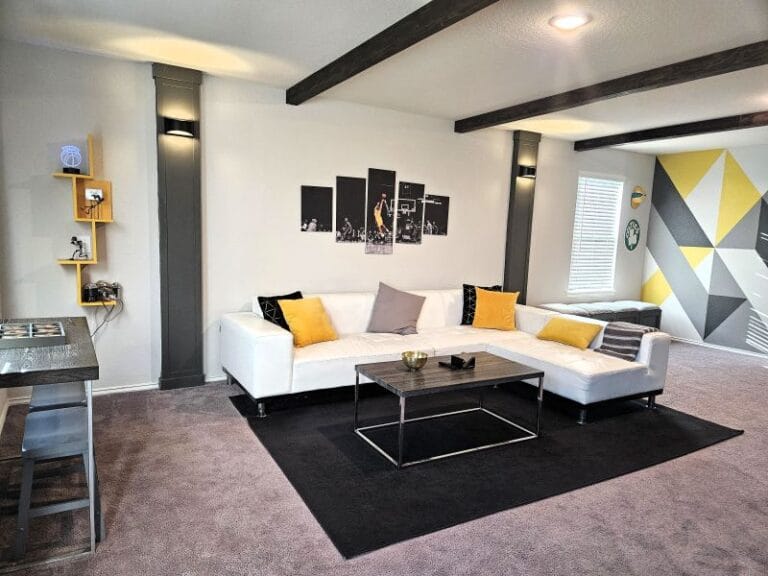
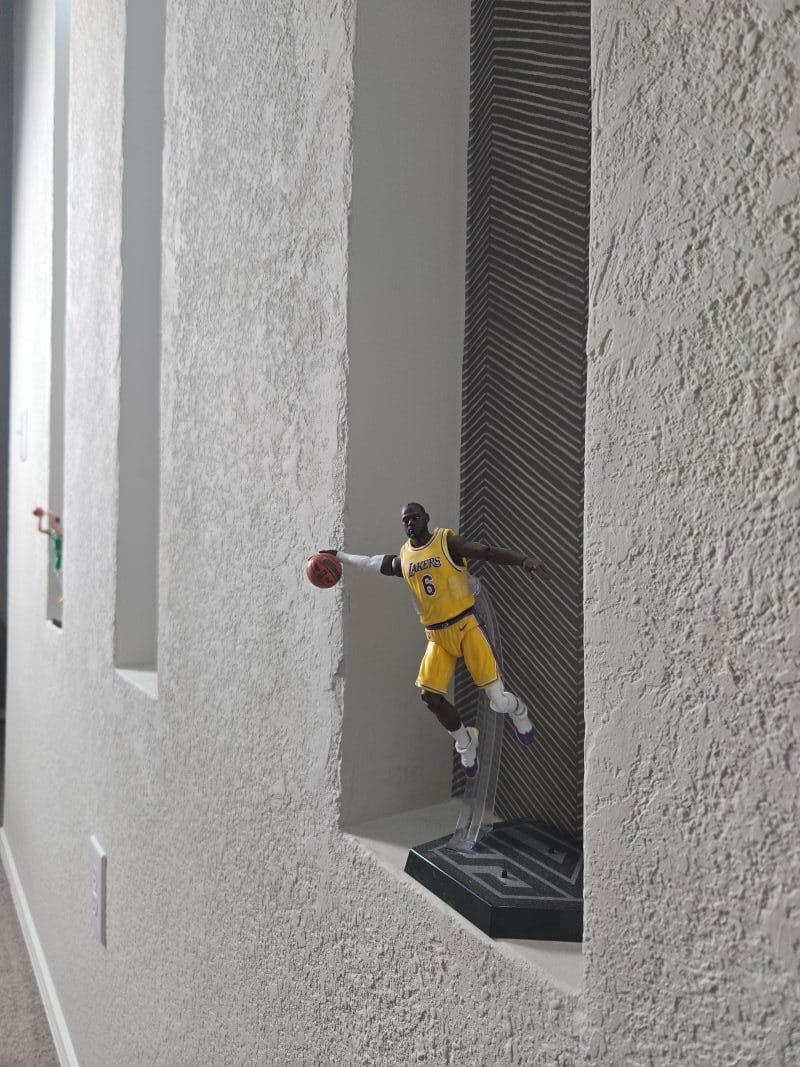
This project completely transformed our hallway. Now it has: Soft ambient lighting, Visual depth and architectural interest and a beautiful display area for decor. And the best part? It was done almost entirely with scrap materials and a little creativity.


Recessed Wall Niches Q&A, Pro Tips
Q: Do I need electrical experience for this project?
A: Yes! If you don not know what you are doing, hire an electrician or use battery-powered LED lights as an alternative.
Q: What if my wall doesn’t have ideal stud placement?
A: You can adjust niche sizes or add internal framing for support. Do not remove any studs unless it’s safe to do so.
Q: Can this be done in any wall?
A: In theory yes, but you may have limitations depending on what’s behind the drywall (eg. piping, wiring, structural studs etc) and if your are able to run electrical wires easily.
Related Projects
Looking to further upgrade your walls? Check out my related projects:
Shop the Look
Check out all of my home organization finds on Amazon