DIY Budget Desk Build: Custom Office Desk Using Plywood
Our guest room/office had a “temporary” desk made from scrap wood… that somehow became permanent. It worked—but it definitely wasn’t pretty. After years of searching (and failing) to find an affordable desk on Facebook Marketplace, I finally decided: I’ll just build one myself.
The goal was simple—use as much material as possible that I already had and only buy what was absolutely necessary. With an old cabinet, one sheet of plywood, and a bit of creativity, I built a custom desk that looks high-end without the high price tag.
Disclaimer: This post contains affiliate links. I may earn a small commission if you make a purchase, at no extra cost to you.
 Old Cabinet
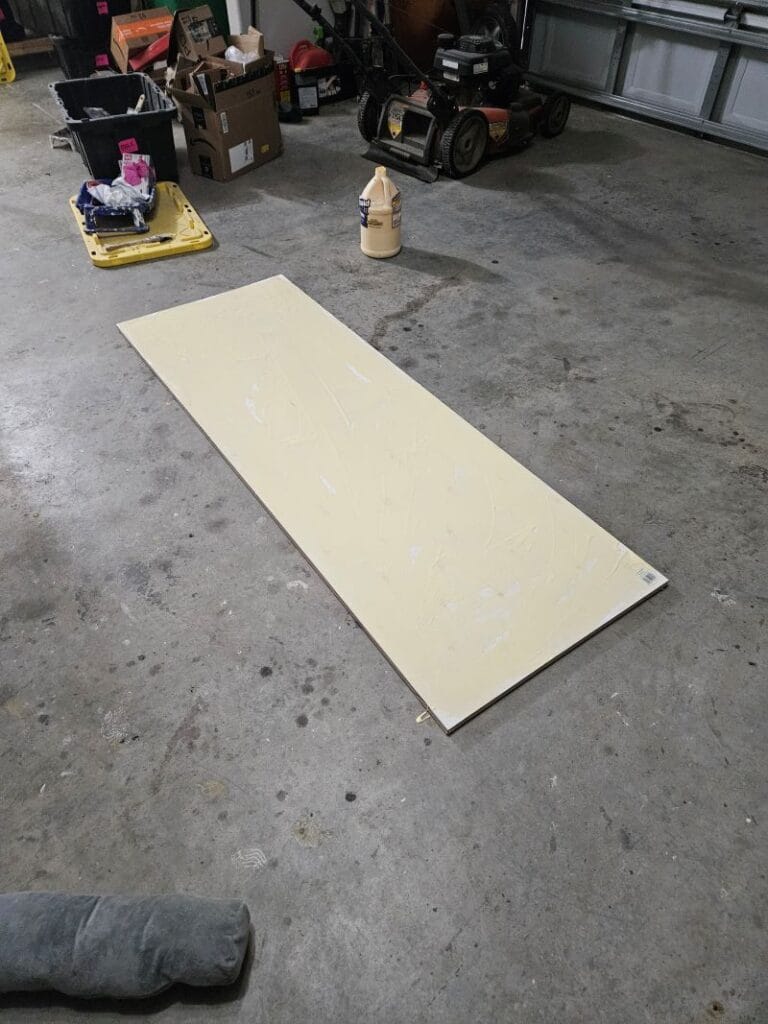 1 Sheet of Plywood
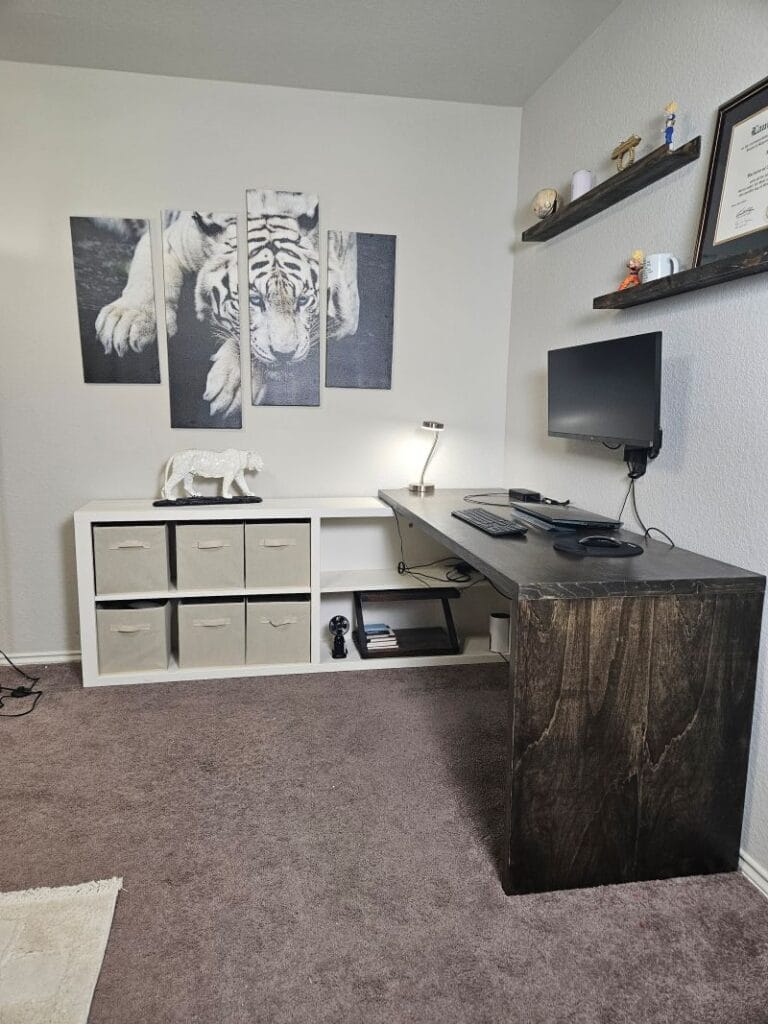 DIY Corner Desk
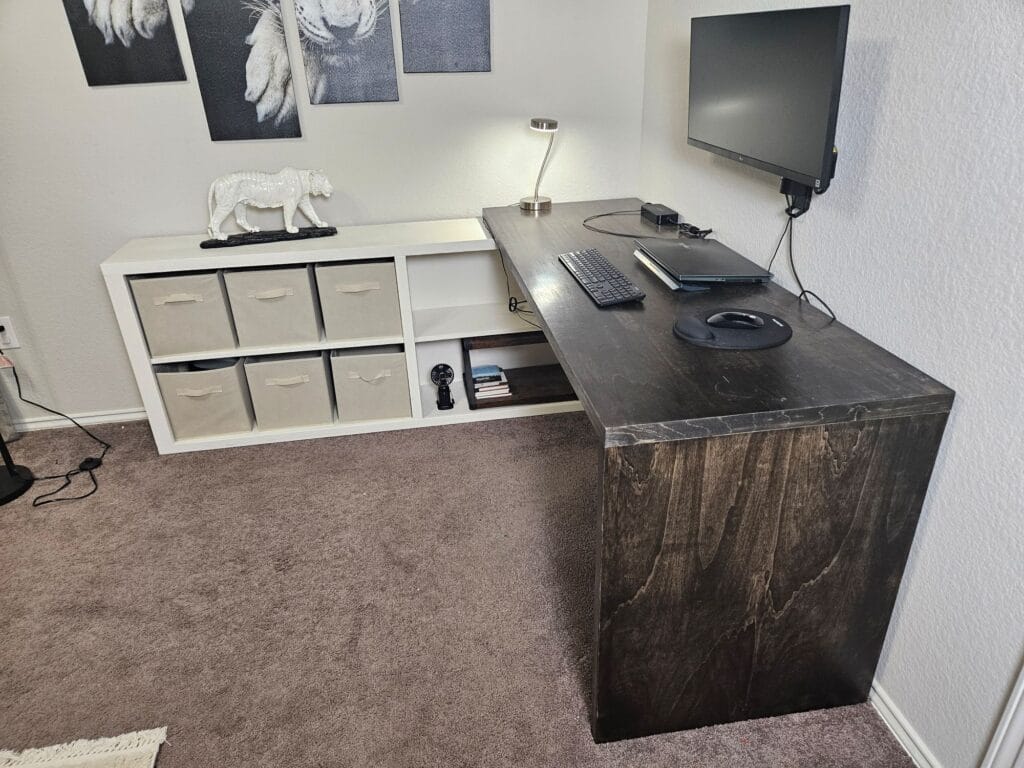
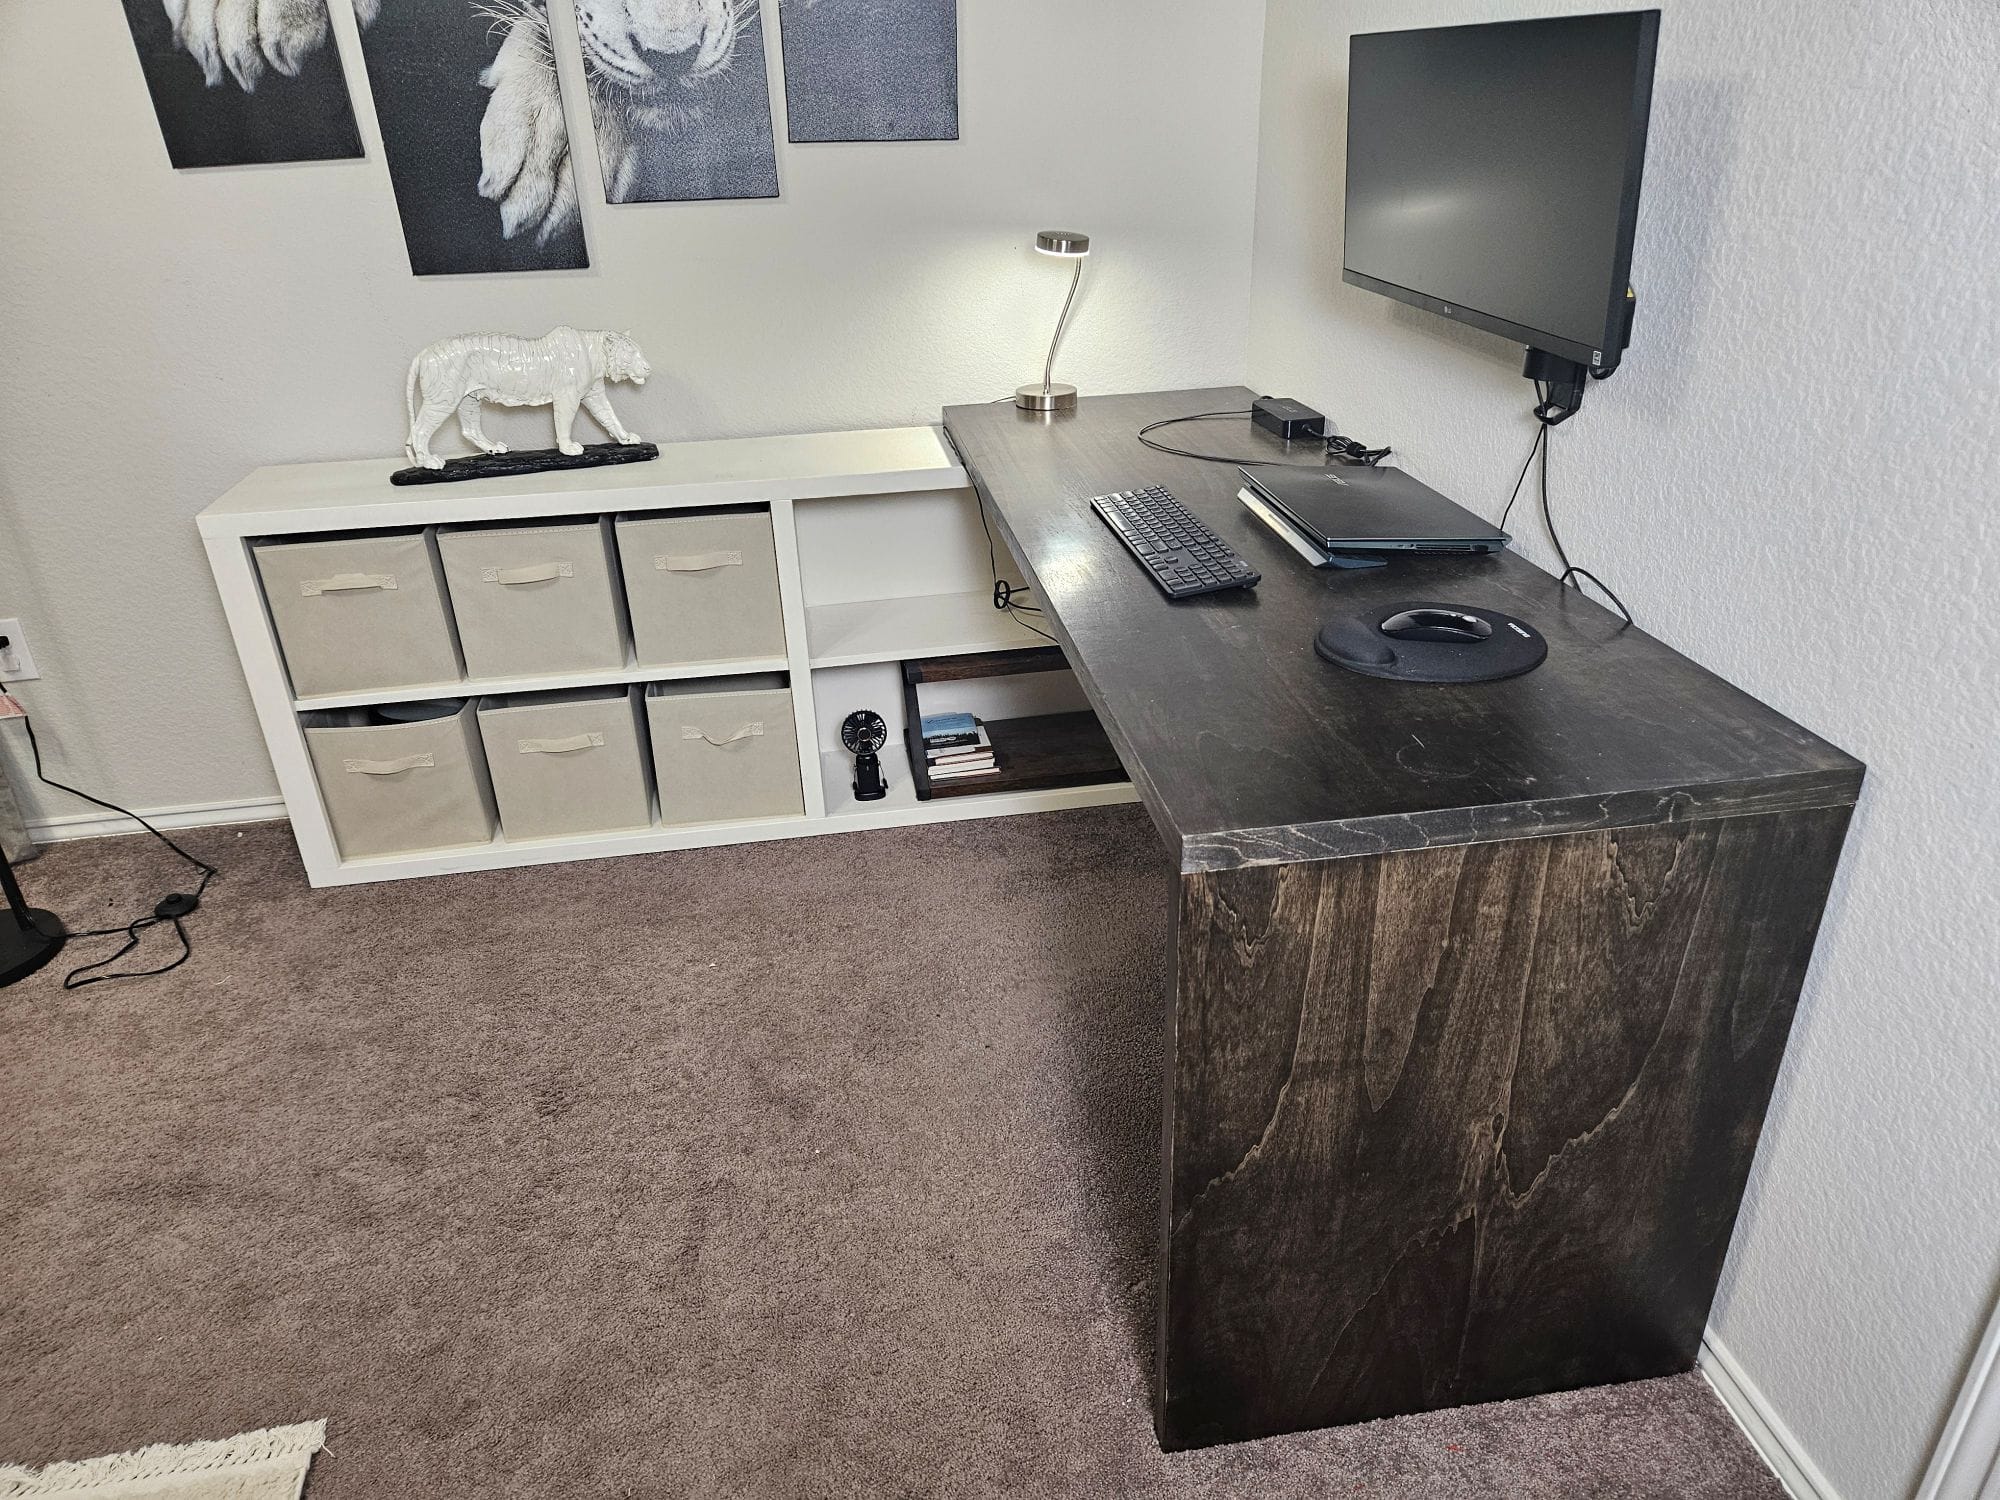
Project Snapshot / Quick Facts
- Skill Level: Intermediate
- Time Required: 2-3 Weekends
- Cost: ~$80
Materials & Tools You Need for Building a Custom Desk
Materials
- Cabinet or book shelf
- 3/4″ cabinet-grade plywood sheet
- 1×2″ boards (for trim)
- 1/4″ plywood strips (leftover material)
- Wood glue
- Brad nails
- Edge banding
- Wood filler
- Paint (Alabaster white)
- Wood stain (dark walnut + ebony mix)
- Polyurethane coating
- Wooden dowels
- Wood Screws
Tools
- Circular saw, better: Track Saw
- Drill + dowel jig
- Brad nailer
- Orbital sander
- Iron (for edge banding)
- Edge trimmer
- Safety Gear (My pink PPE from Amazon)
Building a DIY Desk (Step-by-Step)
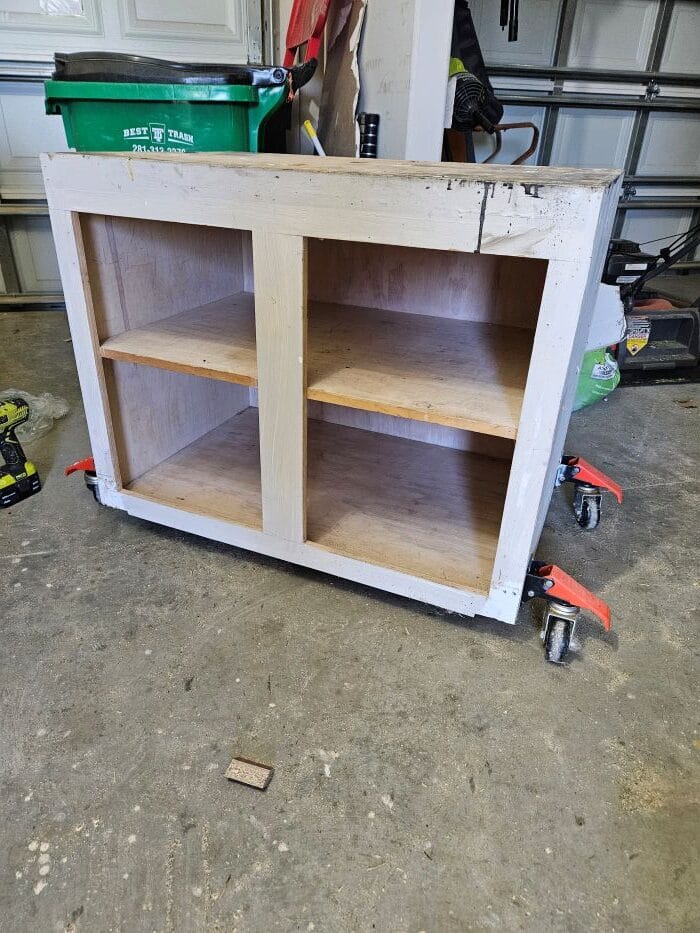
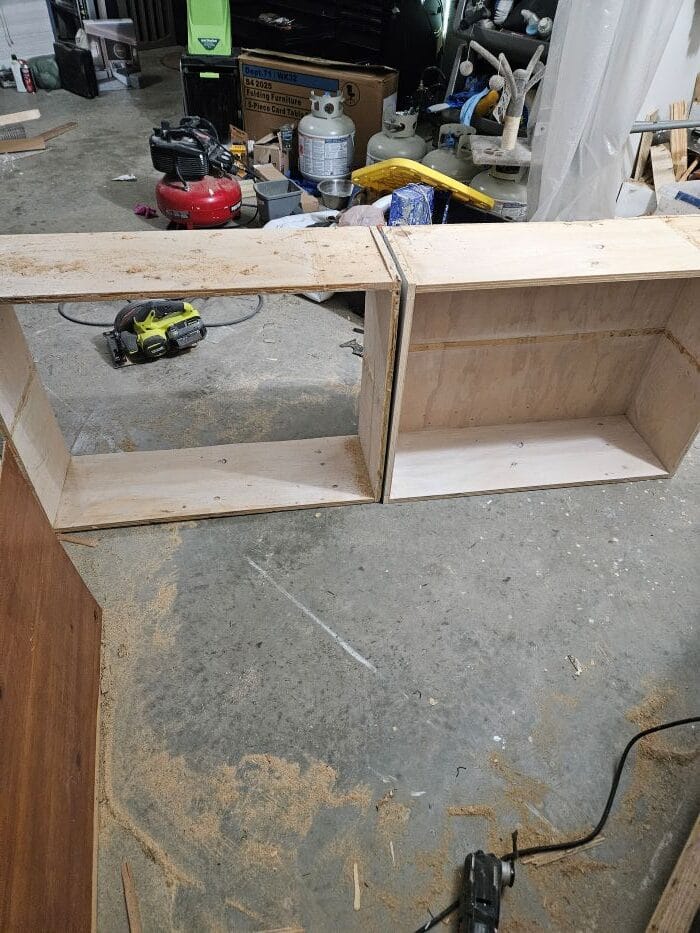
Step 1: Transform the Old Cabinet into a Desk Base
The foundation of this build started with an old, deep kitchen cabinet that was no longer practical.
- Originally ~2 ft deep
- Removed the middle shelf temporarily
- Cut the cabinet in half lengthwise to create two shallow units (~1 ft deep each)
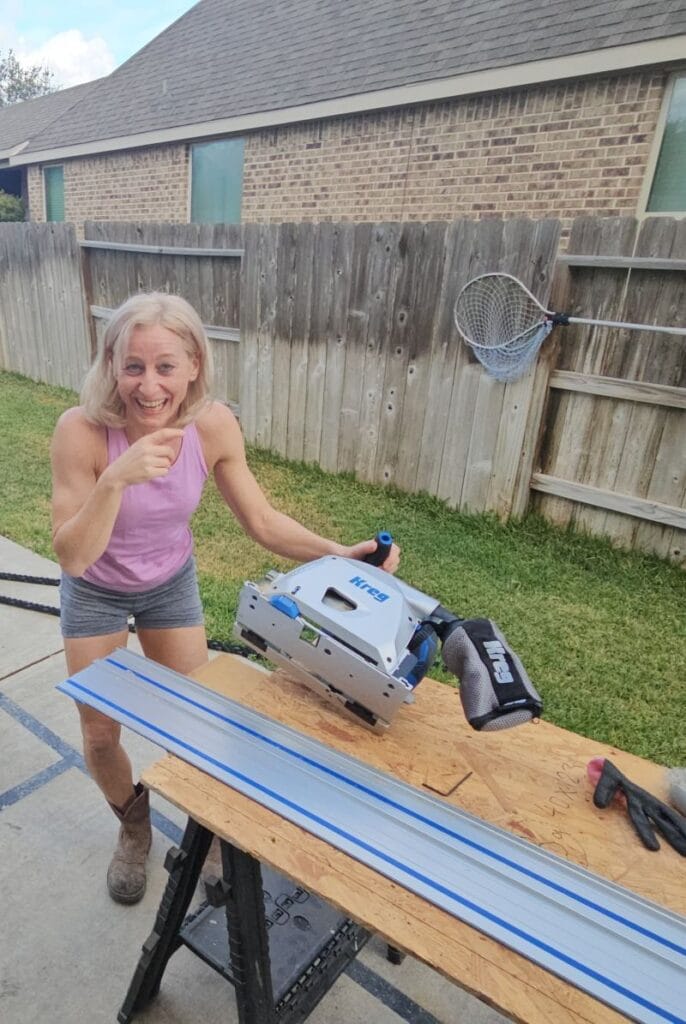
At first, I used a circular saw, but getting a straight cut was difficult and messy.
That’s when I finally upgraded to a track saw, which made a huge difference in precision (and honestly, I should’ve done that much earlier). Once cut:
- Reinstalled the middle shelves
- Positioned both cabinet halves side by side
- Secured them together to create a ~6 ft base
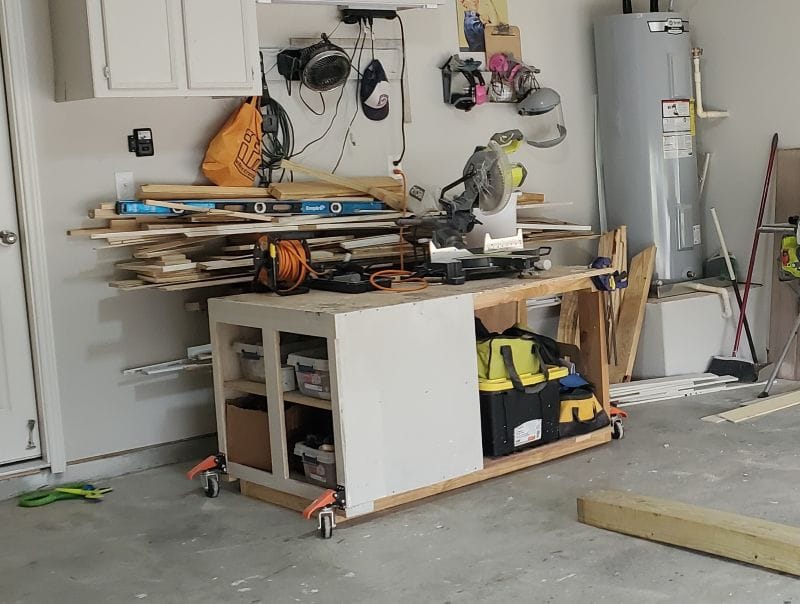
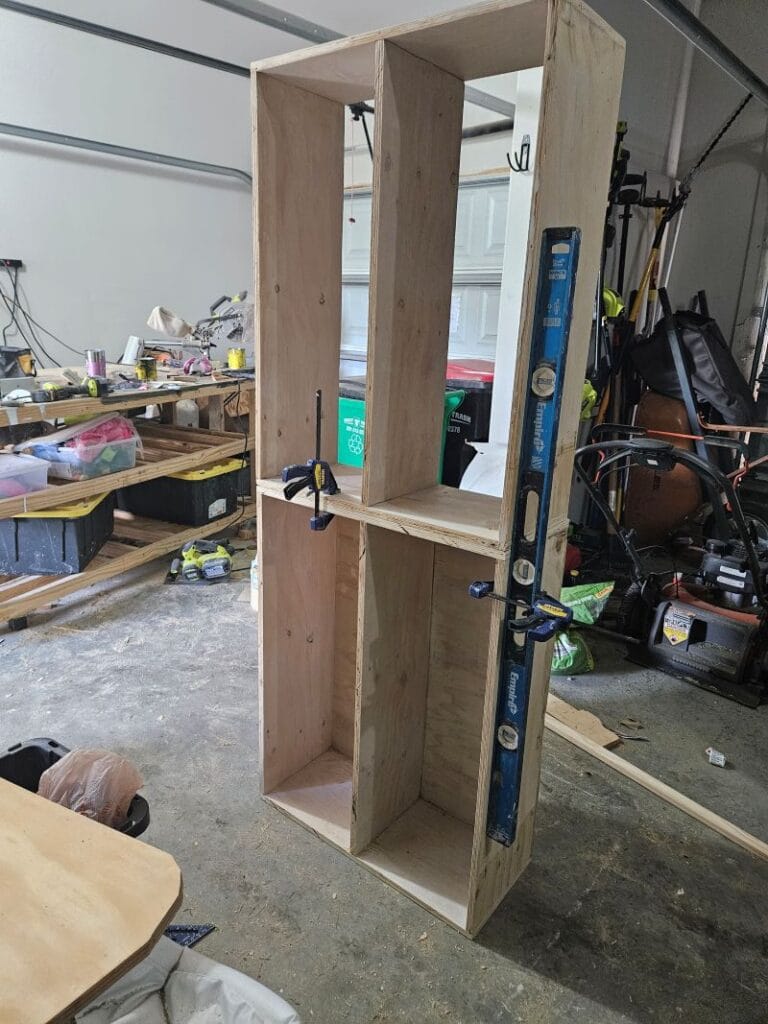
Step 2: Clean Up and Refine the Cabinet Structure
To make the cabinet look more finished and less like scrap wood:
- Covered the top using leftover 1/4″ plywood strips
- Attached using wood glue + brad nails
Then added framing:
- Installed 1×2″ boards along the edges (top, bottom, and sides)
- This gave the cabinet a more solid, furniture-like appearance
For the inner shelf:
- Applied edge banding using an iron or heat press
- Trimmed excess with an edge trimmer
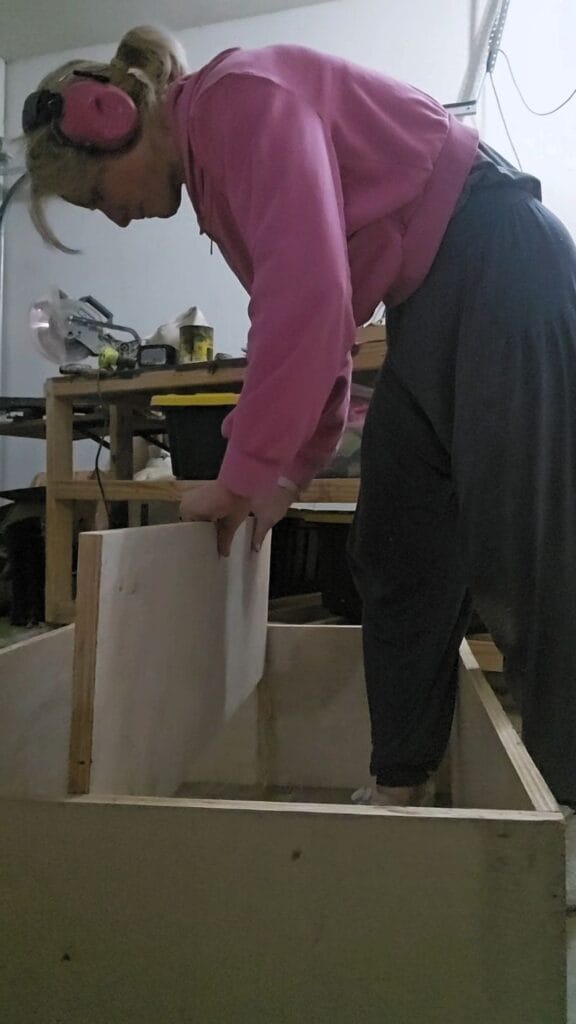
One design tweak:
- The 1x2s on the sides looked too bulky
- Added thin plywood panels over them to reduce depth and create a cleaner look
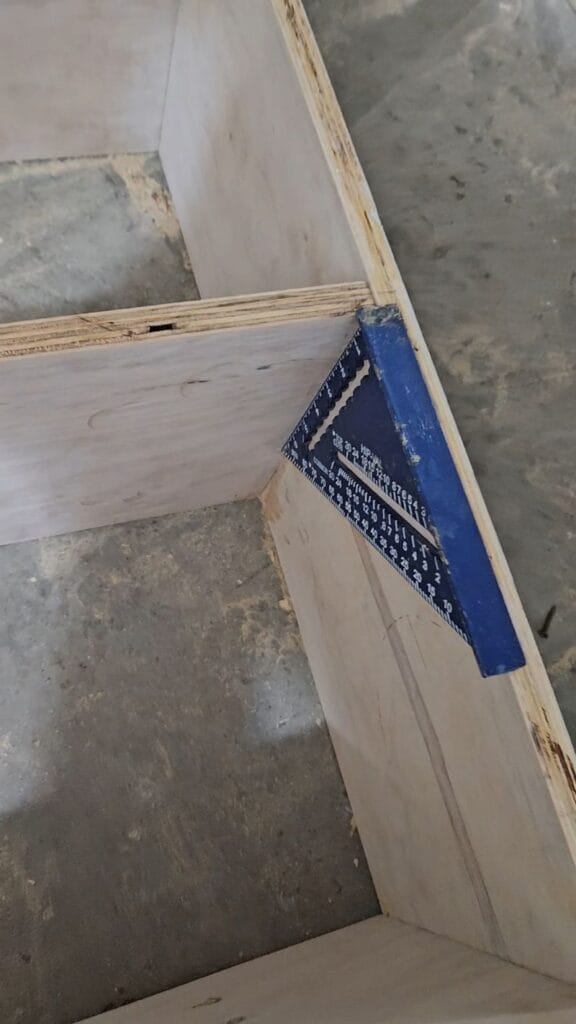
Finally:
- Filled all gaps with wood filler
- Sanded everything smooth
- Slightly rounded sharp edges for a softer finish
Since the wood had imperfections and mixed materials, staining wasn’t ideal—so I painted it Alabaster white to match the home’s trim.
 Installing Plywood Top
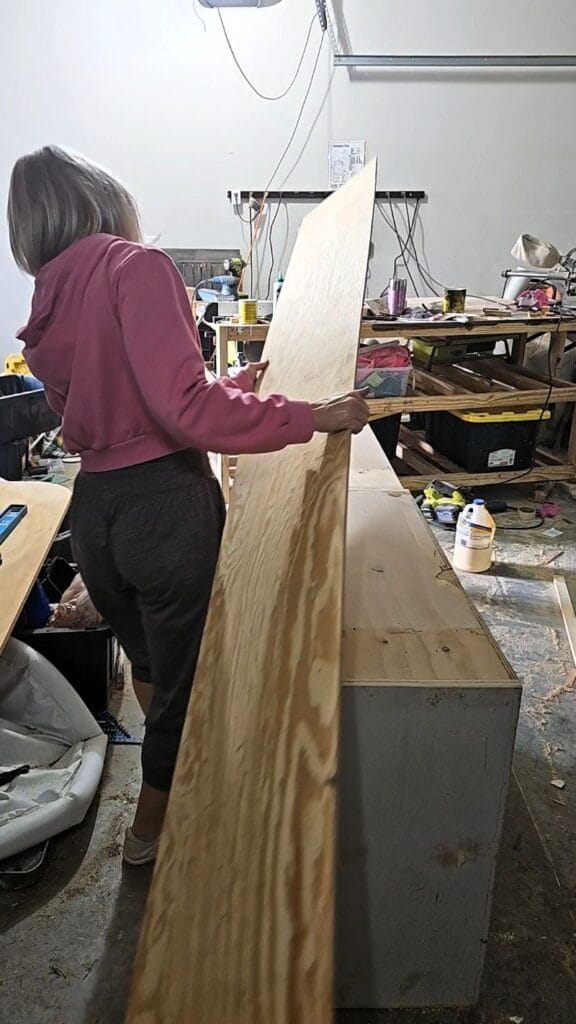 Installing Plywood Top
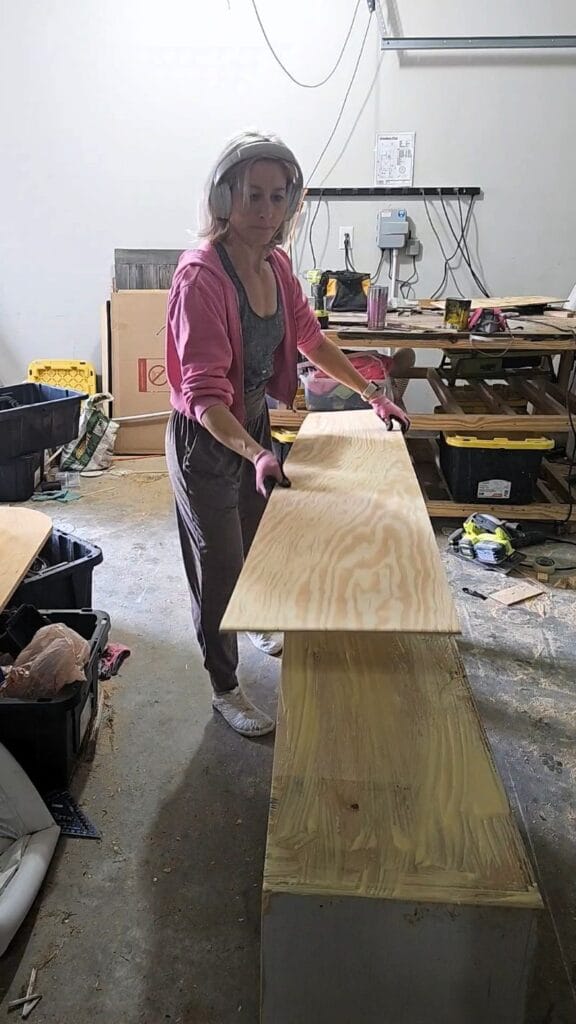 Installing Plywood Top
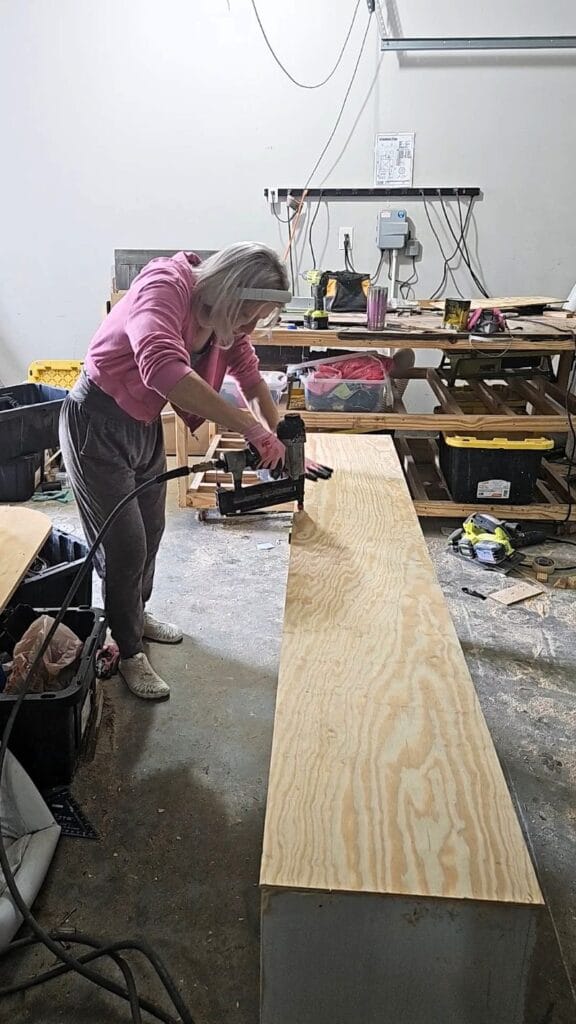 Installing Plywood Top
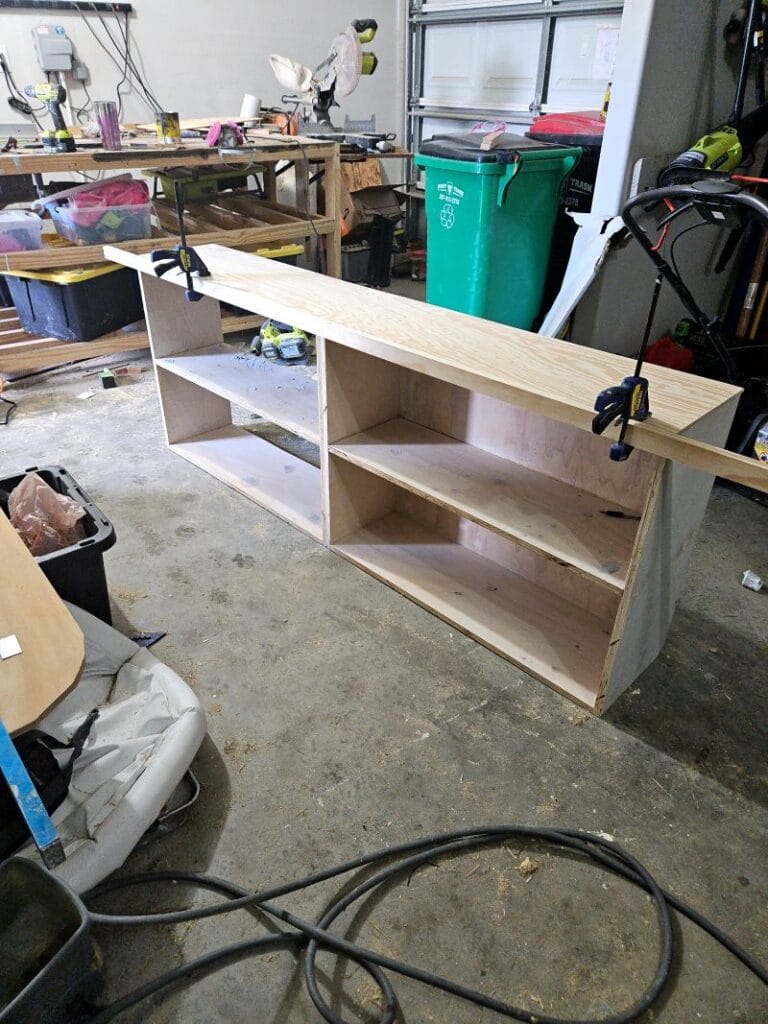 Adding the frame with 1x2s
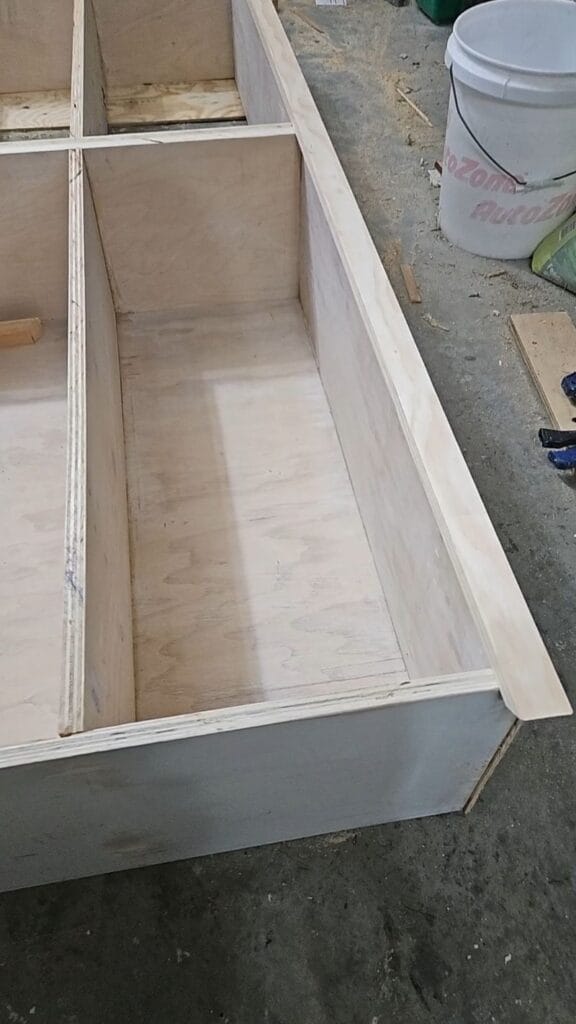 Adding the frame with 1x2s
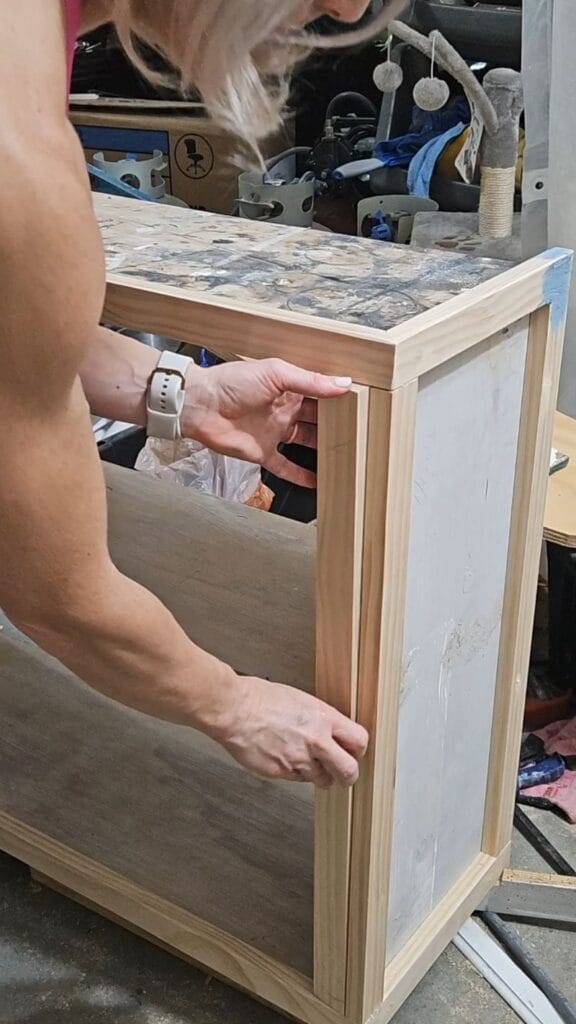 Adding the frame with 1x2s
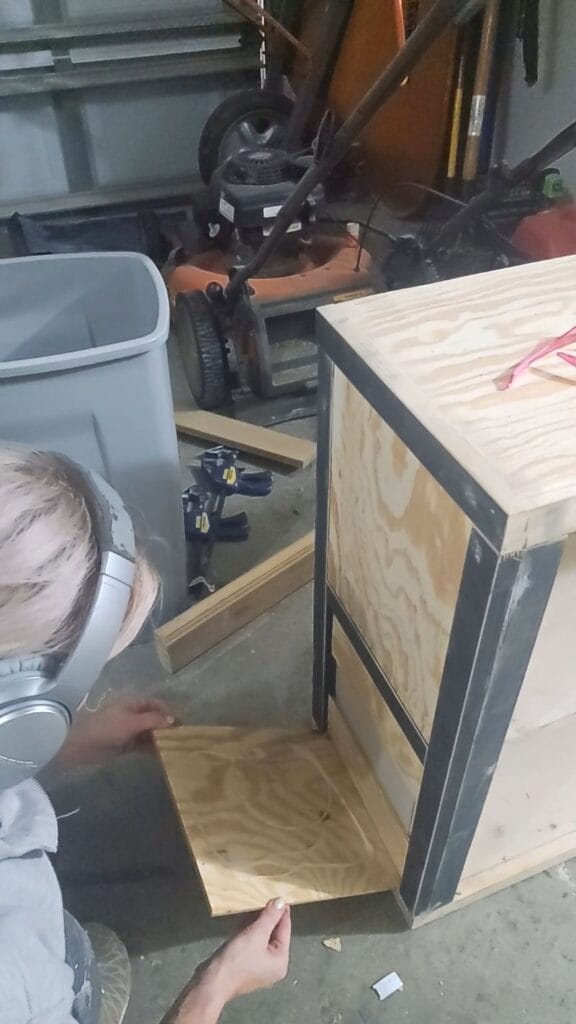 Cabinet Sides
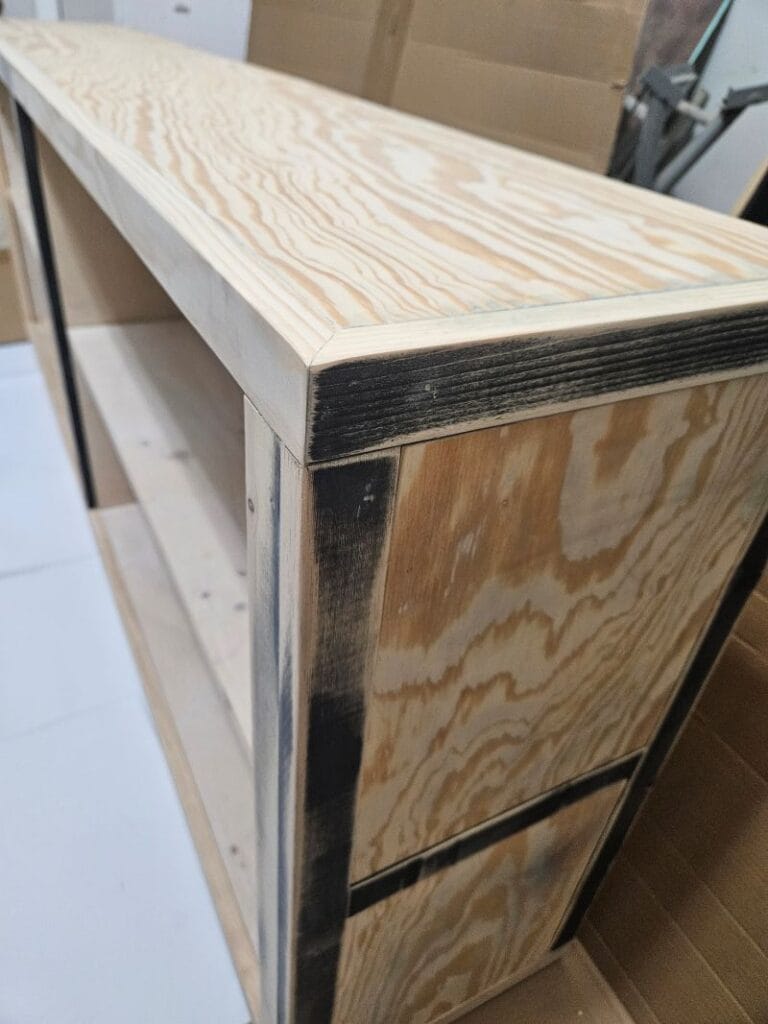 Cabinet Sides
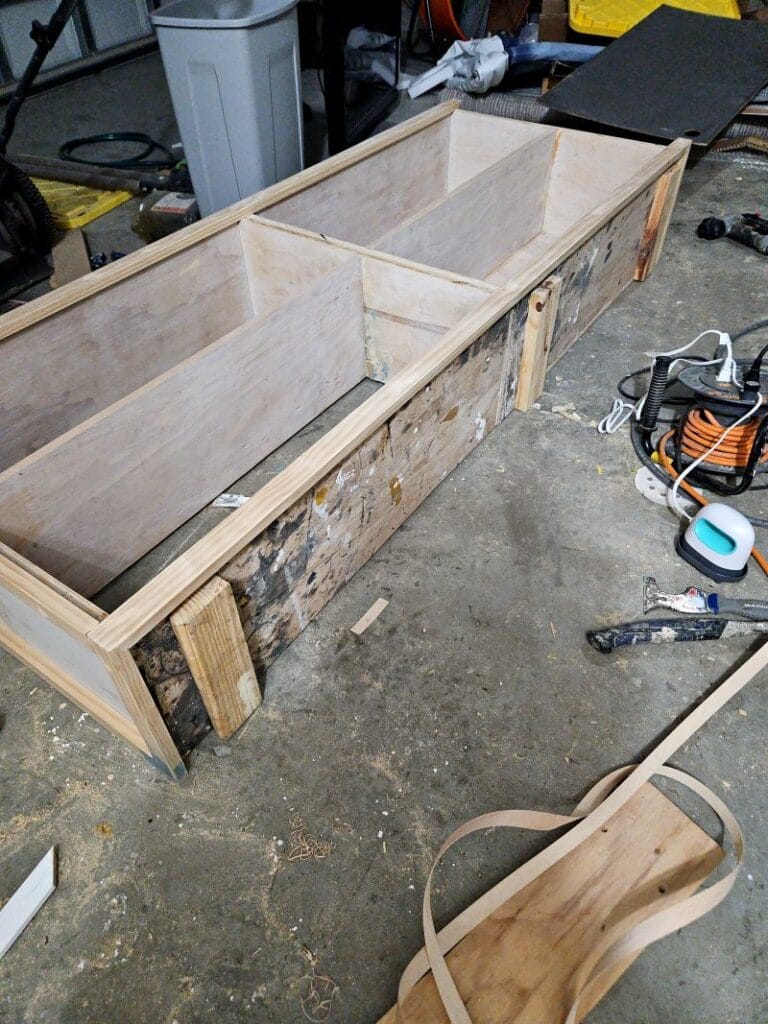 Adding simple stud feet
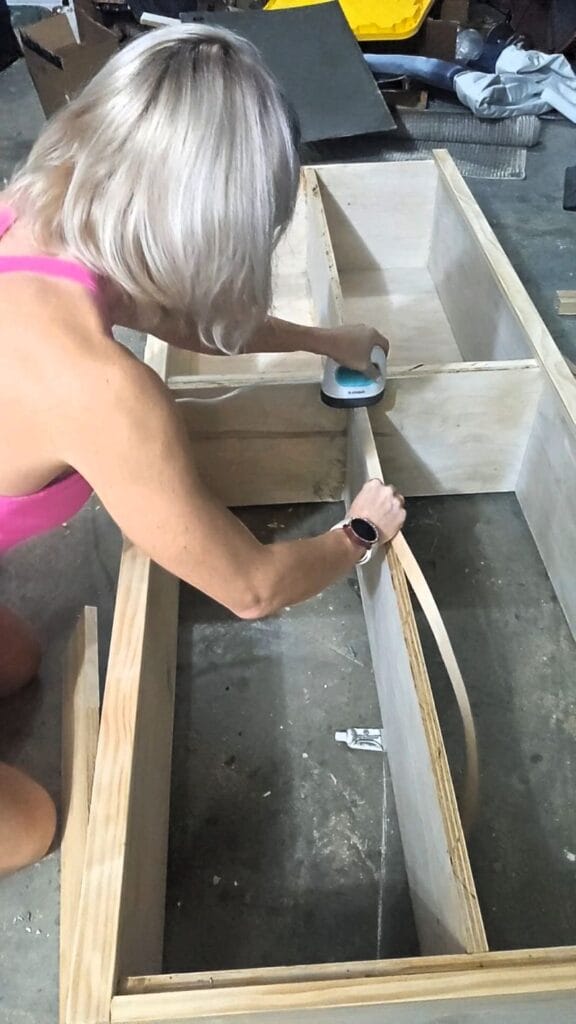 Applying edge banding to the middle shelf
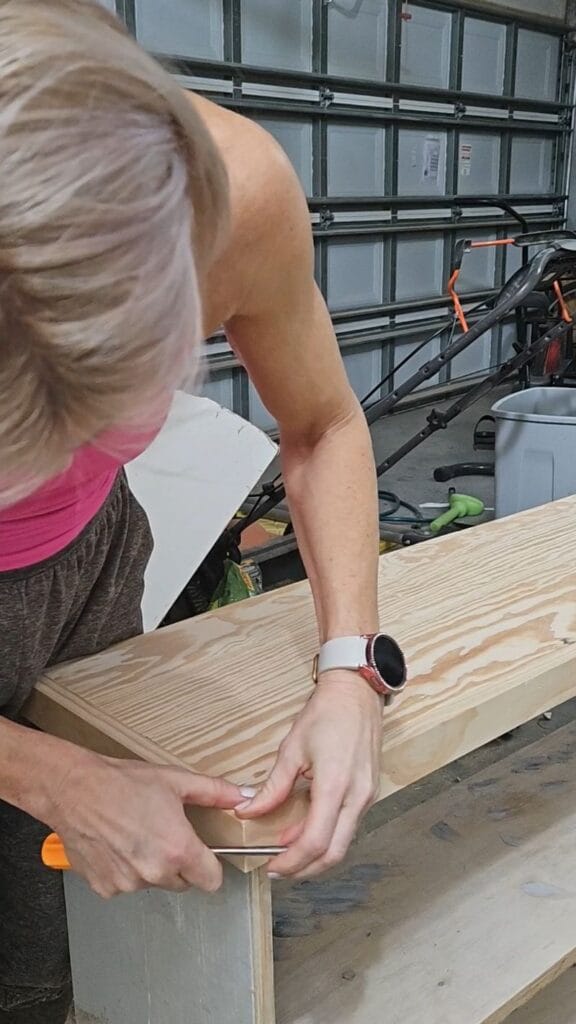 Smoothing the edges
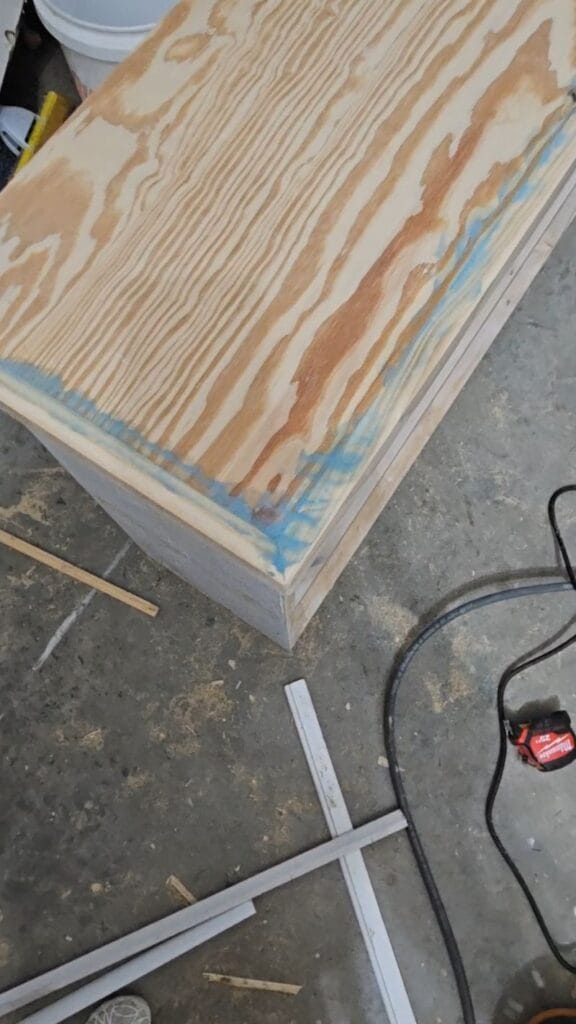 Wood filler
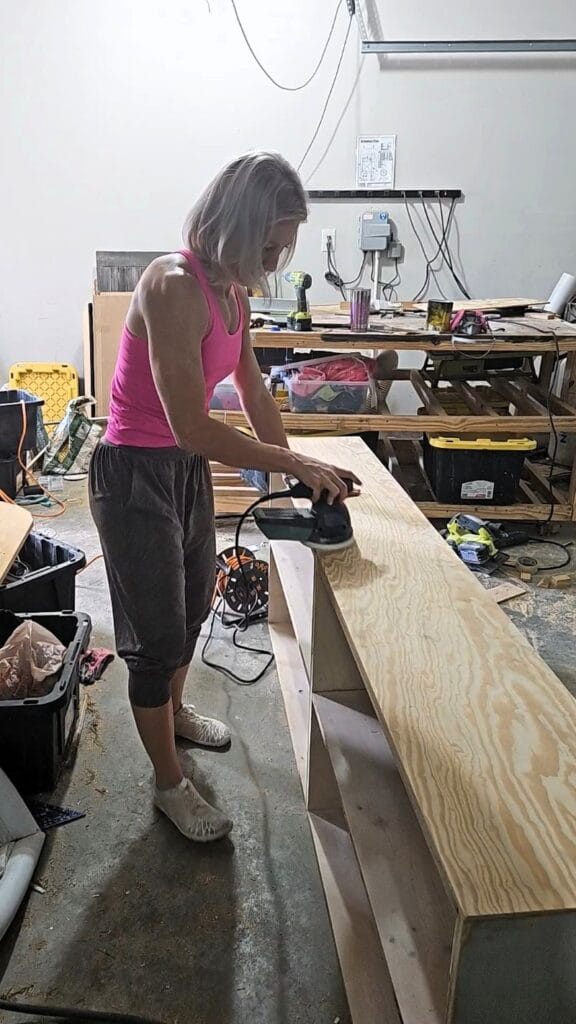 Sanding
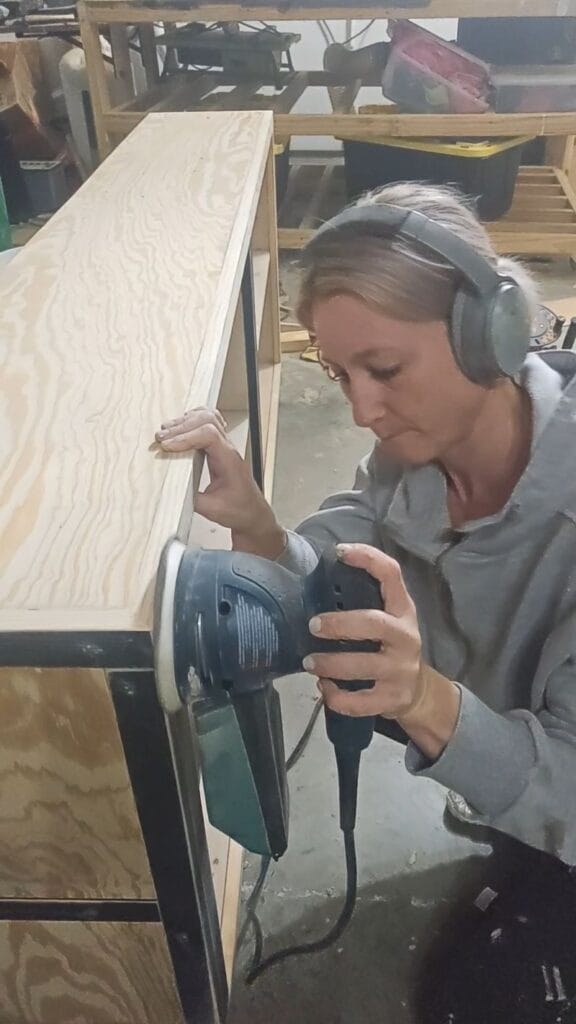 Sanding
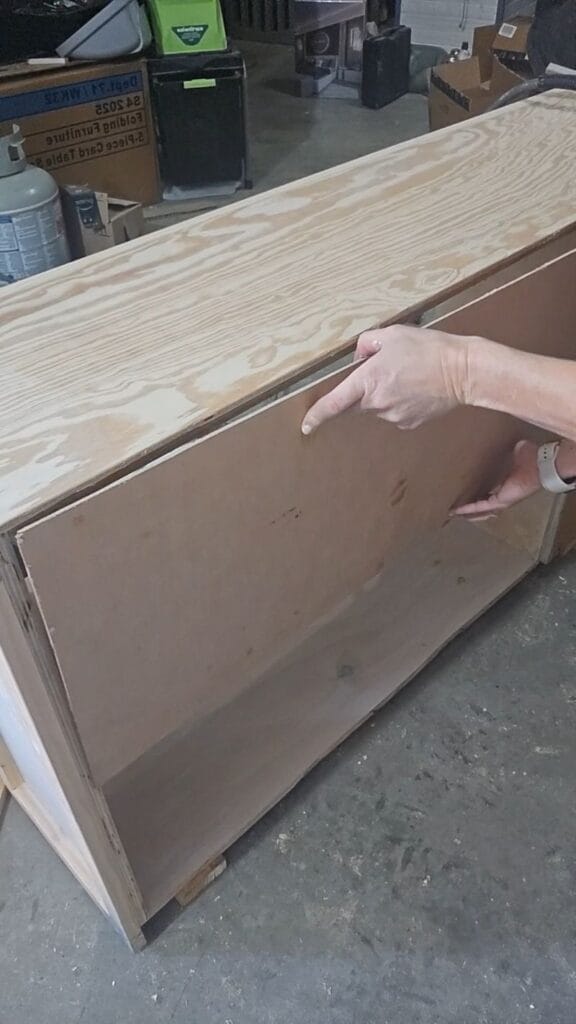 Installing the backboard
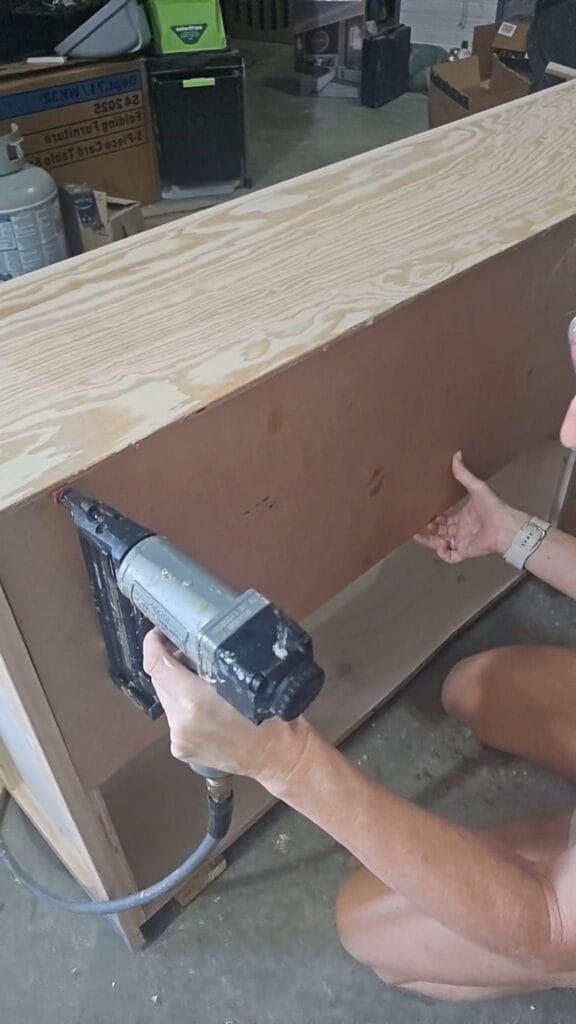 Installing the backboard
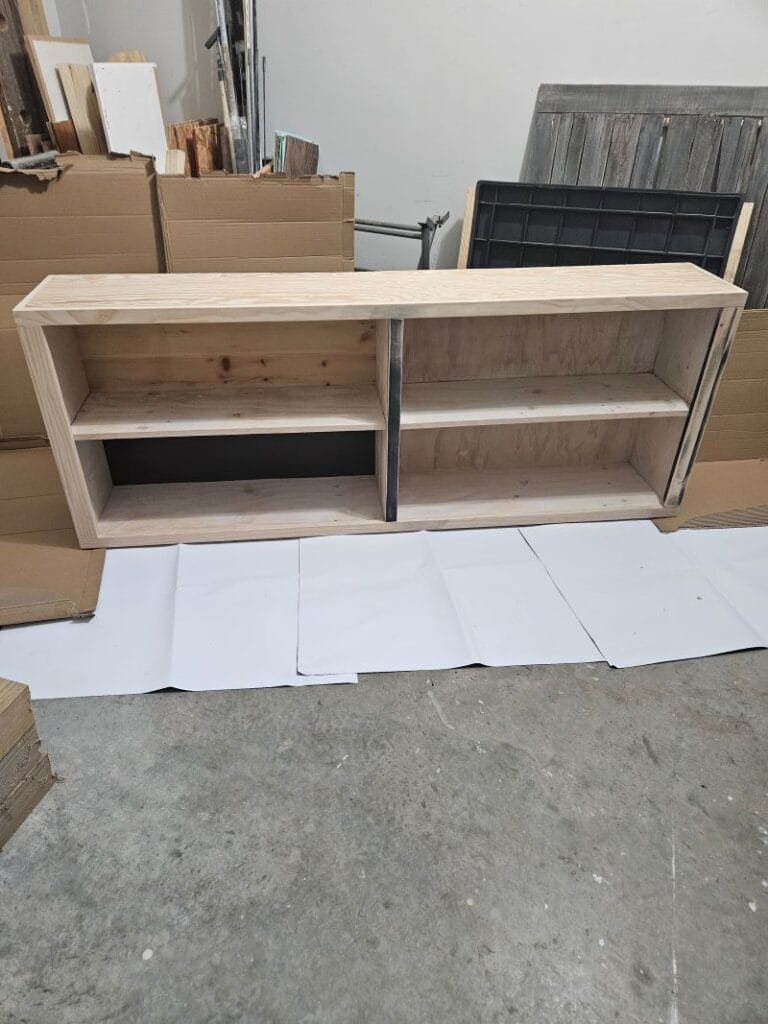 Ready to paint
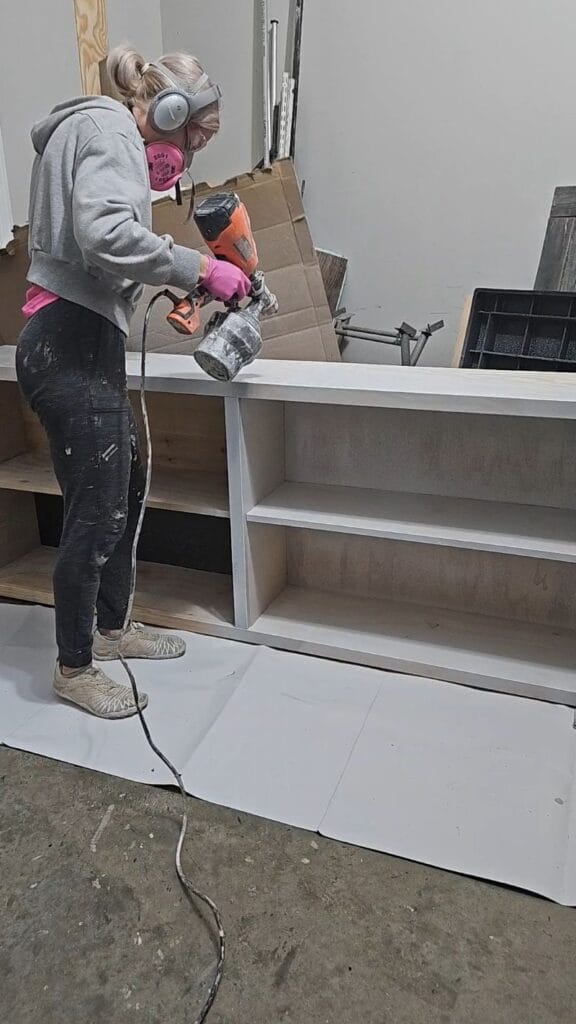 Spray Paint
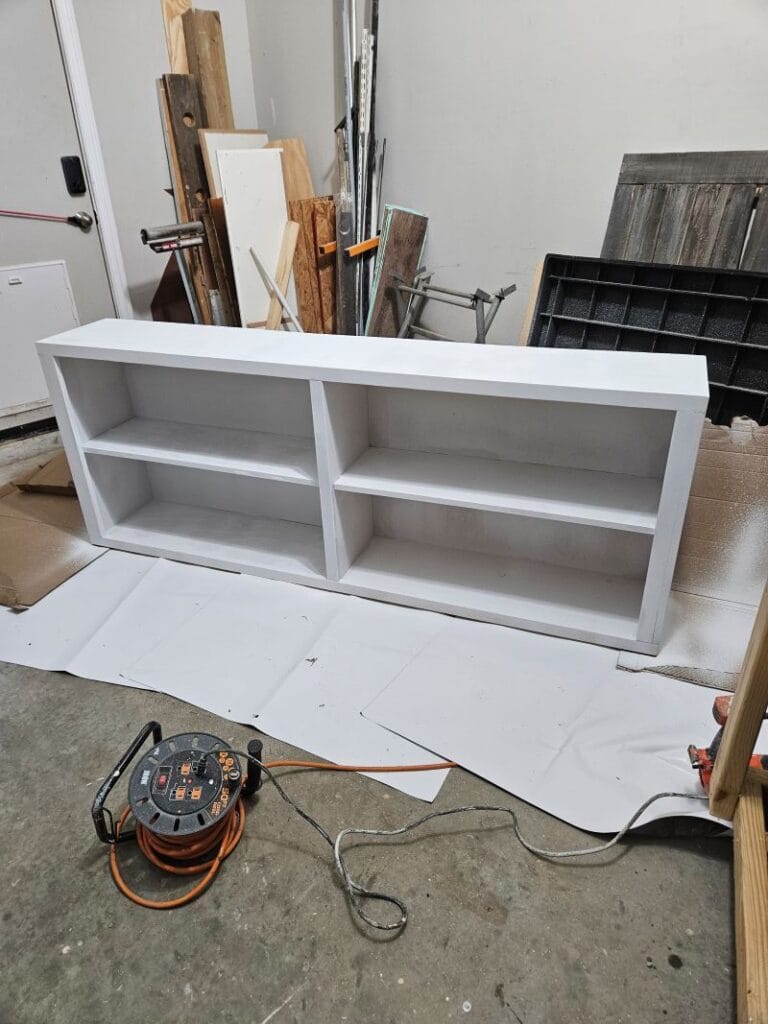 Finally Done
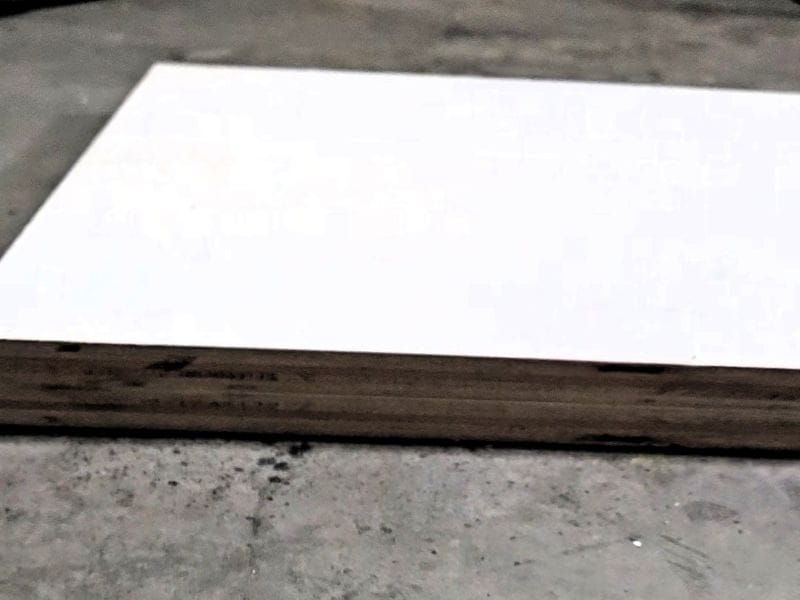
Step 3: Build a Thick-Look Desk Top
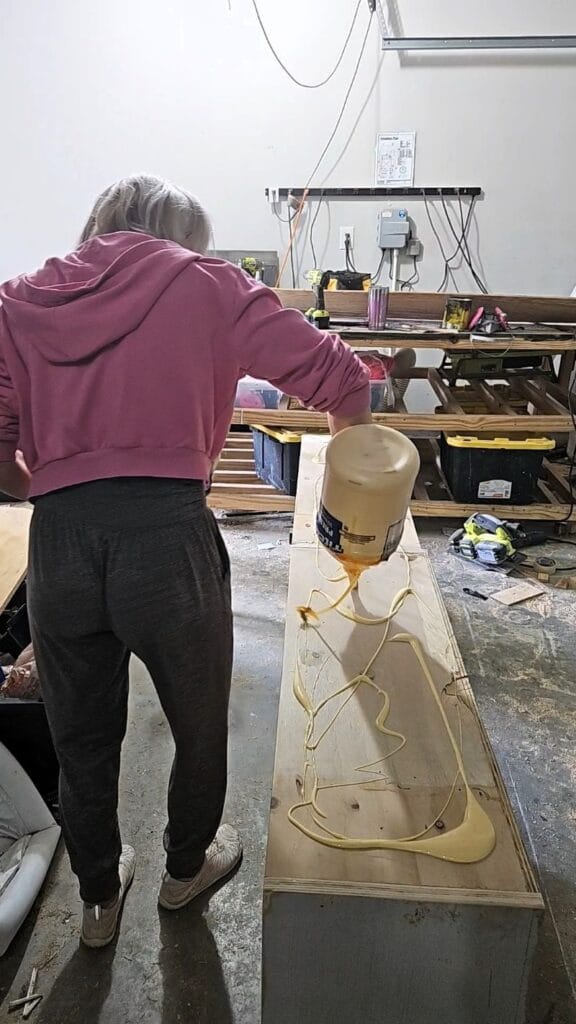
To keep costs low while achieving a high-end look I bought one sheet of 3/4″ plywood. I had it cut in-store into two equal pieces (approx. 2×8 ft each). At home:
- Glued the two sheets together to create a thicker desktop (Tip: Doubling plywood is a great budget trick for chunky, modern furniture and cheaper than butcher block wood.)
- Secured lightly with brad nails
- Placed weights on top while drying
This created the look of a thick, expensive slab without the cost of butcher block.
- 1 Sheet of P
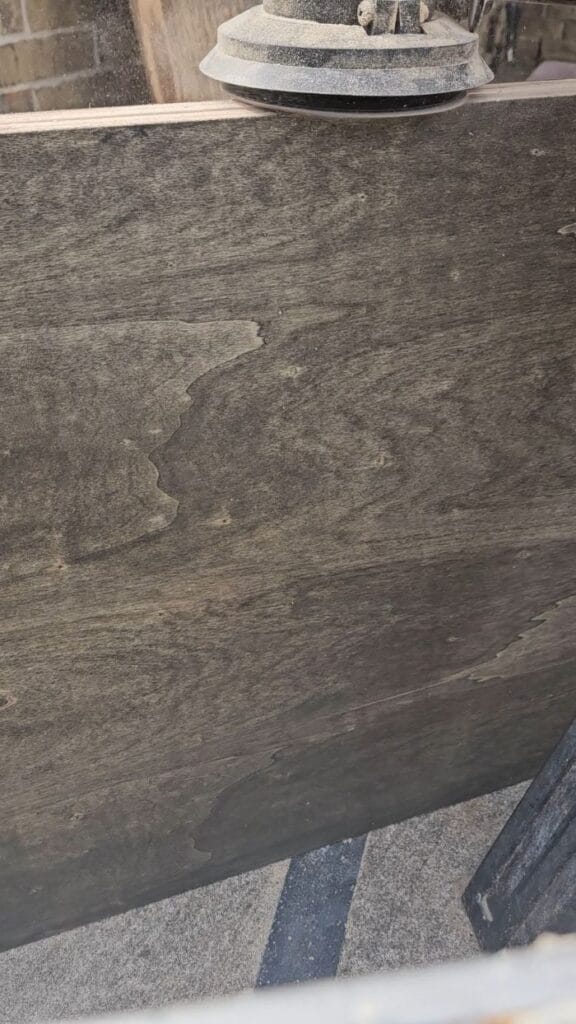 Sanding to even out the two plywood layers
Step 4: Cut and Build the Desk Leg
I cut a section of the plywood using the track saw to serve as the right support leg by matching the height exactly to the cabinet base. This leg balances the desk and gives it a modern, sleek look.
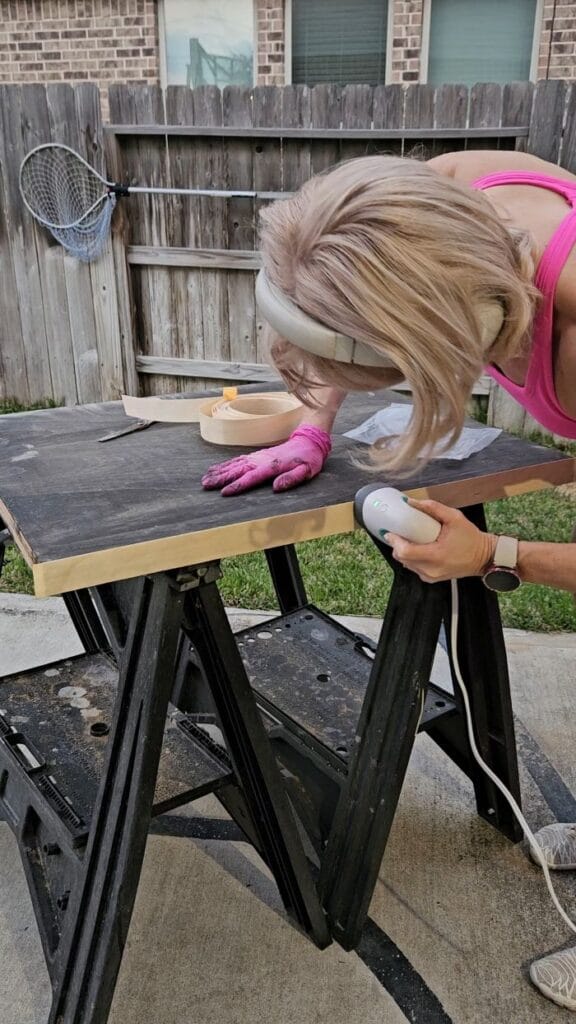
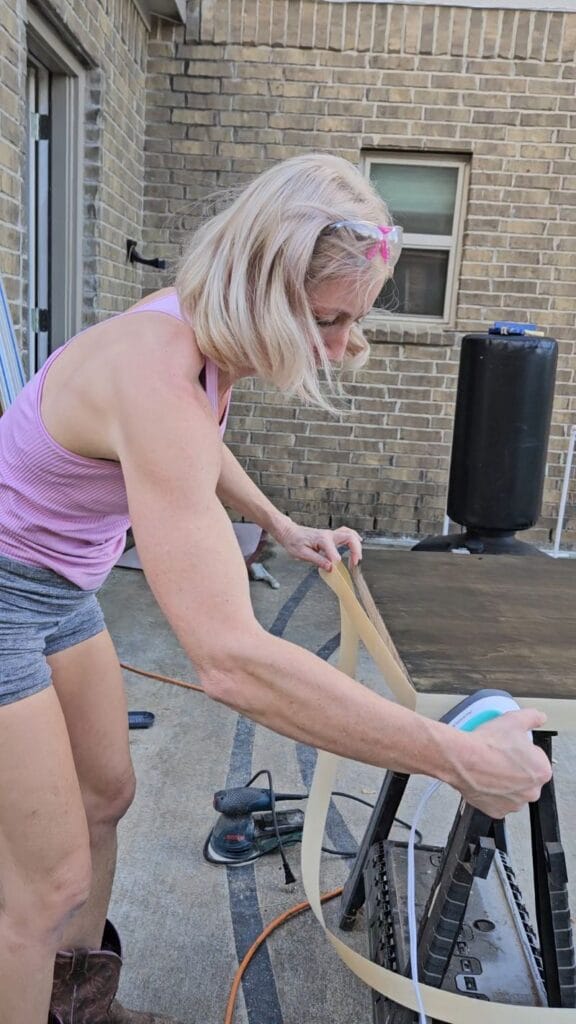
Step 5: Finish the Edges
To hide raw plywood edges:
- Applied 1.5” edge banding around the desk top and leg
- Trimmed flush for a clean finish
This step makes a huge difference in appearance—it instantly looks more like solid wood.
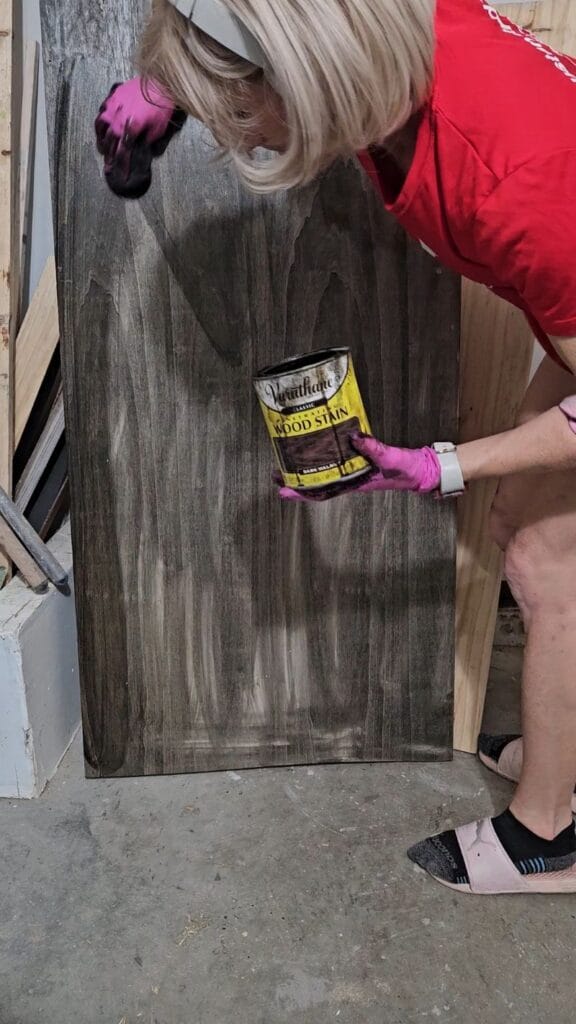
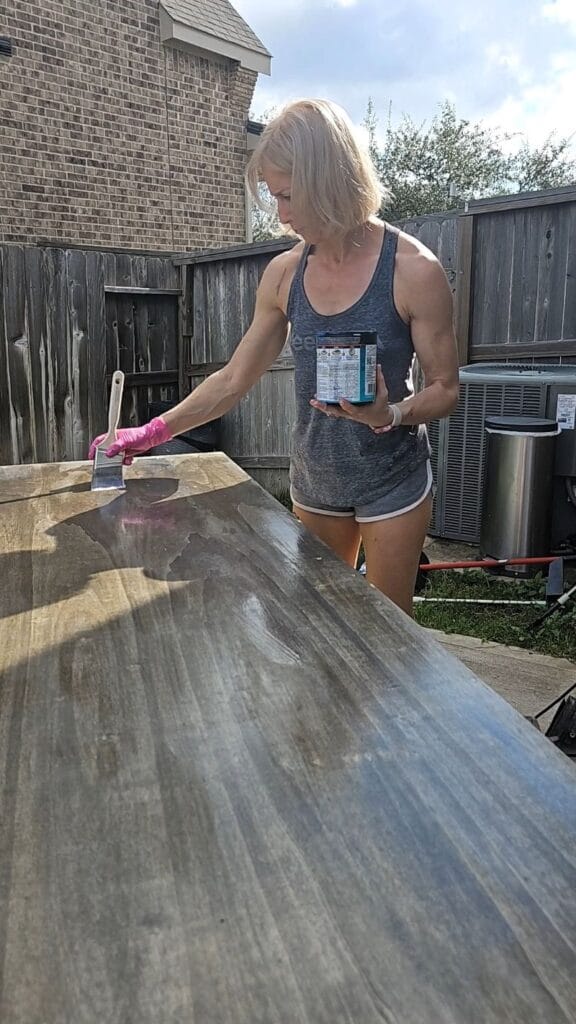
Step 6: Stain and Seal the Desk Top
For the finish I used a custom mix of dark walnut + ebony stain which I applied evenly and wiped off excess. Then sealed with 3 coats of water-based polyurethane with light sanding between coats for a smooth finish. Even though I prefer oil-based coating, the water-based poly I had available and it worked great and dried faster.
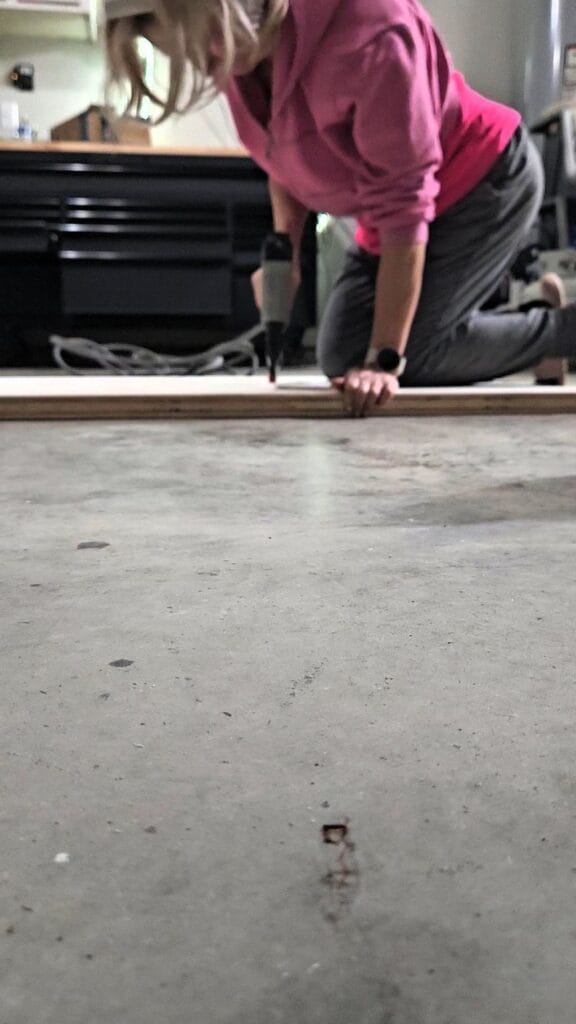
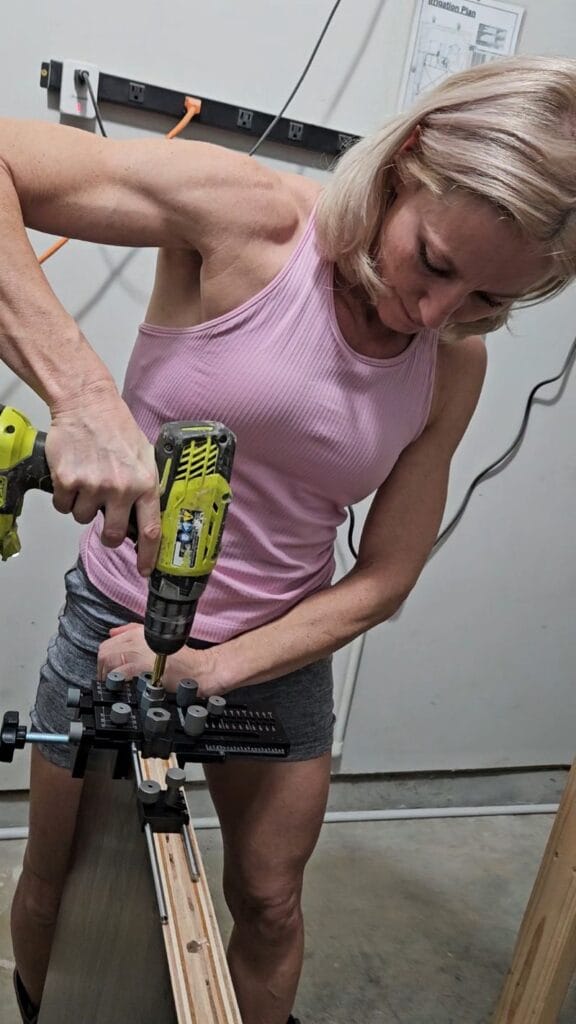
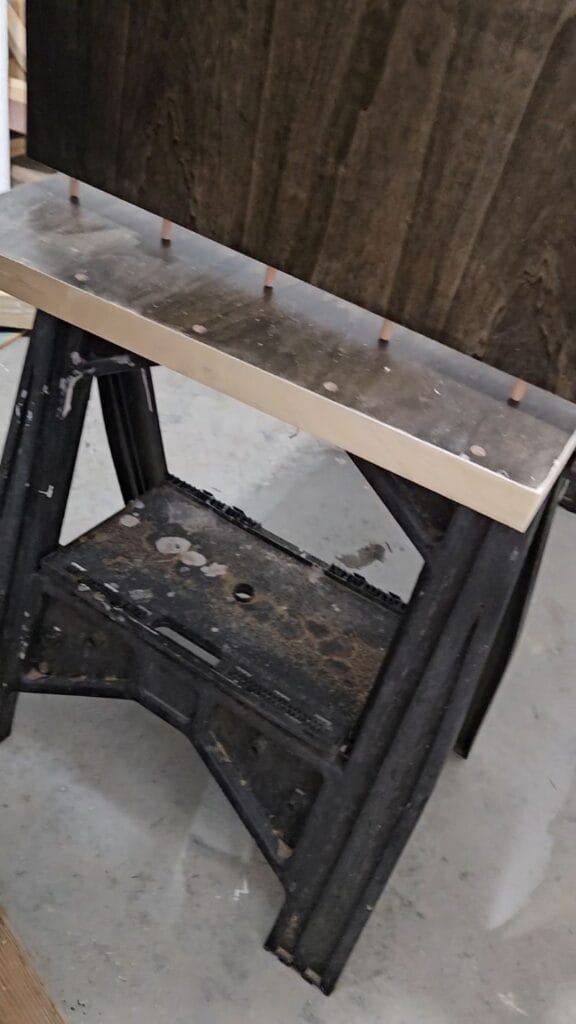
Step 7: Assemble the Desk
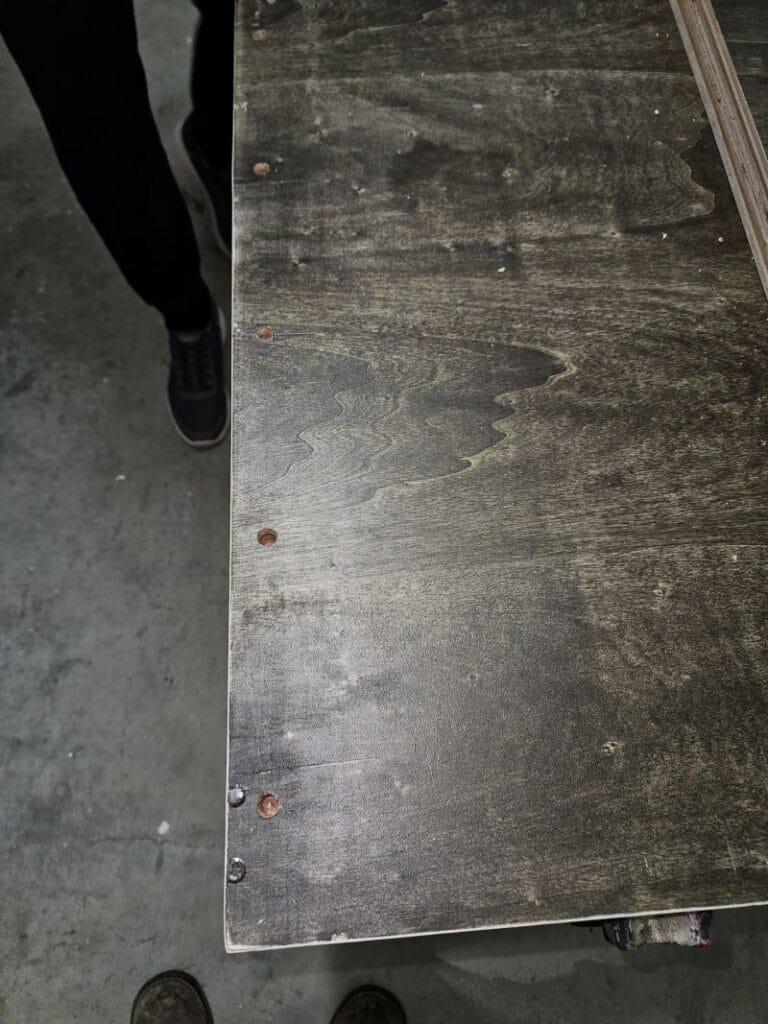
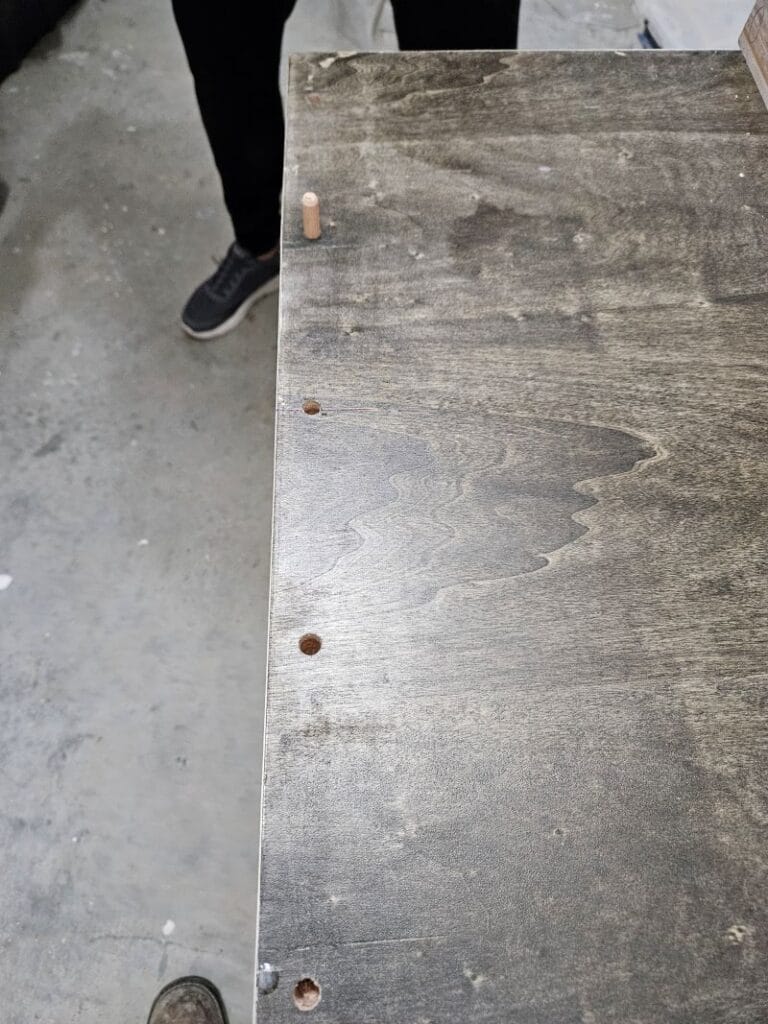
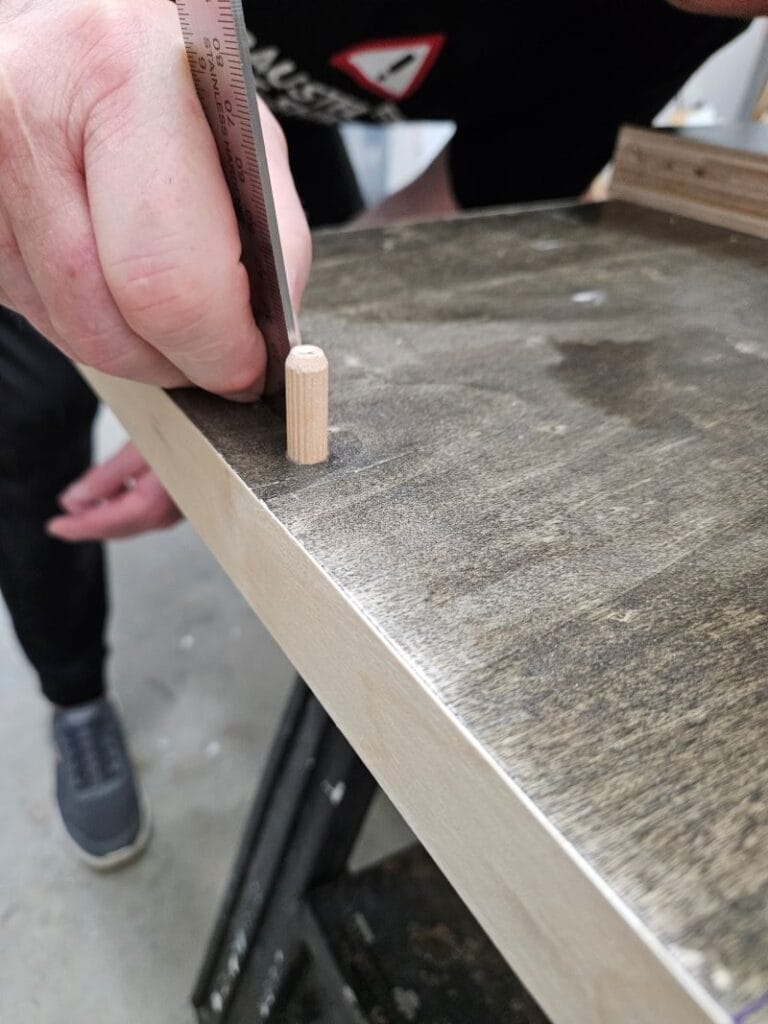
To connect the desk leg to the top:
- Used wood dowels + a dowel jig
- Drilled matching holes in both pieces
- Added wood glue and joined them together
- Let dry overnight
Next day:
- Placed the desk top onto the cabinet base
- Secured using heavy-duty double-sided tape (surprisingly strong!) and a small metal bracket.
For extra stability I anchored the cabinet into a wall stud. Result: completely solid, no wobble at all


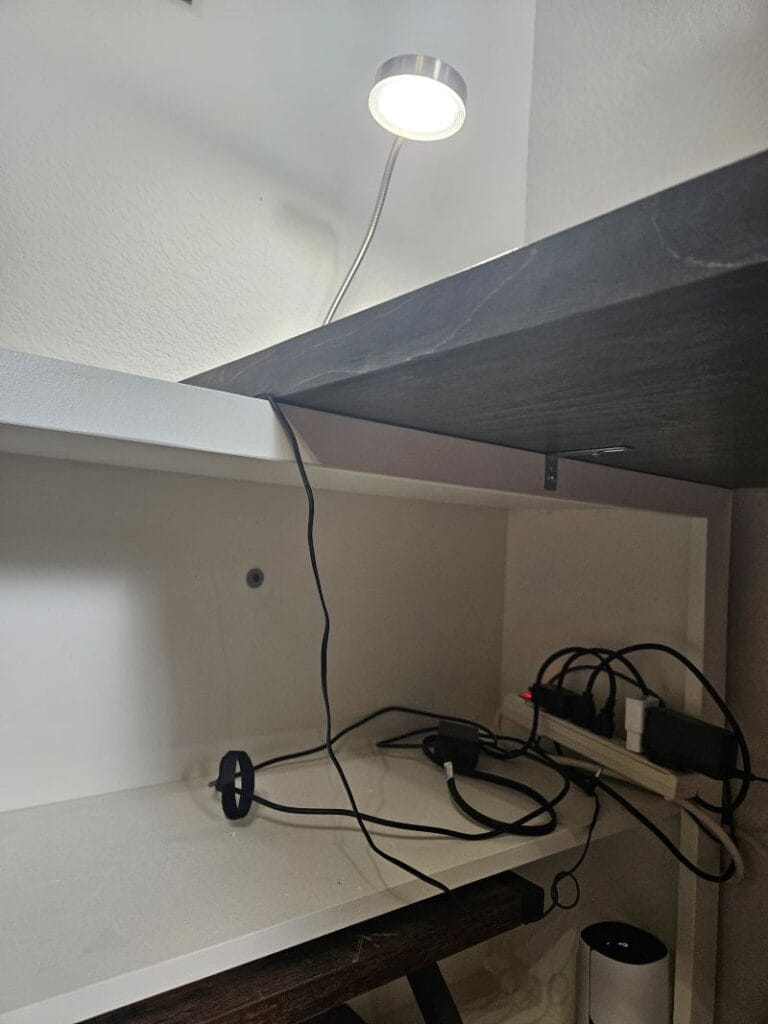 Secured cabinet and metal bracket
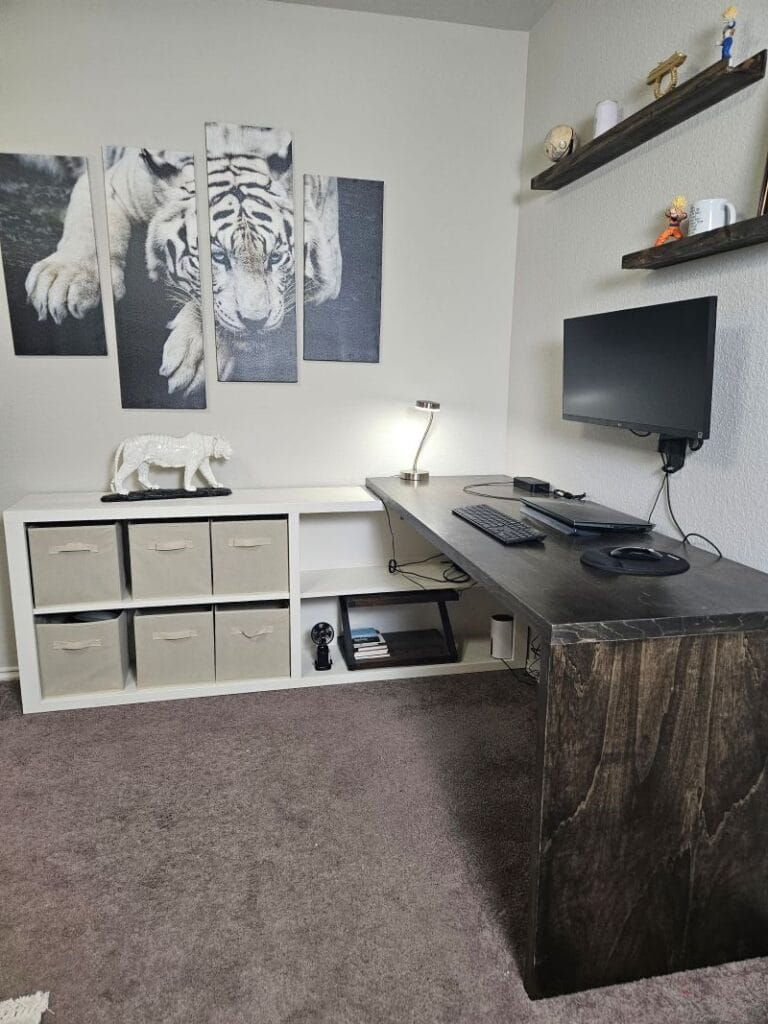
Step 8: Style and Finish the Space
To complete the setup:
- Added affordable storage cubbies inside the cabinet
- Built small wall shelves from scrap wood for decoration and storage
- Styled the space to tie into the guest room/office design
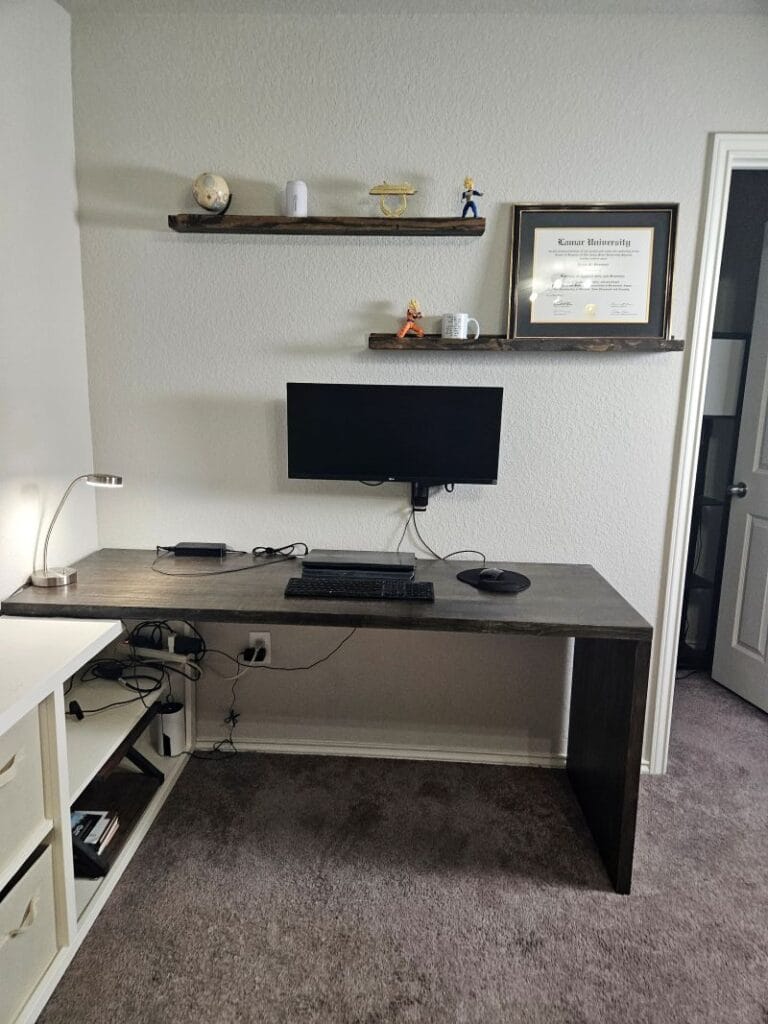
This desk completely transformed the room.
What started as an eyesore is now clean and modern, Highly functional, Budget-friendly, and honestly… one of my most detailed builds so far. It looks like something you’d buy in a store—but it’s fully custom. With a track saw now in my tool box, I may explore further furniture builds in the near future or add some cabinet doors…stay tuned.

DIY Custom Desk Q&A, Pro Tips
Q: Can I build this without a track saw?
A: Yes, but getting perfectly straight cuts is much harder. A guide or straight edge helps but even then, I failed.
Q: Is the desk sturdy enough?
A: Yes. Between the cabinet base, dowel joint, and wall anchoring—it’s very solid.
Related Projects
Looking to upgrade your office or guestroom? Check out my related projects: