How to DIY Build an Archway as Room Divider
Nowadays, houses are usually build with an open floor plan. While a large room feels endless and spacious, if not properly designed, it simply can feel like a warehouse of furniture. Creating zones within an open concept with an archway can help to break up the room and make it more inviting and cozy.
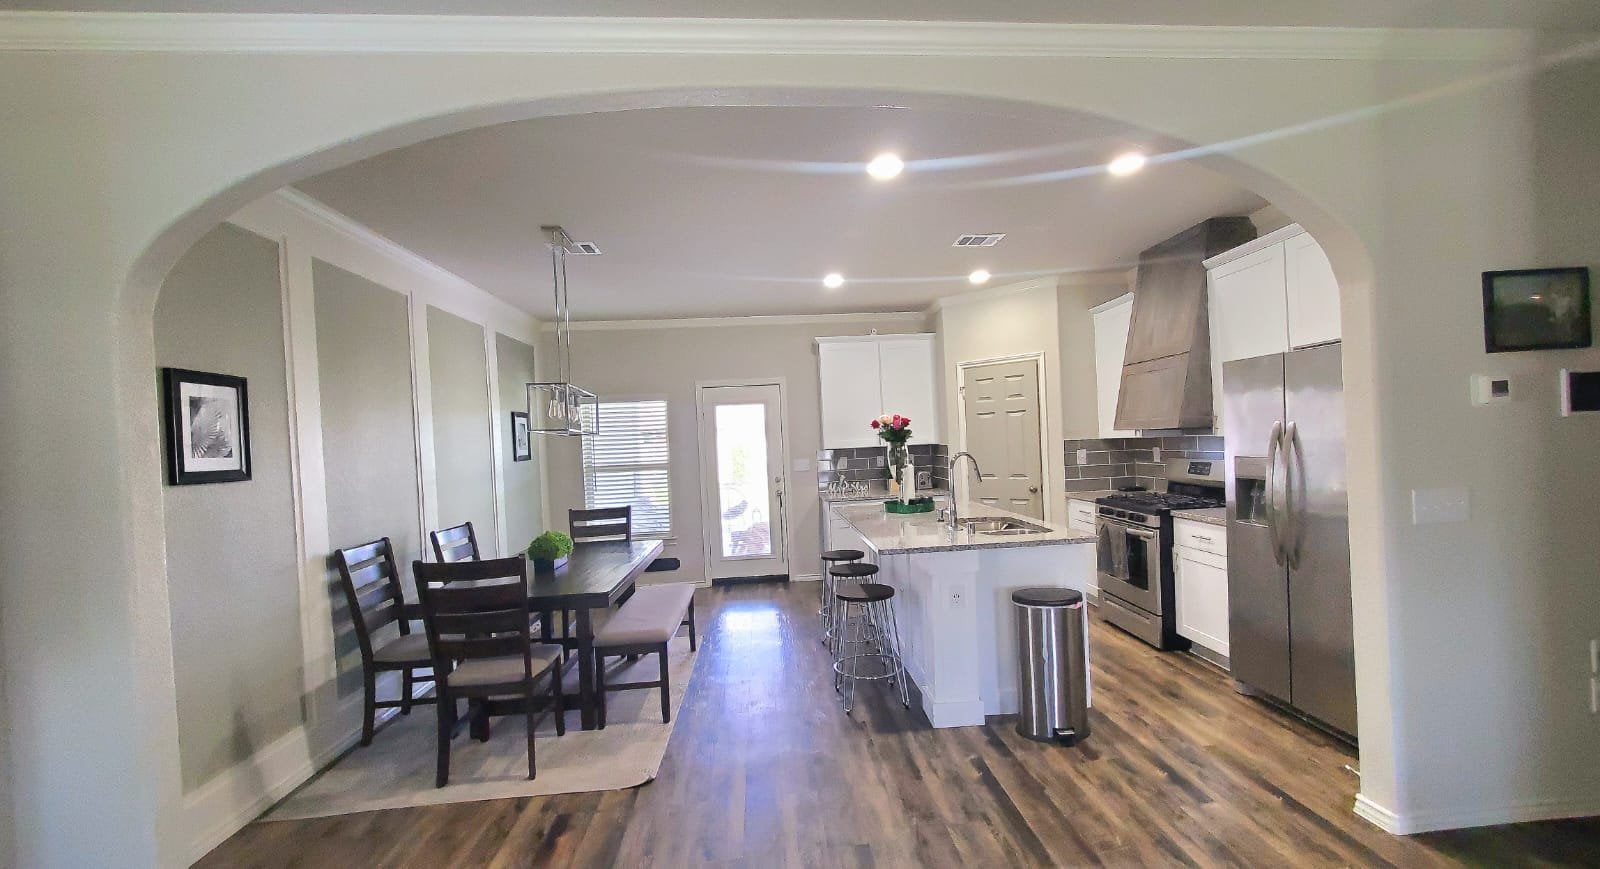
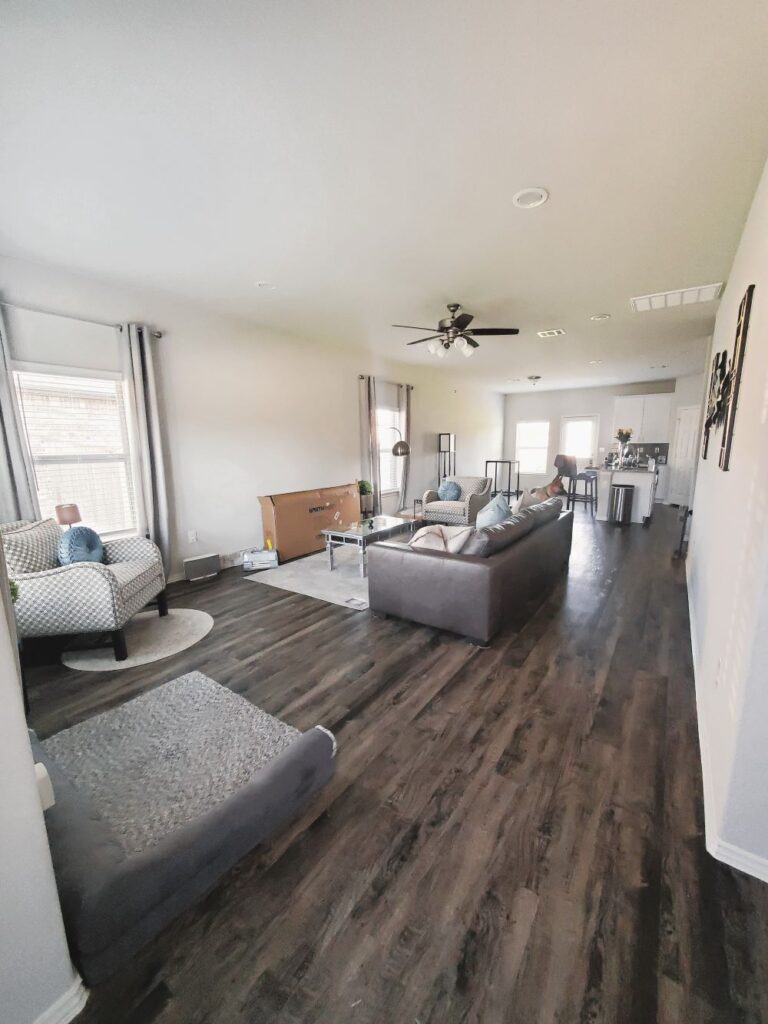
Our living room, dining room and kitchen were all build as one long rectangular room. Because of the room being extra long compared to being wide, it really made it look like a warehouse. We decided to add an archway spanning across the entire width of the room to still maintain the open concept but simply creating a nice design feature which separates the living room from the kitchen.
After several contractor bids and no-shows, we once again took on this project ourselves and I’m glad we did. The material costs are less than $50, but contractors would have charged $1600 or more to accommodate the labor. It really wasn’t that difficult at all, so read along…
Designing the Arch Shape
First, we decided on the shape of the archway and the dimensions (at which height does the arch start and how far away will the highest point be from the ceiling). There are quite a few variations out there. We decided to go with an elliptical look and maximizing the arch across the entire width of the wall so the separation would be minor and simply adding architectural interest to the room. Before we cut the sheetrock in shape, we build a prototype out of cardboard to better visualize the final arch. I would definitely recommend this to not waste any material.
Once the shape and dimensions were determined, we draw the ellipse shape onto the sheetrock. Here you can find instructions on how to draw an ellipse using the string method. Then we cut the sheetrock along the line with a jig saw. As you are building the arch like a wall, you will need identical arch pieces for the front and backside of the wall.
Framing the Archway
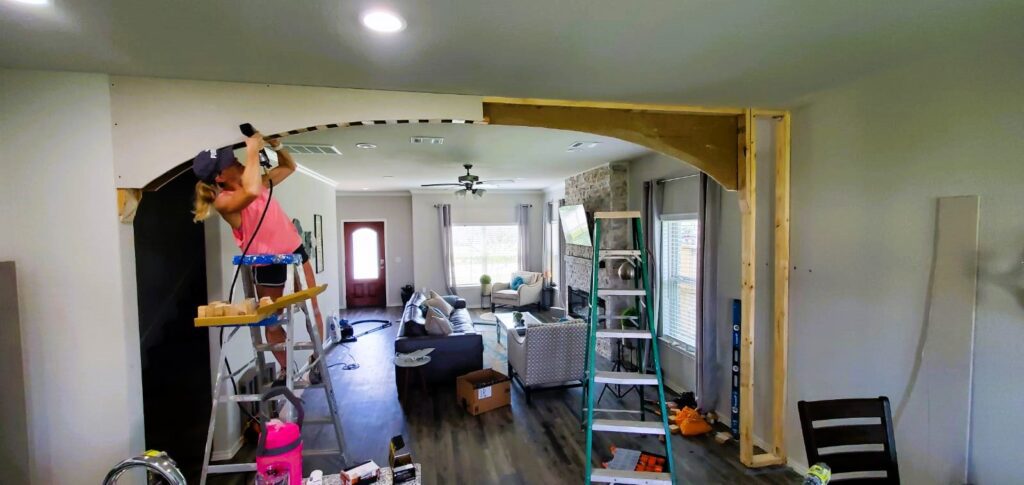
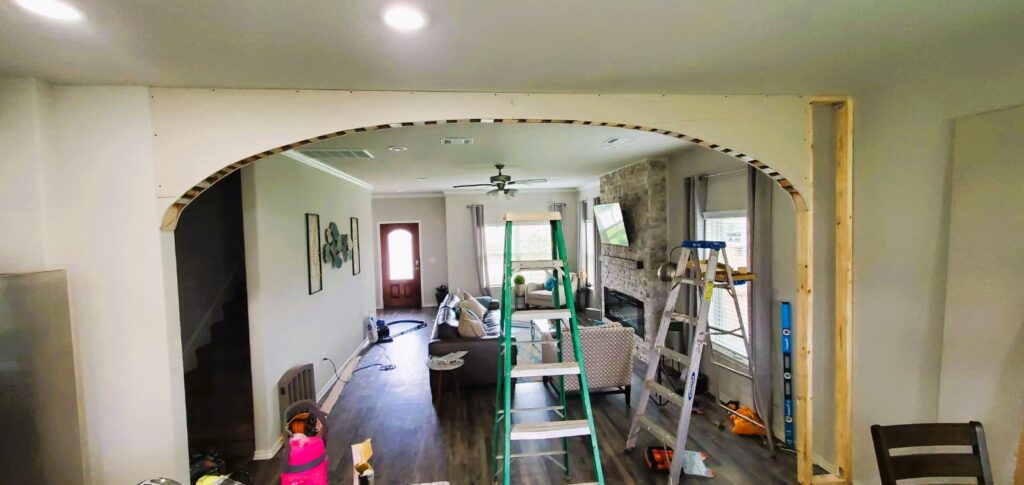
Similar when building a wall, an archway needs a supporting frame for the sheetrock. Thus, we installed a header along the ceiling with a regular 2″x4″ stud. In addition we placed a piece of 2″x4″ on each side of each wall where the ellipse would touch.
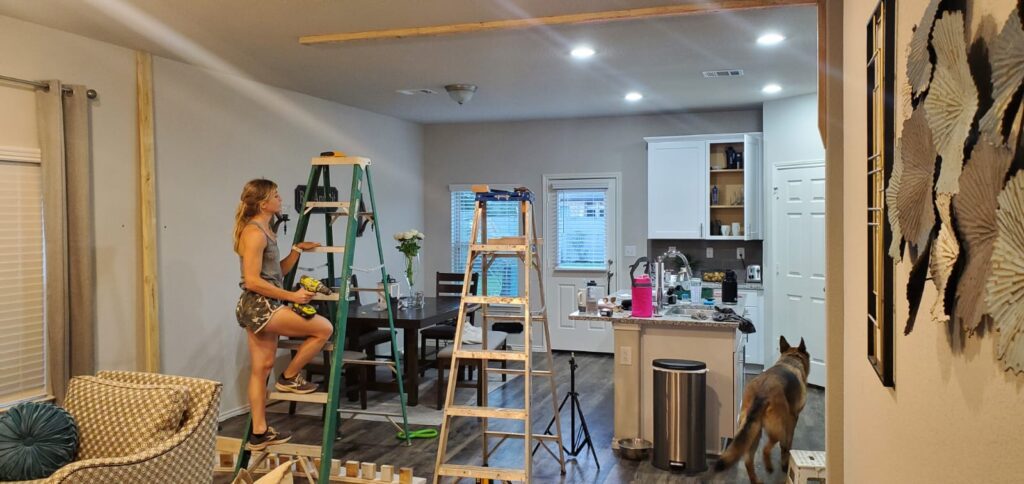
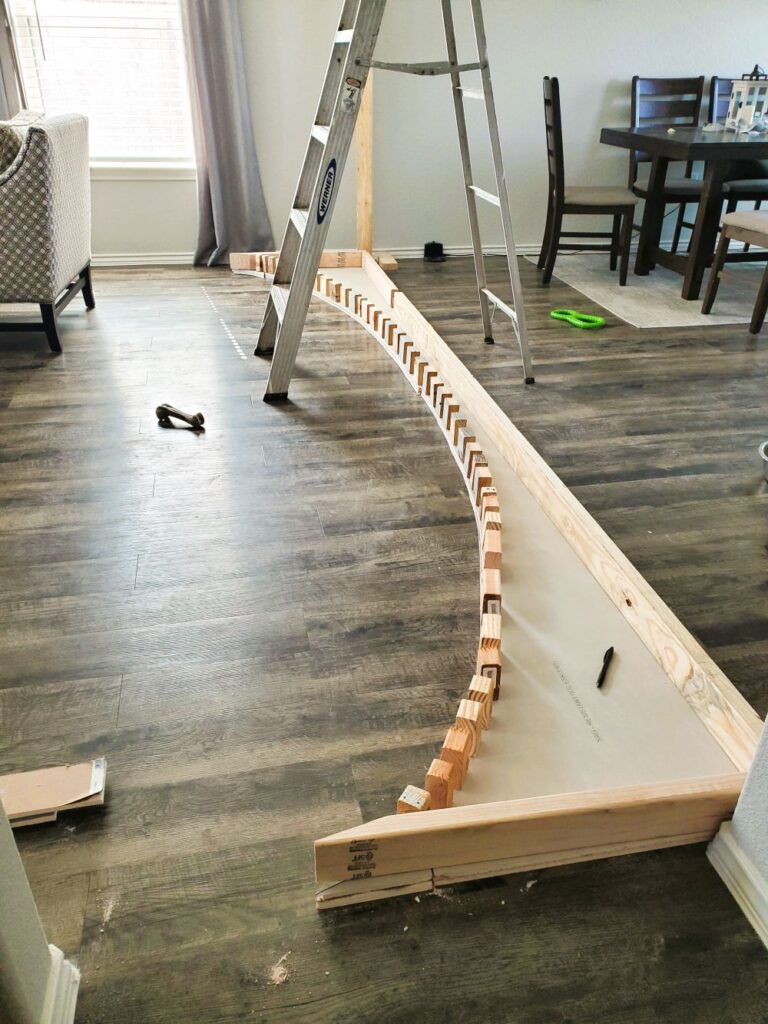
Then, we attached the sheetrock to the frame with sheetrock screws. We cut 4″ long wood pieces each 2″-3″ wide (we used quite some scrab wood for that). These were installed with the nail gun between the sheetrock along the elliptical shape.
Finally, we cut 4″ wide long strips of sheetrock which we attached along the bottom of the ellipse. To ensure the sheetrock bends smoothly along the ellipse, we scored the paper side of the drywall every 1″-2″ with a utility knife.

Finishing off the Archway
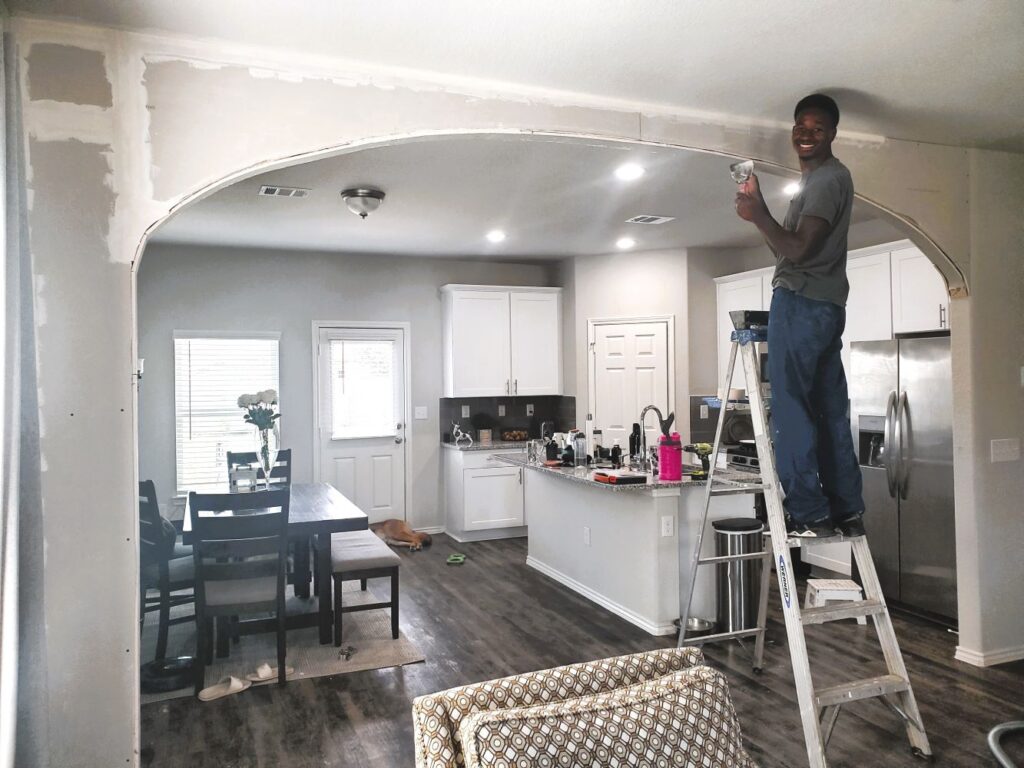
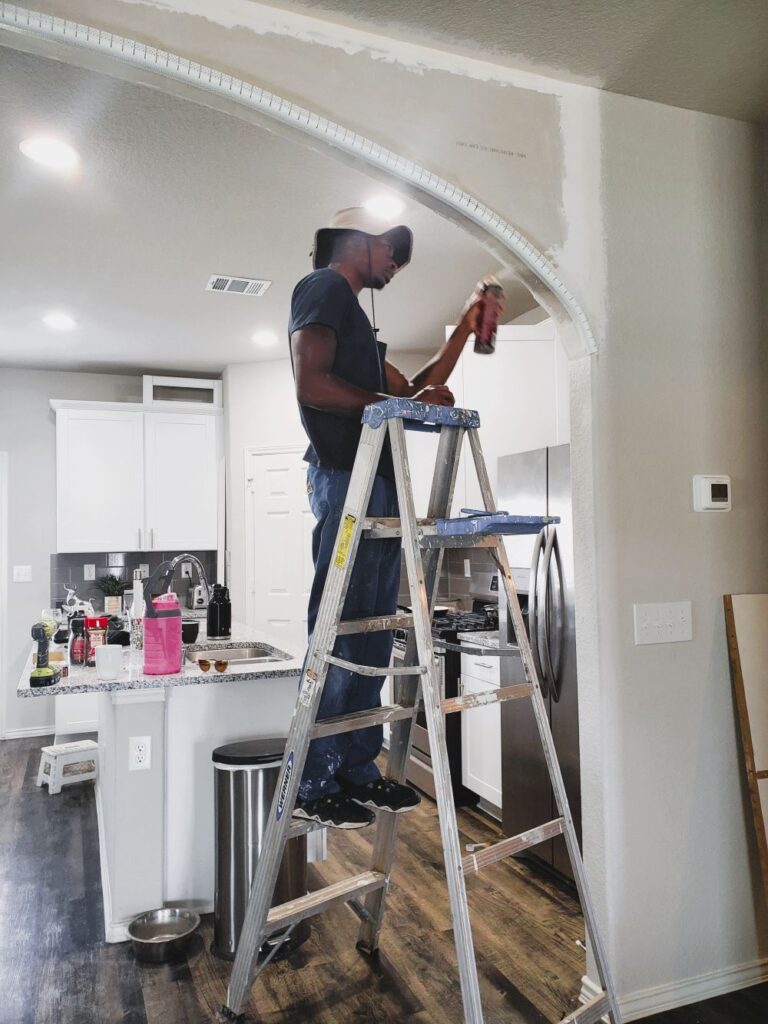
As all of our corners in our houses are rounded, we bought the flexible Vinyl Bullnose Archway Bead at Home Depot and attached it on each side of the drywall. Next, we smoothed out all transitions with a layer of Easy Sand 45 Minute Lightweight Joint compound. Several layers of joint compound and sanding in between were needed to get the transitions smooth. Finally, we applied blotches of joint compound with a sponge and let it dry a little bit before flattening with a wide taping knife. This way we were able to match the knock-down texture of the other walls.
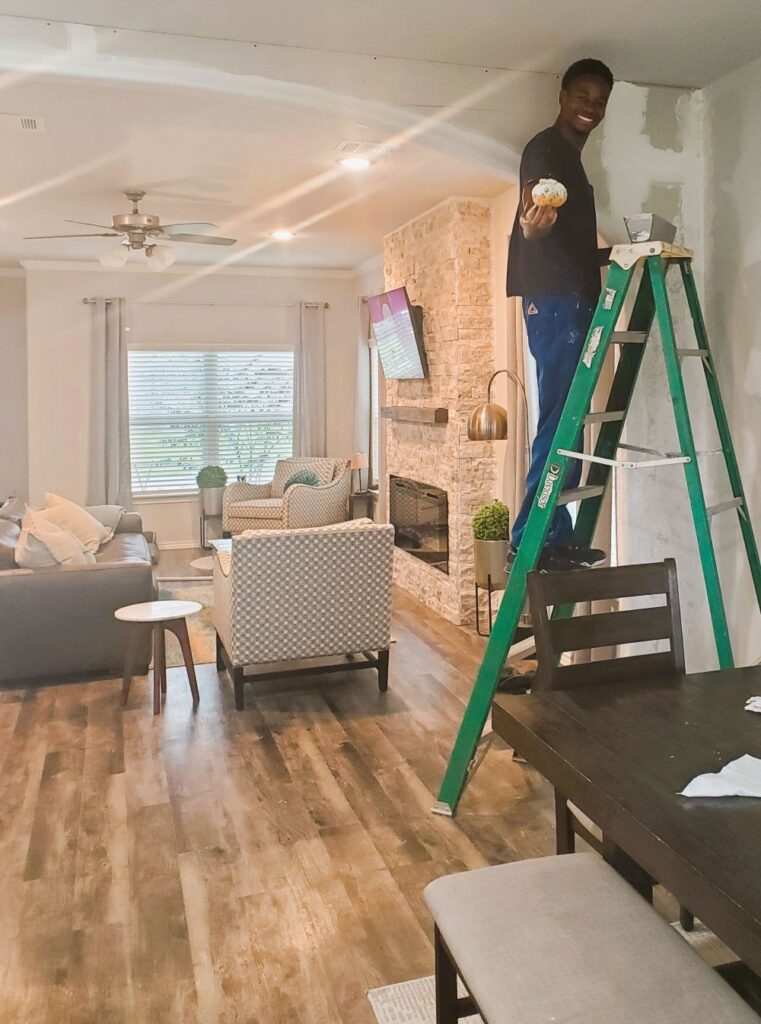
The last step was simply applying the paint which can be tough when trying to match an adjoining wall. Although the builder used eggshell finish as the wall paint, we were only able to match the color of the other wall by using a flat finish. This is because builders usually do not use any primers so more paint is soaked into the joint compound leaving a flatter finish.

