Converting an IKEA HEMNES Media Console Into a Built-In Entertainment Center With Window Bench Seating
Built-ins can completely change the feel of a room—but they often come with a custom price tag. When I found an IKEA HEMNES TV storage combination (retail ~$1,000) on Facebook Marketplace for just $150, I knew it had serious potential. With the right layout, this piece could be transformed into a built-in entertainment center that perfectly framed our window bay and added extra seating to the game room.
The goal was to make the unit look fully custom and intentional, without overwhelming the space. With some paint, trim work, lighting upgrades, and a bit of problem-solving, this once-free-standing IKEA console now looks like it was designed specifically for this room.
Disclaimer: This post contains affiliate links. I may earn a small commission if you make a purchase, at no extra cost to you.
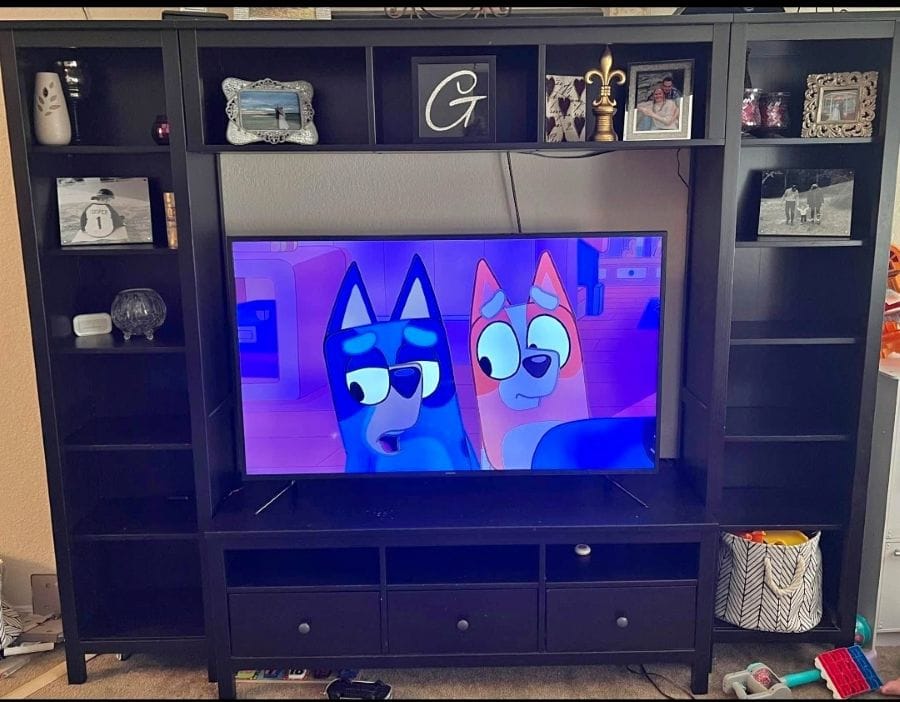 Ikea Hemnes Before
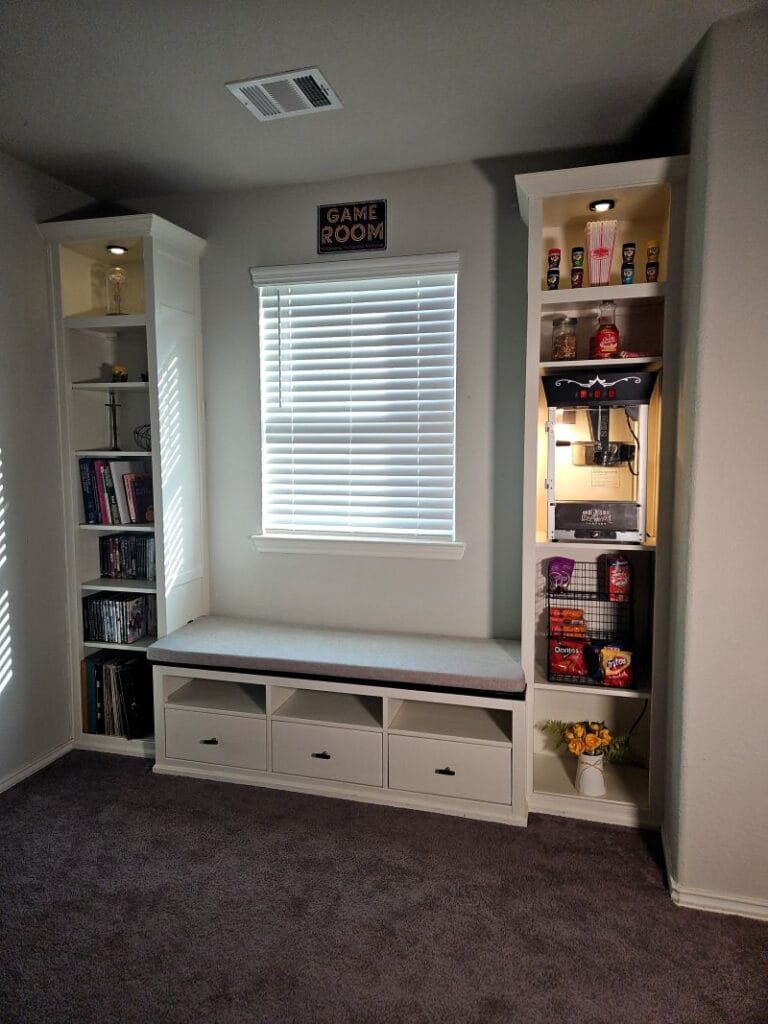 After
After
IKEA HEMNES Conversion Project Snapshot / Quick Facts
- Skill Level: Intermediate
- Time Requires: 2-3 Weekends
- Cost: ~$200-$400
Material & Tools List
Materials
- IKEA HEMNES TV Storage Combination or similiar (e.g. Facebook Marketplace)
- Paint (Sherwin-Williams Alabaster or similar)
- Zinsser BIN Primer
- Sanding Pads
- Popcorn Machine (Amazon)
- Brad nails
- Wood Glue
- Cabinet Handles
- Fingerjoint trim
- Crownmolding
Tools
- PPE (Hearing Protection, Gloves, Safety Glasses). Get my favorite (Pink) PPE from Amazon
- Measuring Tape (Amazon)
- Drill
- Miter Saw
- Sanding block
- Sander: Orbital Sander and Disc Sander (For faster sanding)
- Nail Gun
- Paint Sprayer
Step-by-Step IKEA HEMNES Conversion
Step 1: Fitting the IKEA HEMNES Console Into the Window Bay
One of the biggest wins of this project was how perfectly the IKEA unit fit the window bay. I only had cut off about ¼ inch on one side to get it snug and level, which made the entire transformation feel meant to be. Once positioned, the console instantly filled the niche without crowding the room, creating a strong foundation for a built-in look.
Step 2: Painting the Black IKEA Console White
Unfortunately, the unit I found was black, which didn’t work for the room. Painting was the only option. I primed and painted the entire console white, and while the results look good visually, this is where I’d offer a word of caution. IKEA’s stained wood has a very oily finish, and even after sanding with an orbital sander, the stain was heavily soaked into the wood. Despite using primer, the surface still scratches relatively easily. Since this console is used more decoratively than functionally, it works fine—but I wouldn’t recommend painting this piece if it’s going to be heavily used shelving.
Lesson learned: A disc sander may have helped remove more of the oily layer and improve paint adhesion. Also, I already assembled and installed the cabinet when I decided to change the color This made it very hard to sand properly.
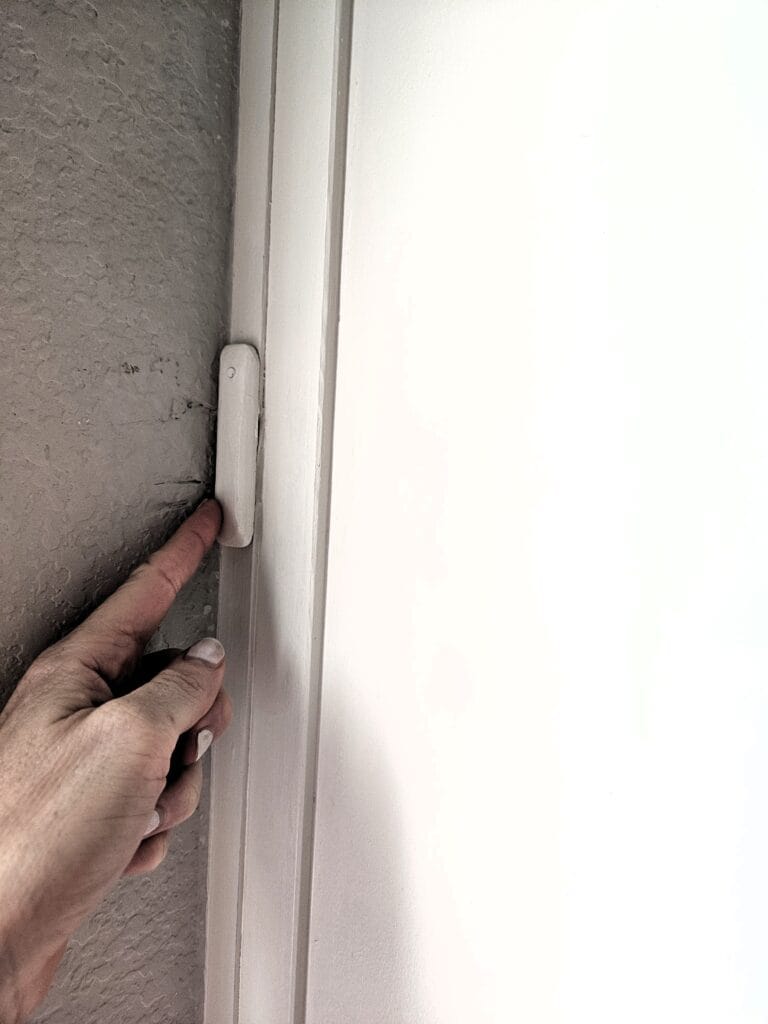
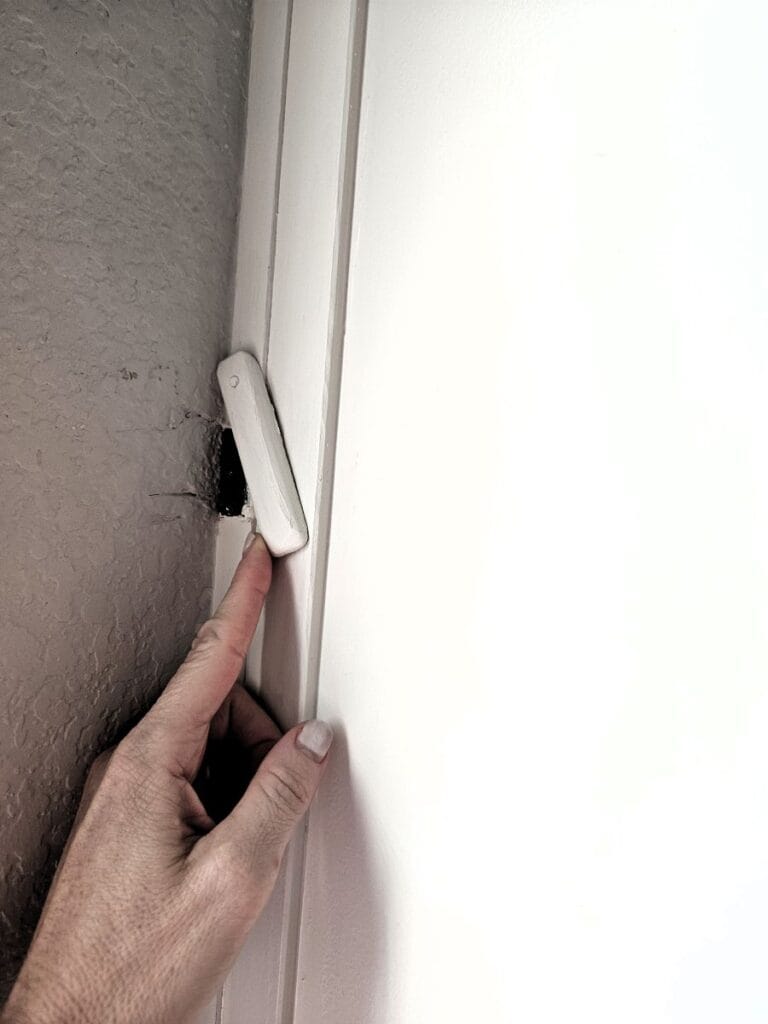
Step 3: Reusing Media Center Lamps for Built-In Lighting
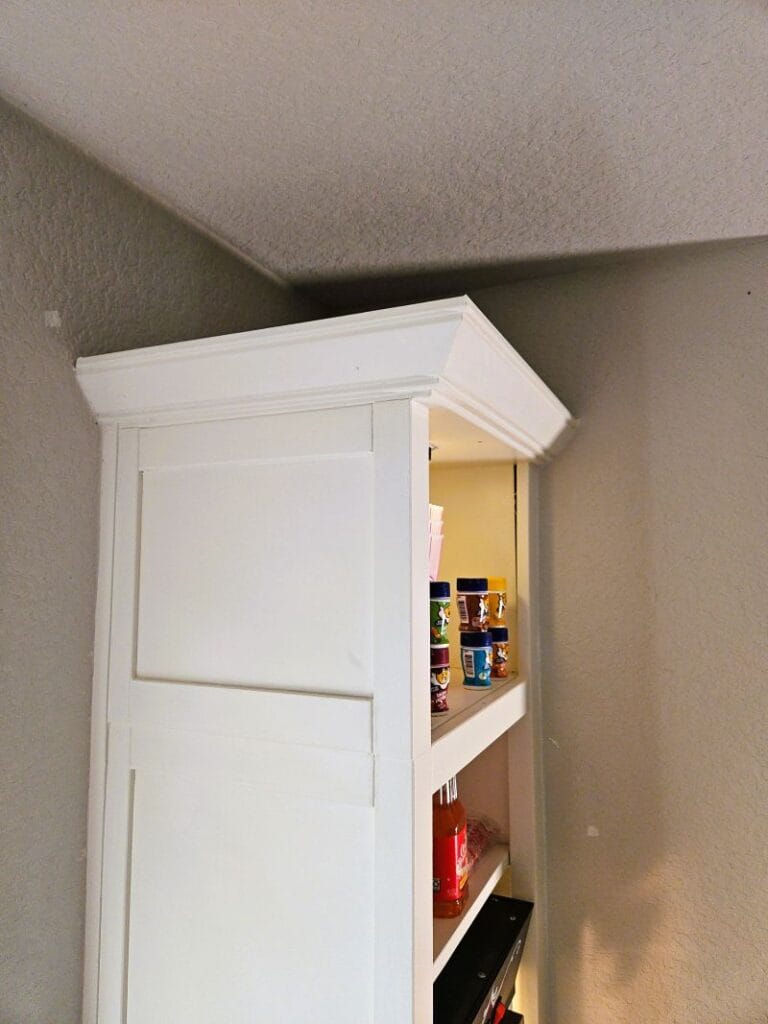
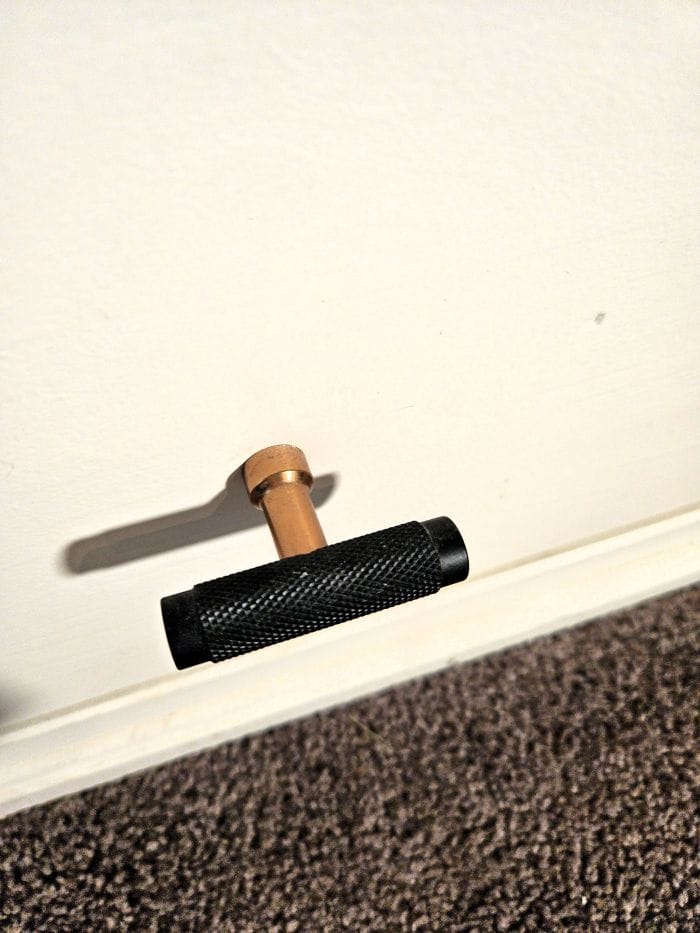
To add warmth and depth, I reused the media lamps from my refurbished 90s media cabinet and installed them inside the IKEA towers. This added a beautiful secondary light source and tied the two projects together. For a clean, seamless look, I routed the wiring and switch behind the wall and only exposed the switch to the surface. To conceal it further, I built a simple wood trim cover and nailed it only at the top. This allows the trim to flip to the side whenever access to the switch is needed—functional and discreet.

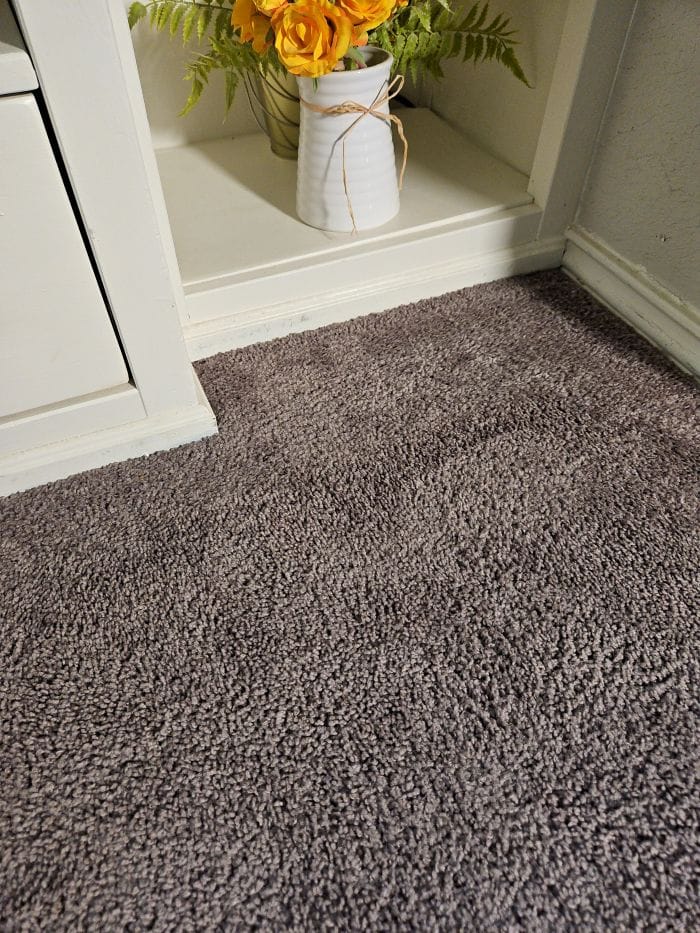
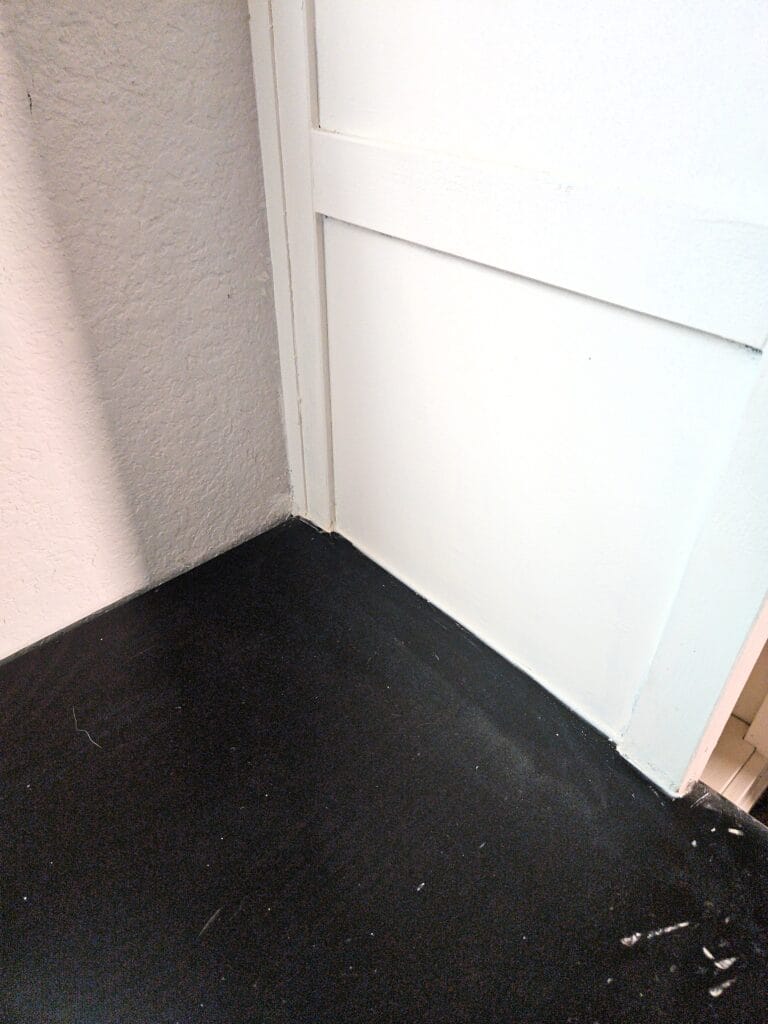
Step 4: Making the IKEA HEMNES Look Fully Built-In With Trim
This step is what truly transformed the piece. To eliminate the “IKEA furniture” look, Installed trim along the top and bottom of the cabinet and closed gaps between the cabinet and the wall using finger-joint trim and caulk. I also shortened the cabinet feet so the unit appears to sit directly on the floor. This small change made a huge difference, instantly shifting the look from freestanding furniture to a true built-in. Additionally, I replaced the basic IKEA drawer knobs with some more luxurious black-bronze handles.
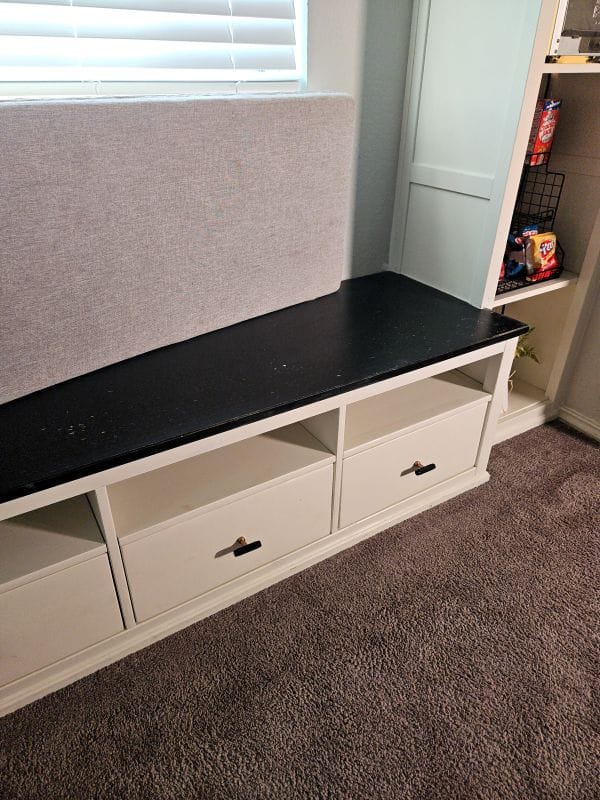
Step 5: Converting the IKEA HEMNES TV Stand Into a Window Bench
Instead of using the TV stand portion as media storage, I converted it into a seating bench for the window bay. I kept the original brown-toned top piece for contrast and warmth, then added a bench cushion from Amazon. This created a cozy seating area that feels intentional and ties beautifully into the rest of the room.
Step 6: Turning It Into a Game Room Entertainment Hub
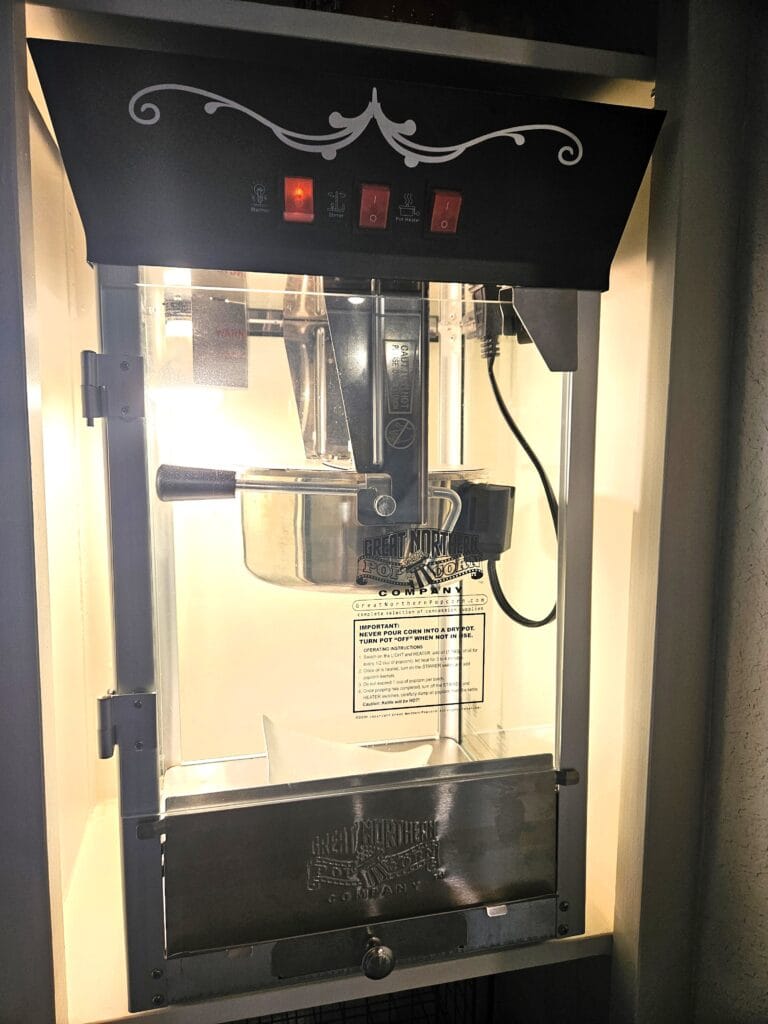
To fully integrate the unit into the game room, I installed a popcorn machine inside one of the cabinets—and it fits perfectly. Below it, I added a snack rack for easy access during movie nights and game days. This functional upgrade transformed the cabinet from simple storage into a true entertainment center without cluttering the space.

The end result honestly looks like a custom-built installation. The entertainment center fills the window bay niche perfectly, adds seating, storage, lighting, and personality, and ties seamlessly into the game room.
Q&A, Pro-Tips
Q: Would you do anything differently if you did it again?
A: I would sand the cabinet while it’s fully disassembled and use a disc sander to better remove the factory finish.
Q: What had the biggest impact in this conversion?
A: Making the IKEA piece look like a built-in by adding trim was the biggest game changer. Considering the original retail price and what I actually spent, the transformation is pretty remarkable.
Q: How is the primer and paint holding up so far?
A: Since we mainly use the cabinet as a decorative piece and rarely move items around, everything has been holding up well. However, I’ve noticed that moving heavier items—like the popcorn machine—or leaving metal objects in one spot for a long time can cause scratches in the paint.
Related Projects
This post is one chapter in a larger transformation—explore the related projects below to see how each part comes together to complete the full vision. Coming Soon:
- Game Room DIY Ceiling Beams on a budget
- Builder-Grade Game Room Transformation: Sporty Wall Makeover Inspiration
- Refurbishing an Old Media Cabinet into a Modern Media Console (With Built-In Mini Fridge)
Shop the Look
Create this dramatic Game room setup with the items (or similar) that brought this project to life: Game Room Amazon